I'm a wife, stay-at-home mom, crafter, and blogger living in rural New England. As seen in Martha Stewart Living, Food Network Magazine, and more! | Tutorials, DIY, crafts, parenting tips, recipes, money saving tips, product reviews, local product features, New England living, intentional living, and more! |
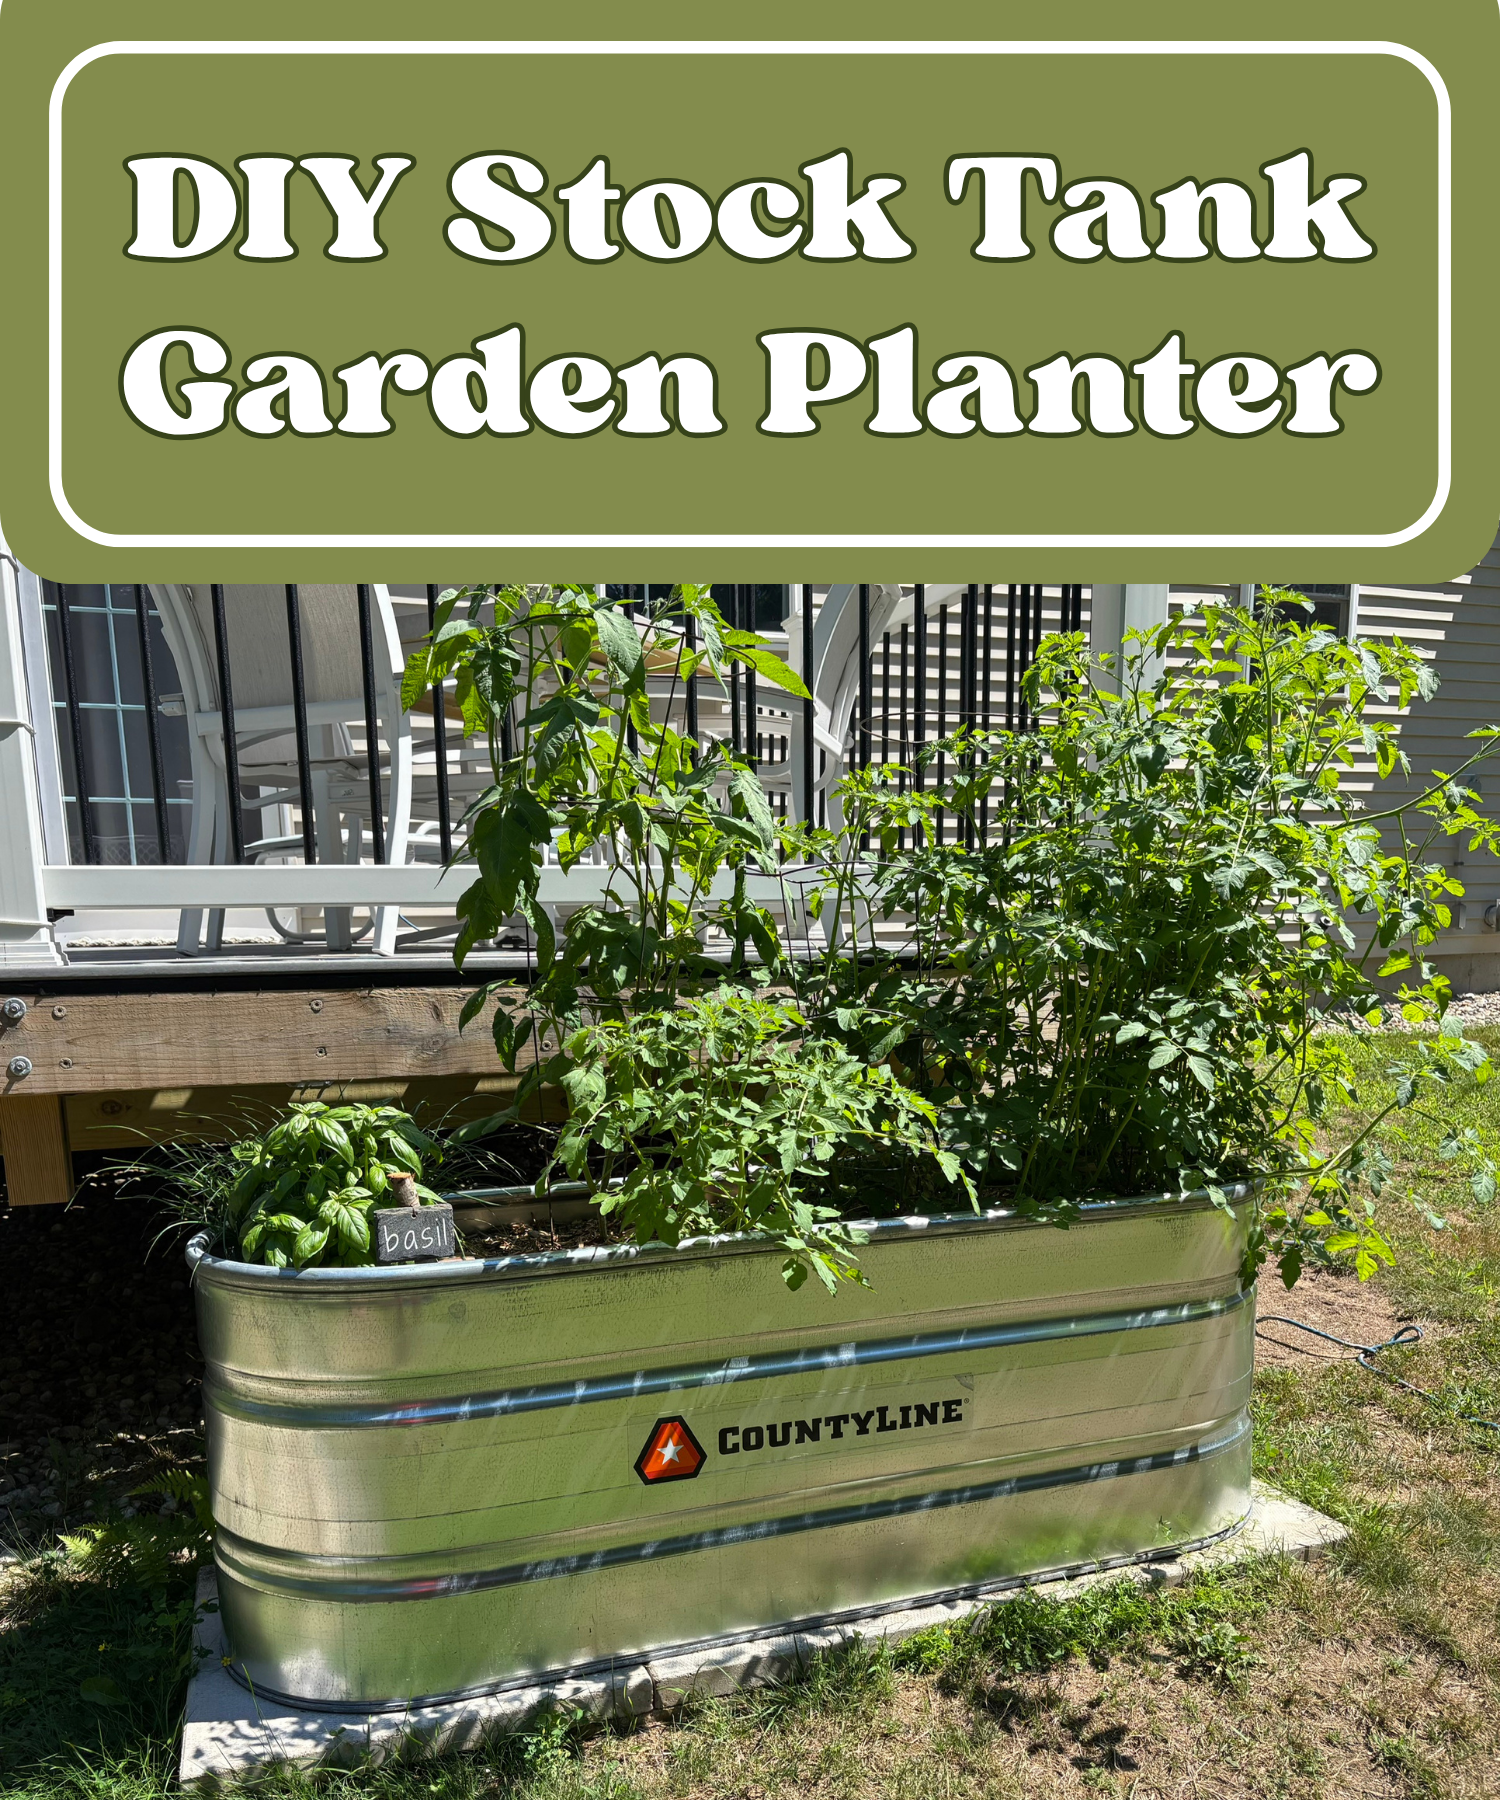
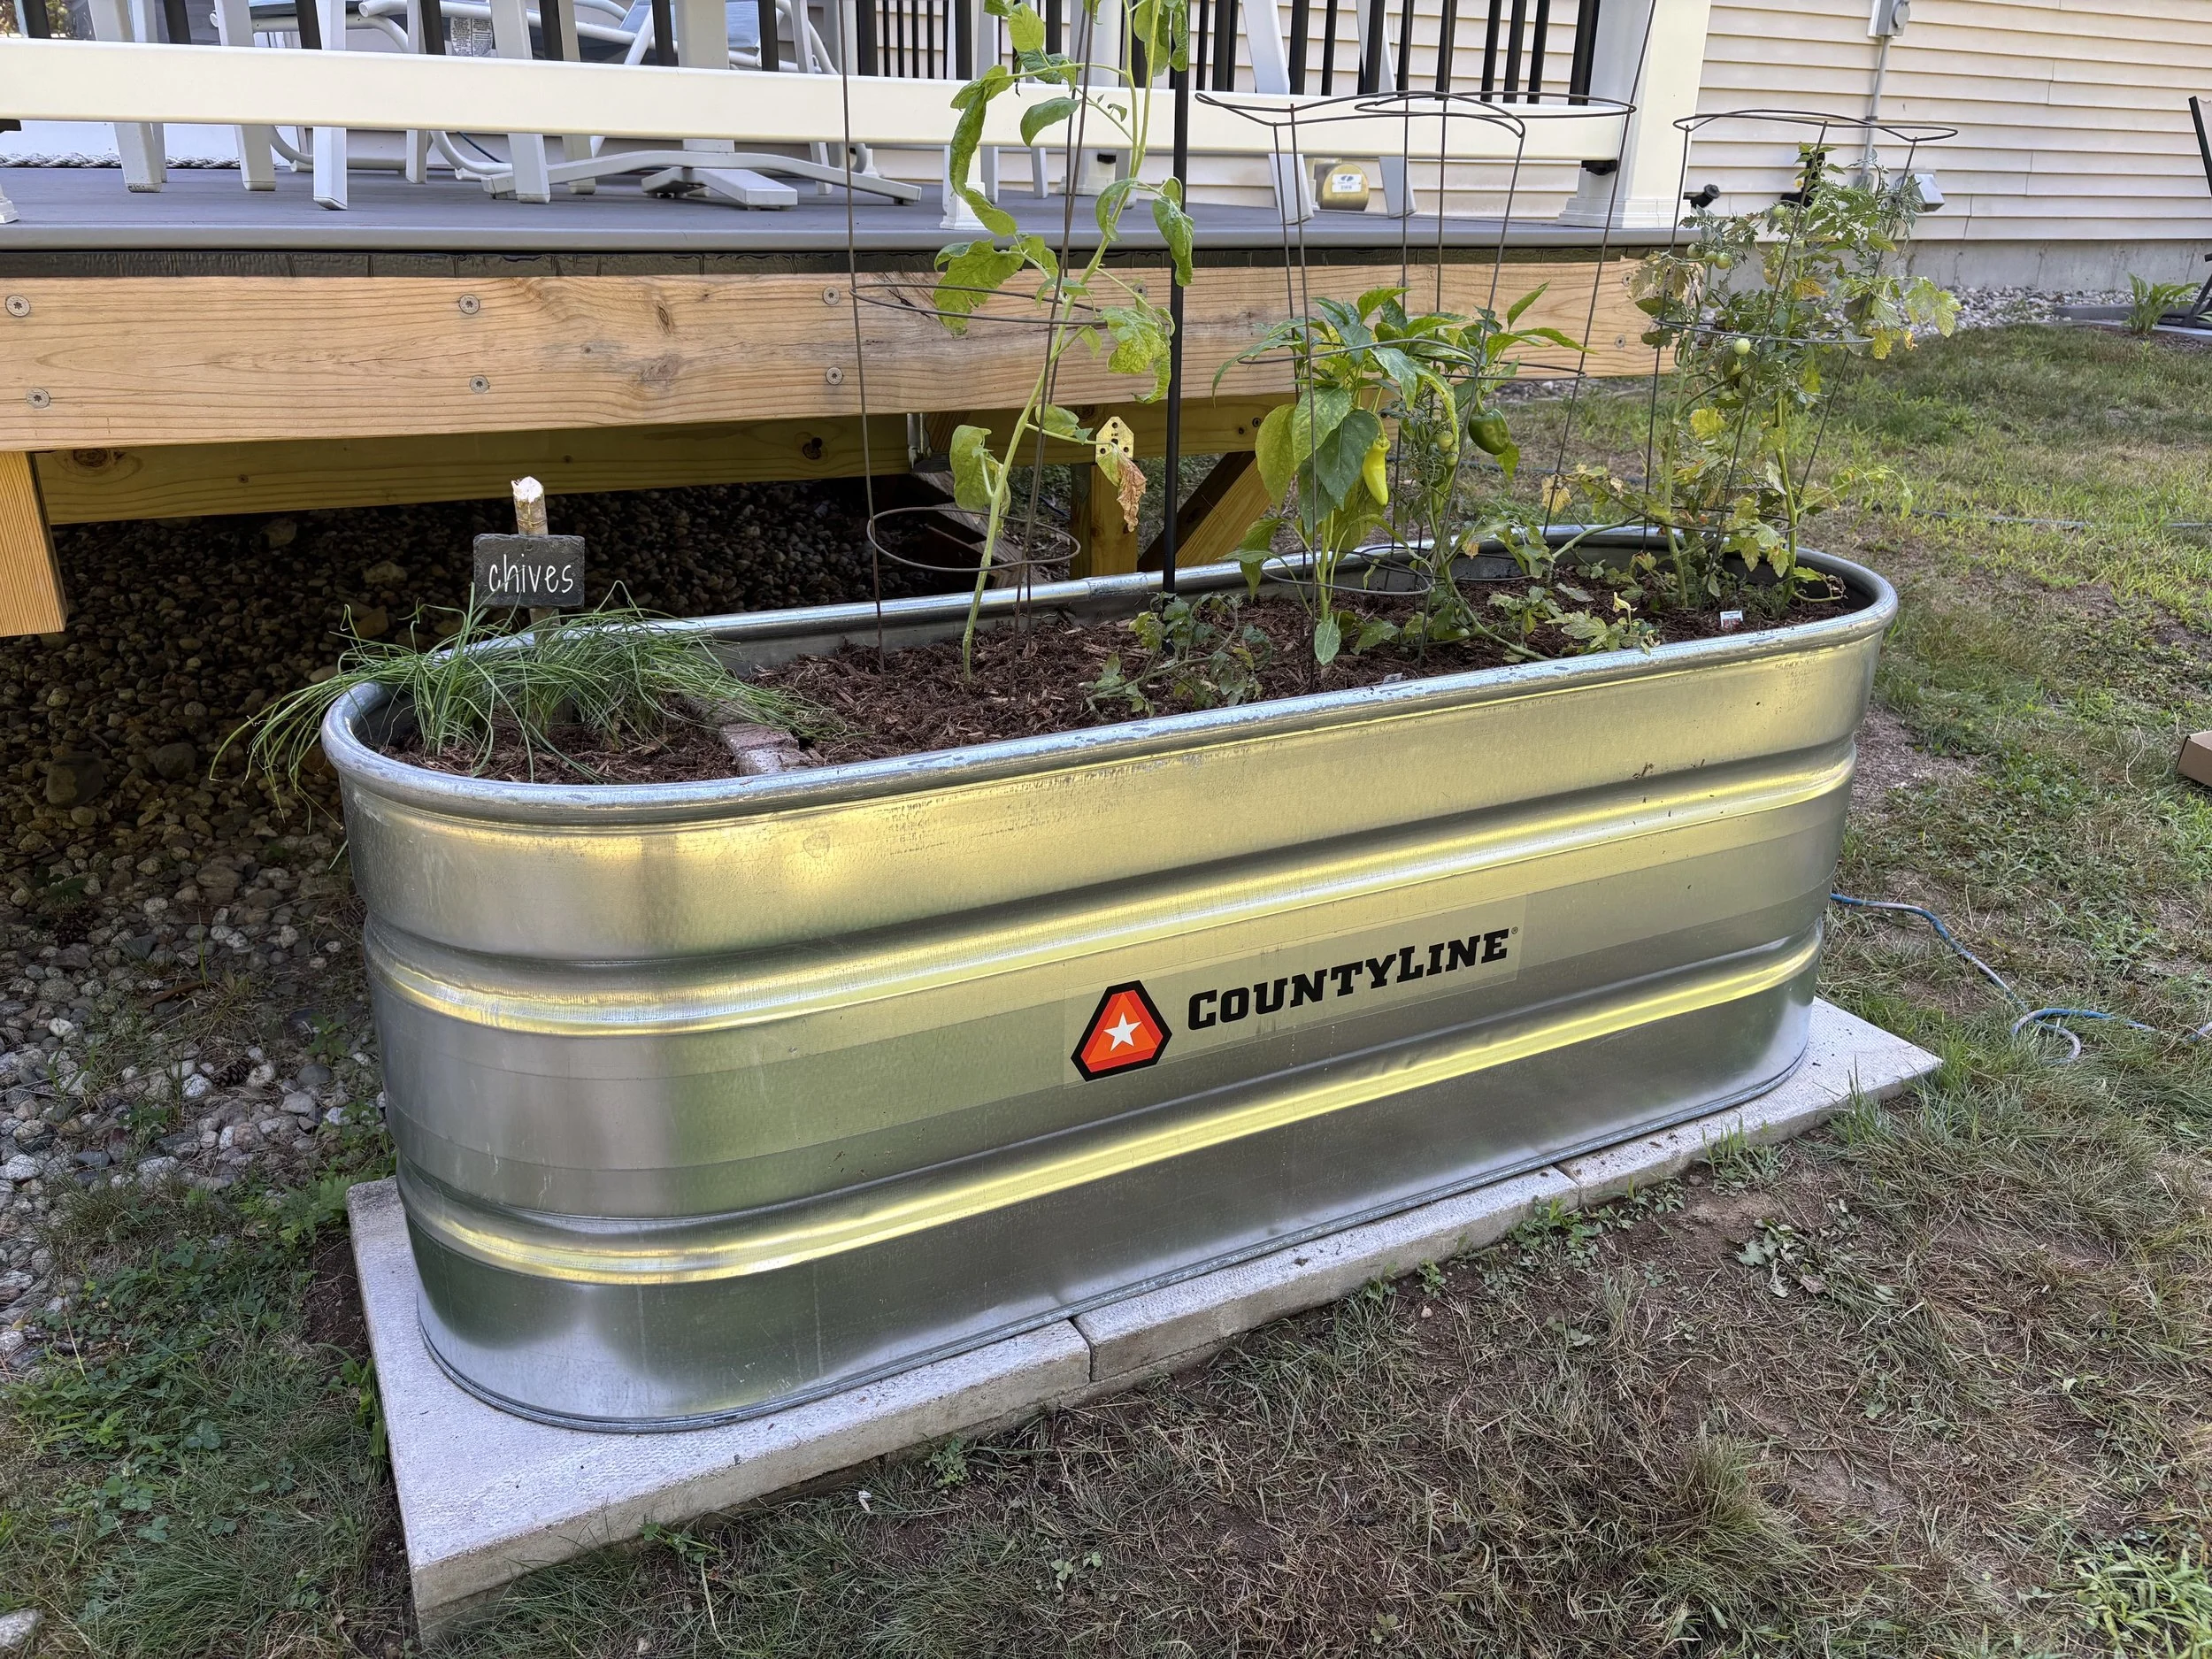
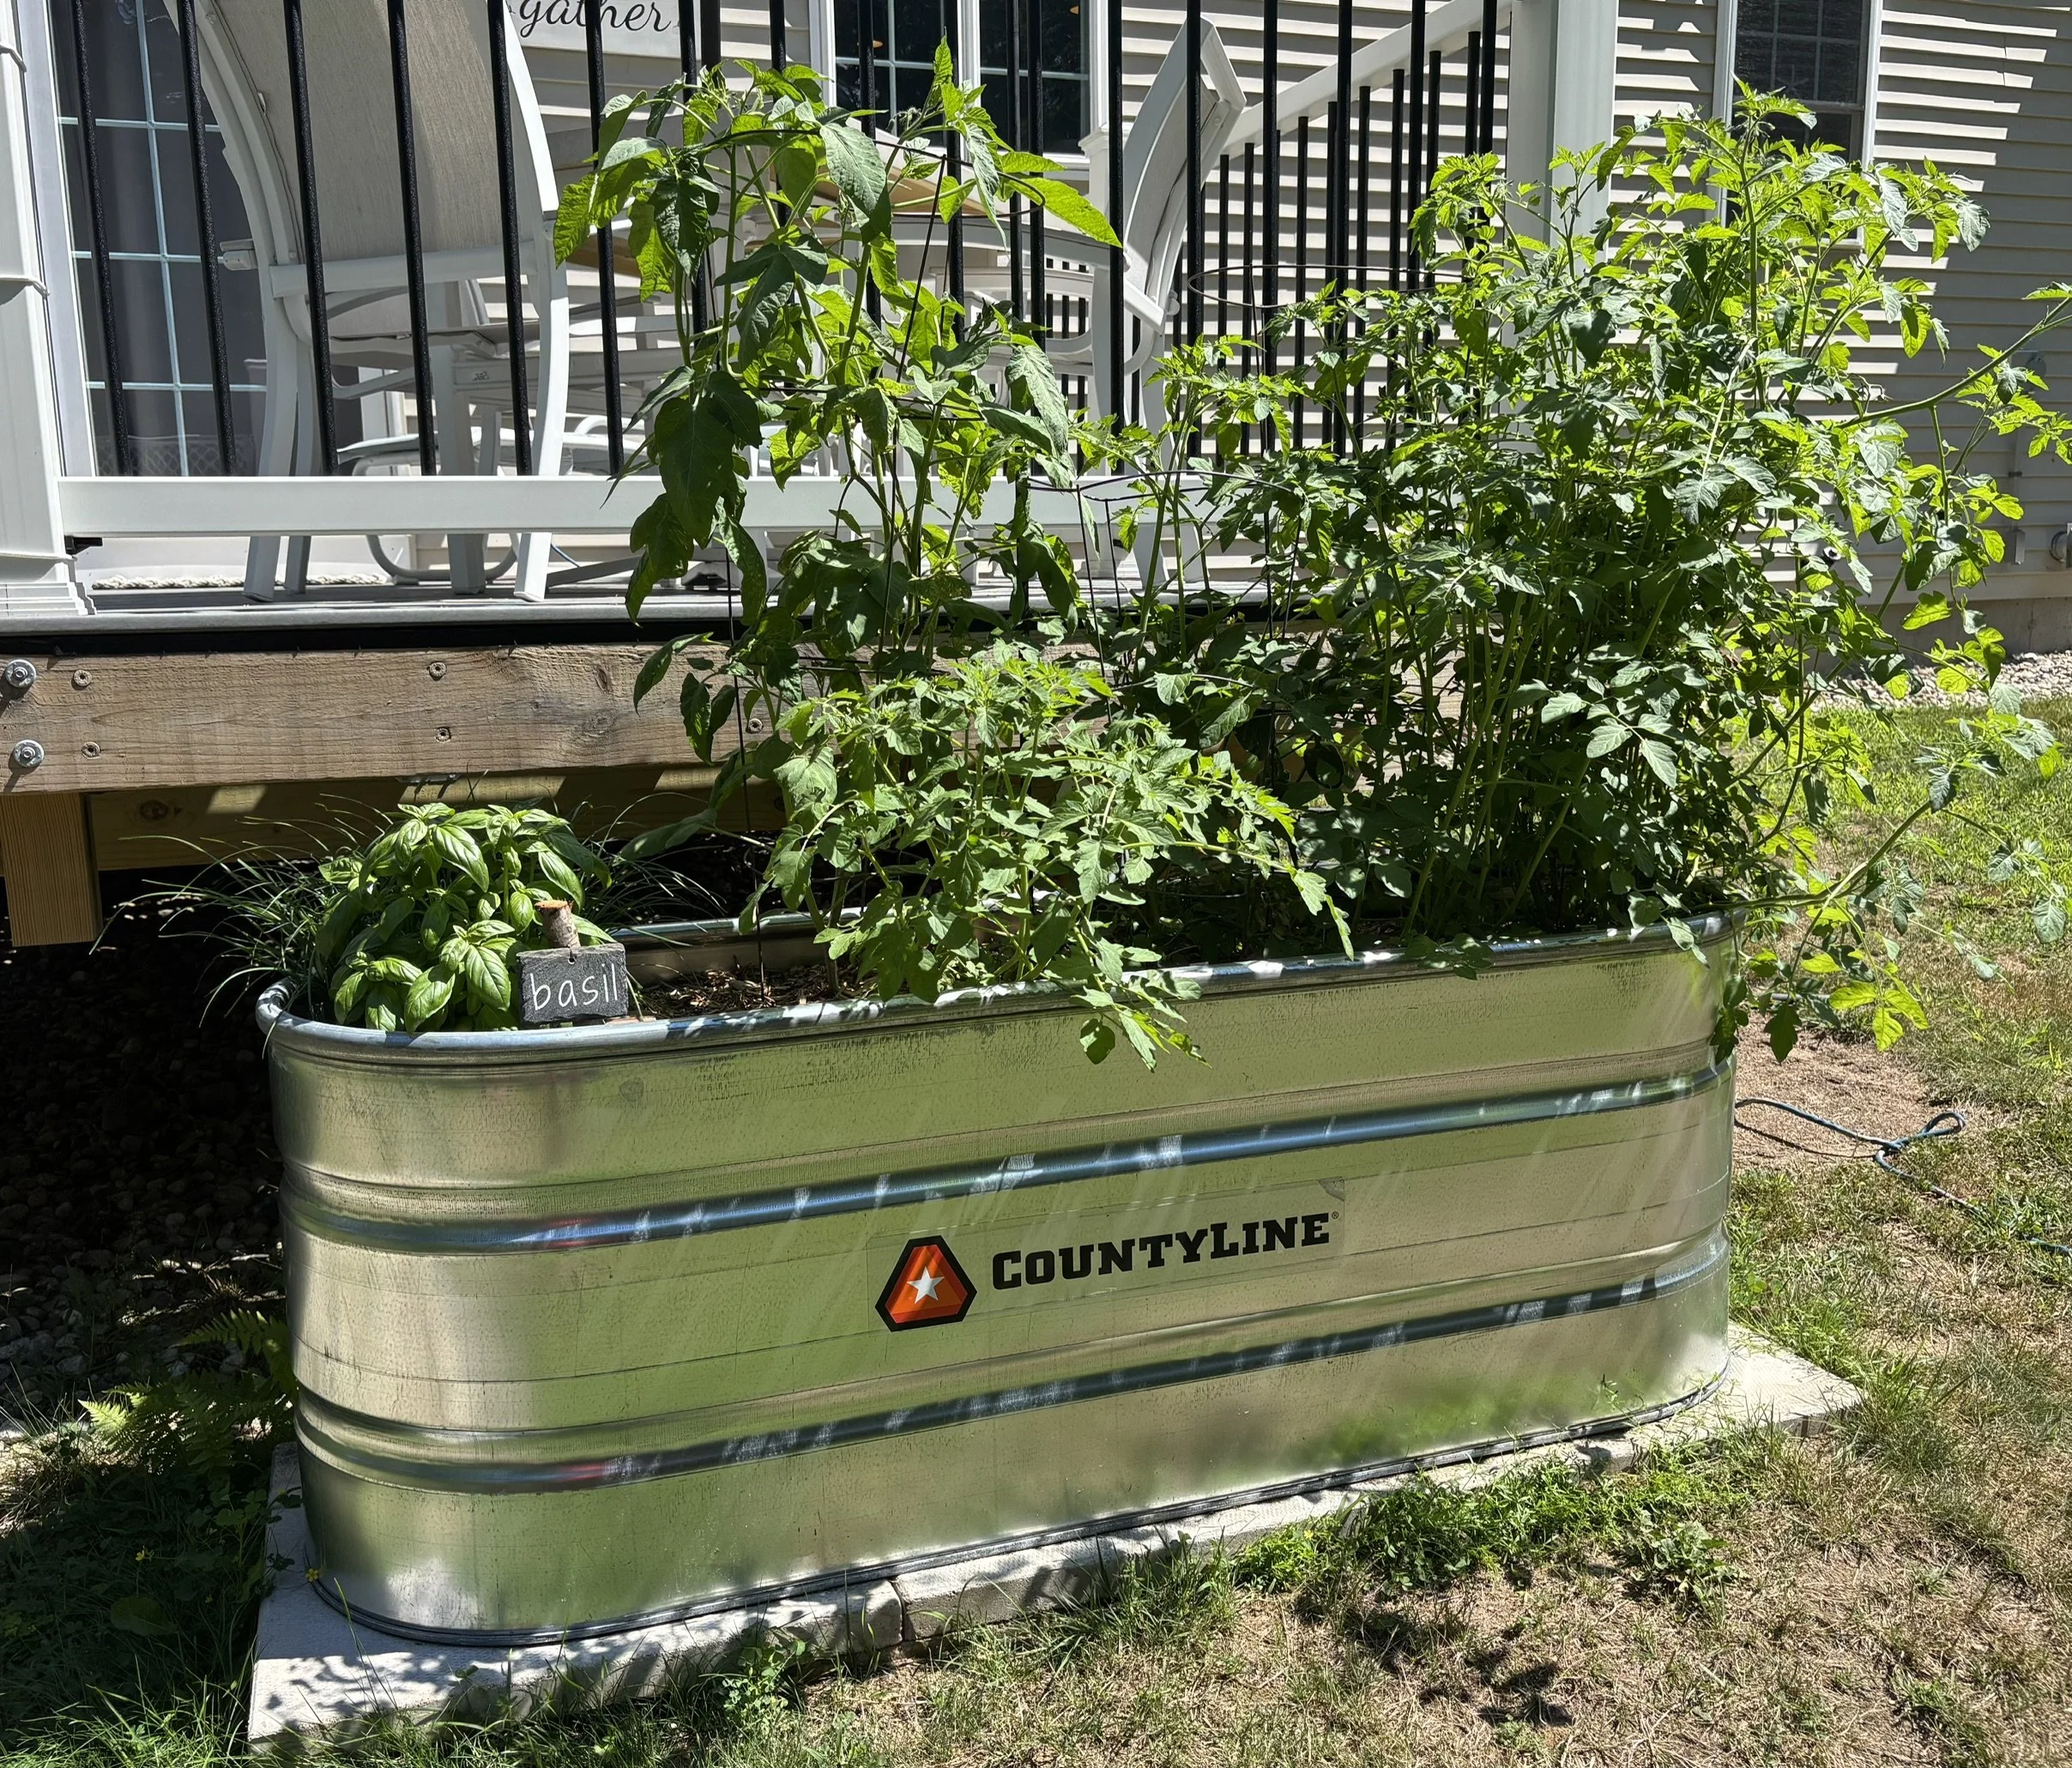
Our house came with some old whiskey barrel planters that were used for tomatoes and herbs, however 15 years later they were literally falling apart and it was time for something new. Originally I was going to build a cedar raised garden planter but after pricing out the cost of cedar (yikes!) and the time it would take to make it I decided to look into other options. In the end I opted for repurposing a stock tank into a garden planter and it was such an easy and quick project to do. Read on for my tips and advice on how to prep and create your own. | This post contains affiliate links |
Materials:
Paving stones for the base
Stock Tank - we used a 2'x6'x2' tank here but they come in other sizes as well. (If your local store doesn't have the one you want, you can order it online and have it shipped to store or maybe even your house depending on where you're located.)
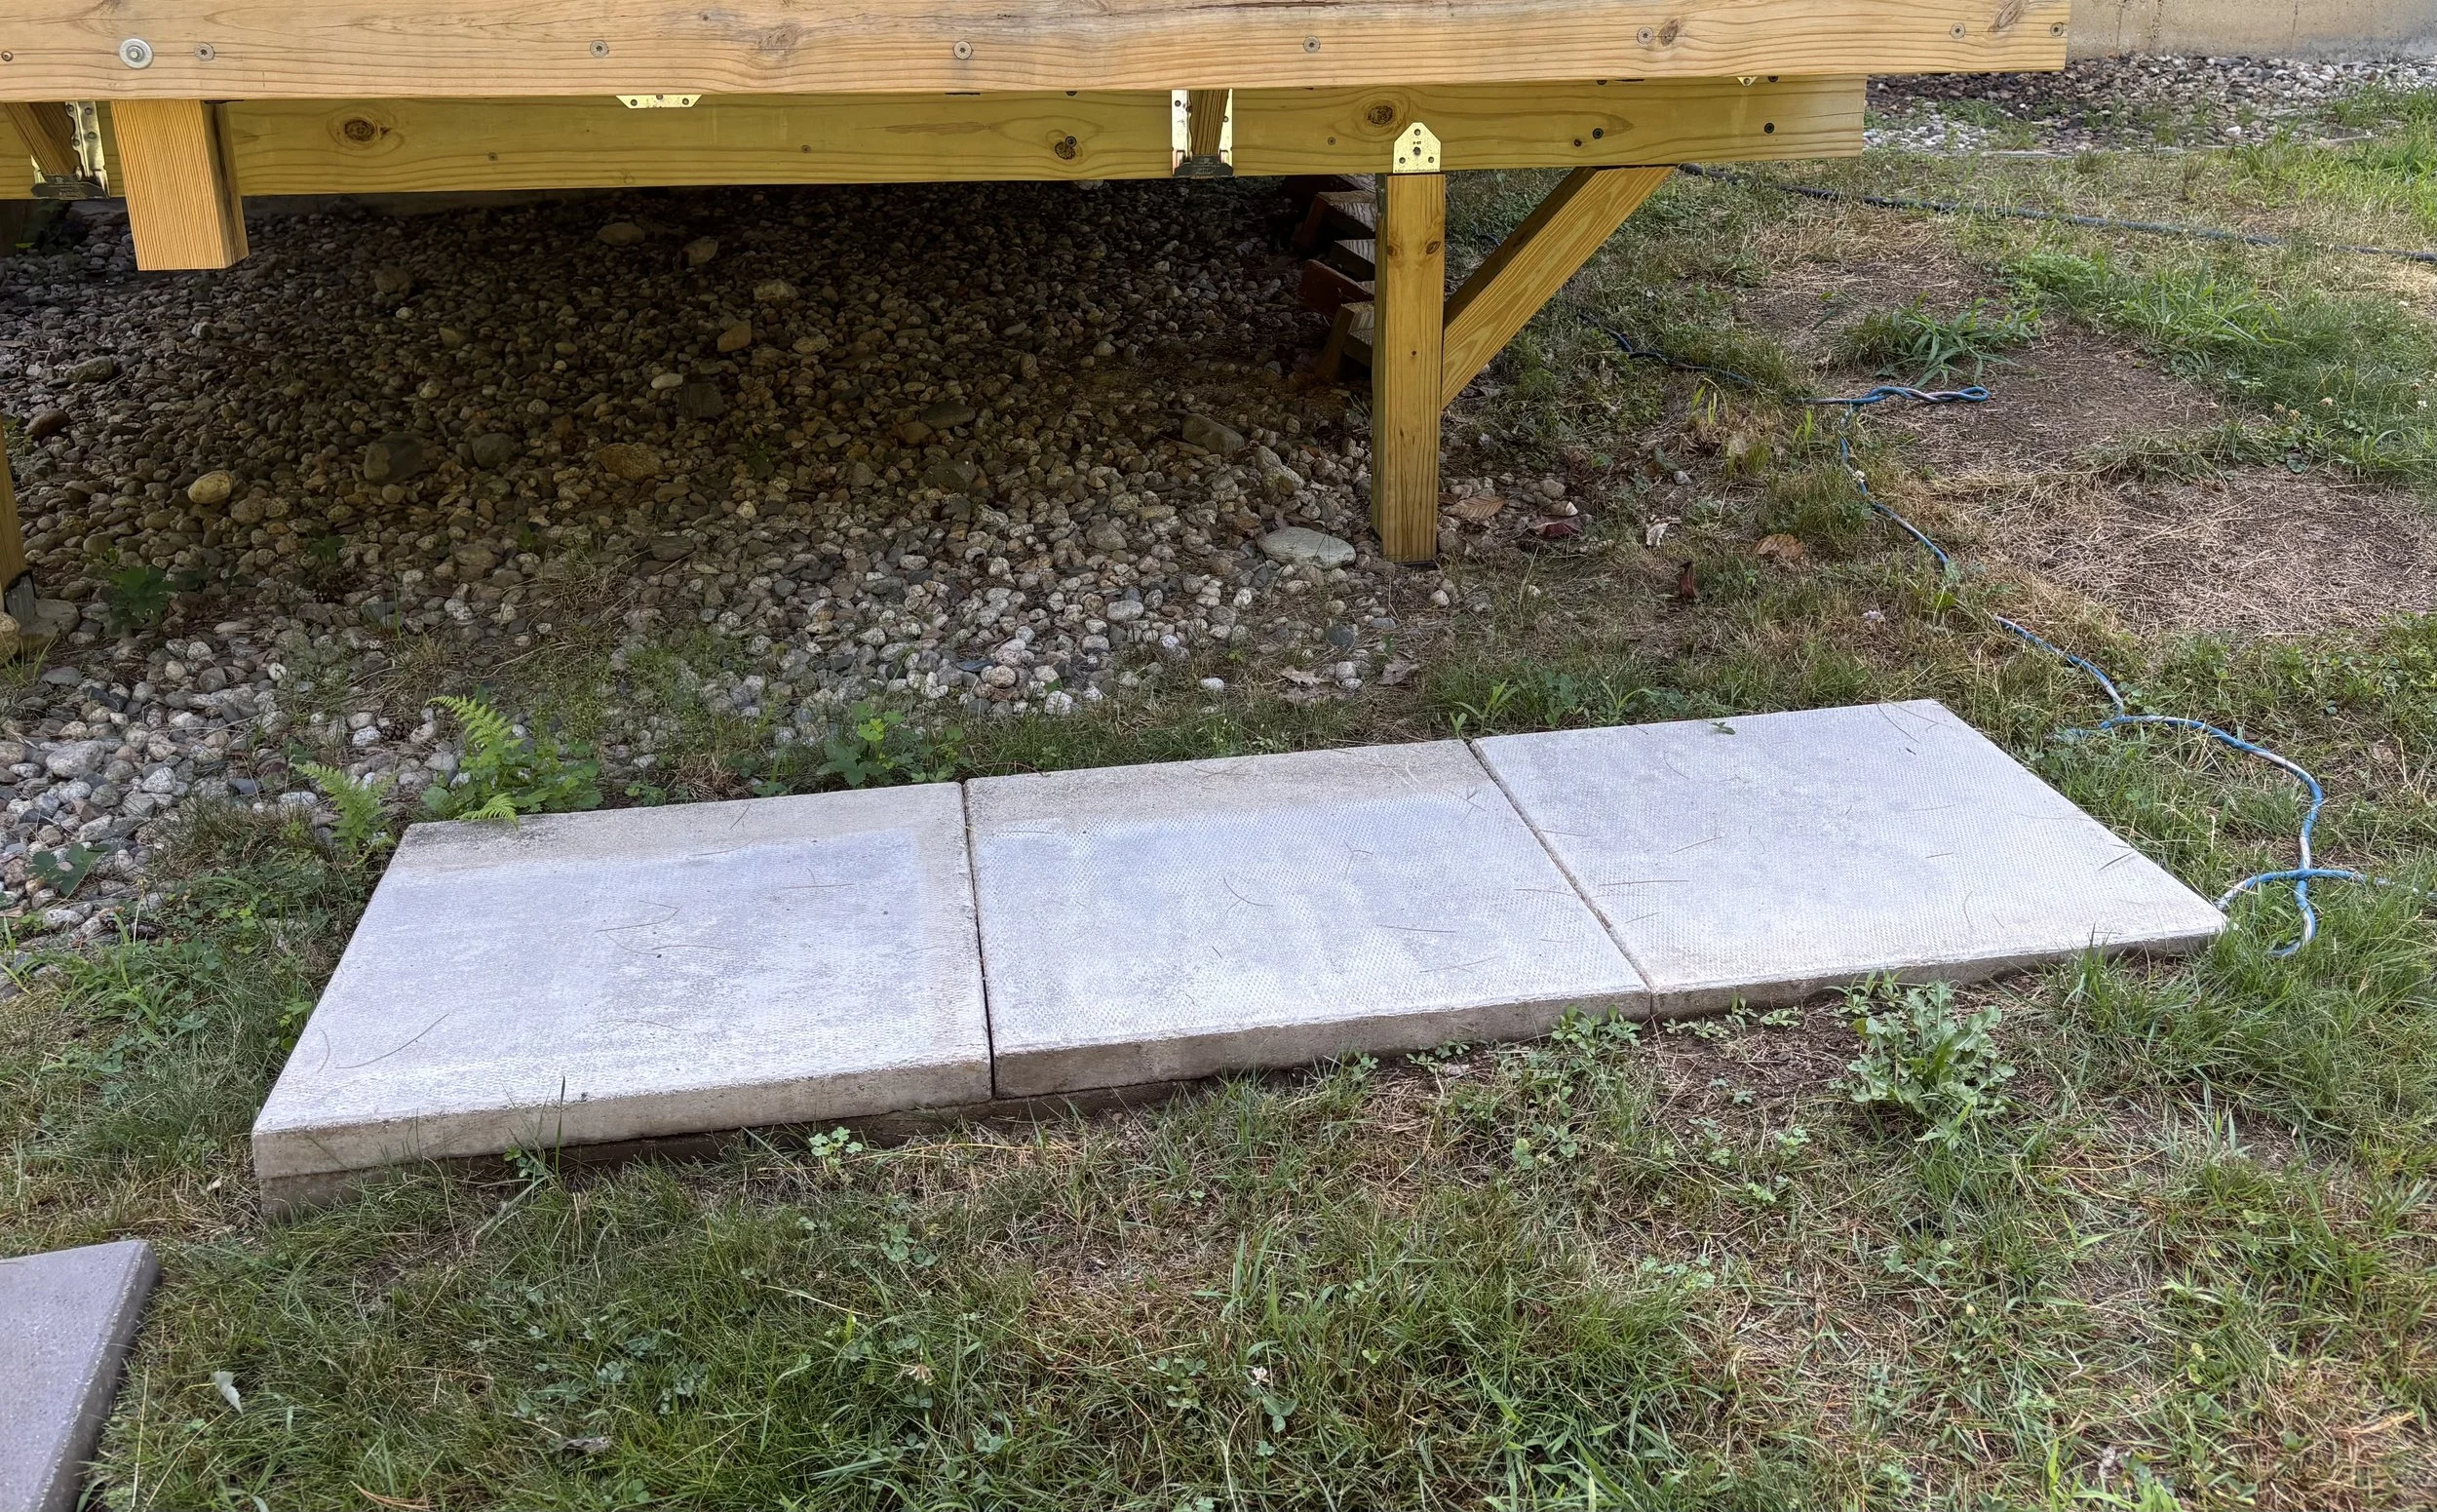
Even though this photo doesn’t look it, these pavers are perfectly level.
First, it’s a good idea to prep the base of where you are going to put your stock tank planter. You can use pavers or gravel, but you want something that will keep the base of the planter from sitting directly against the ground.
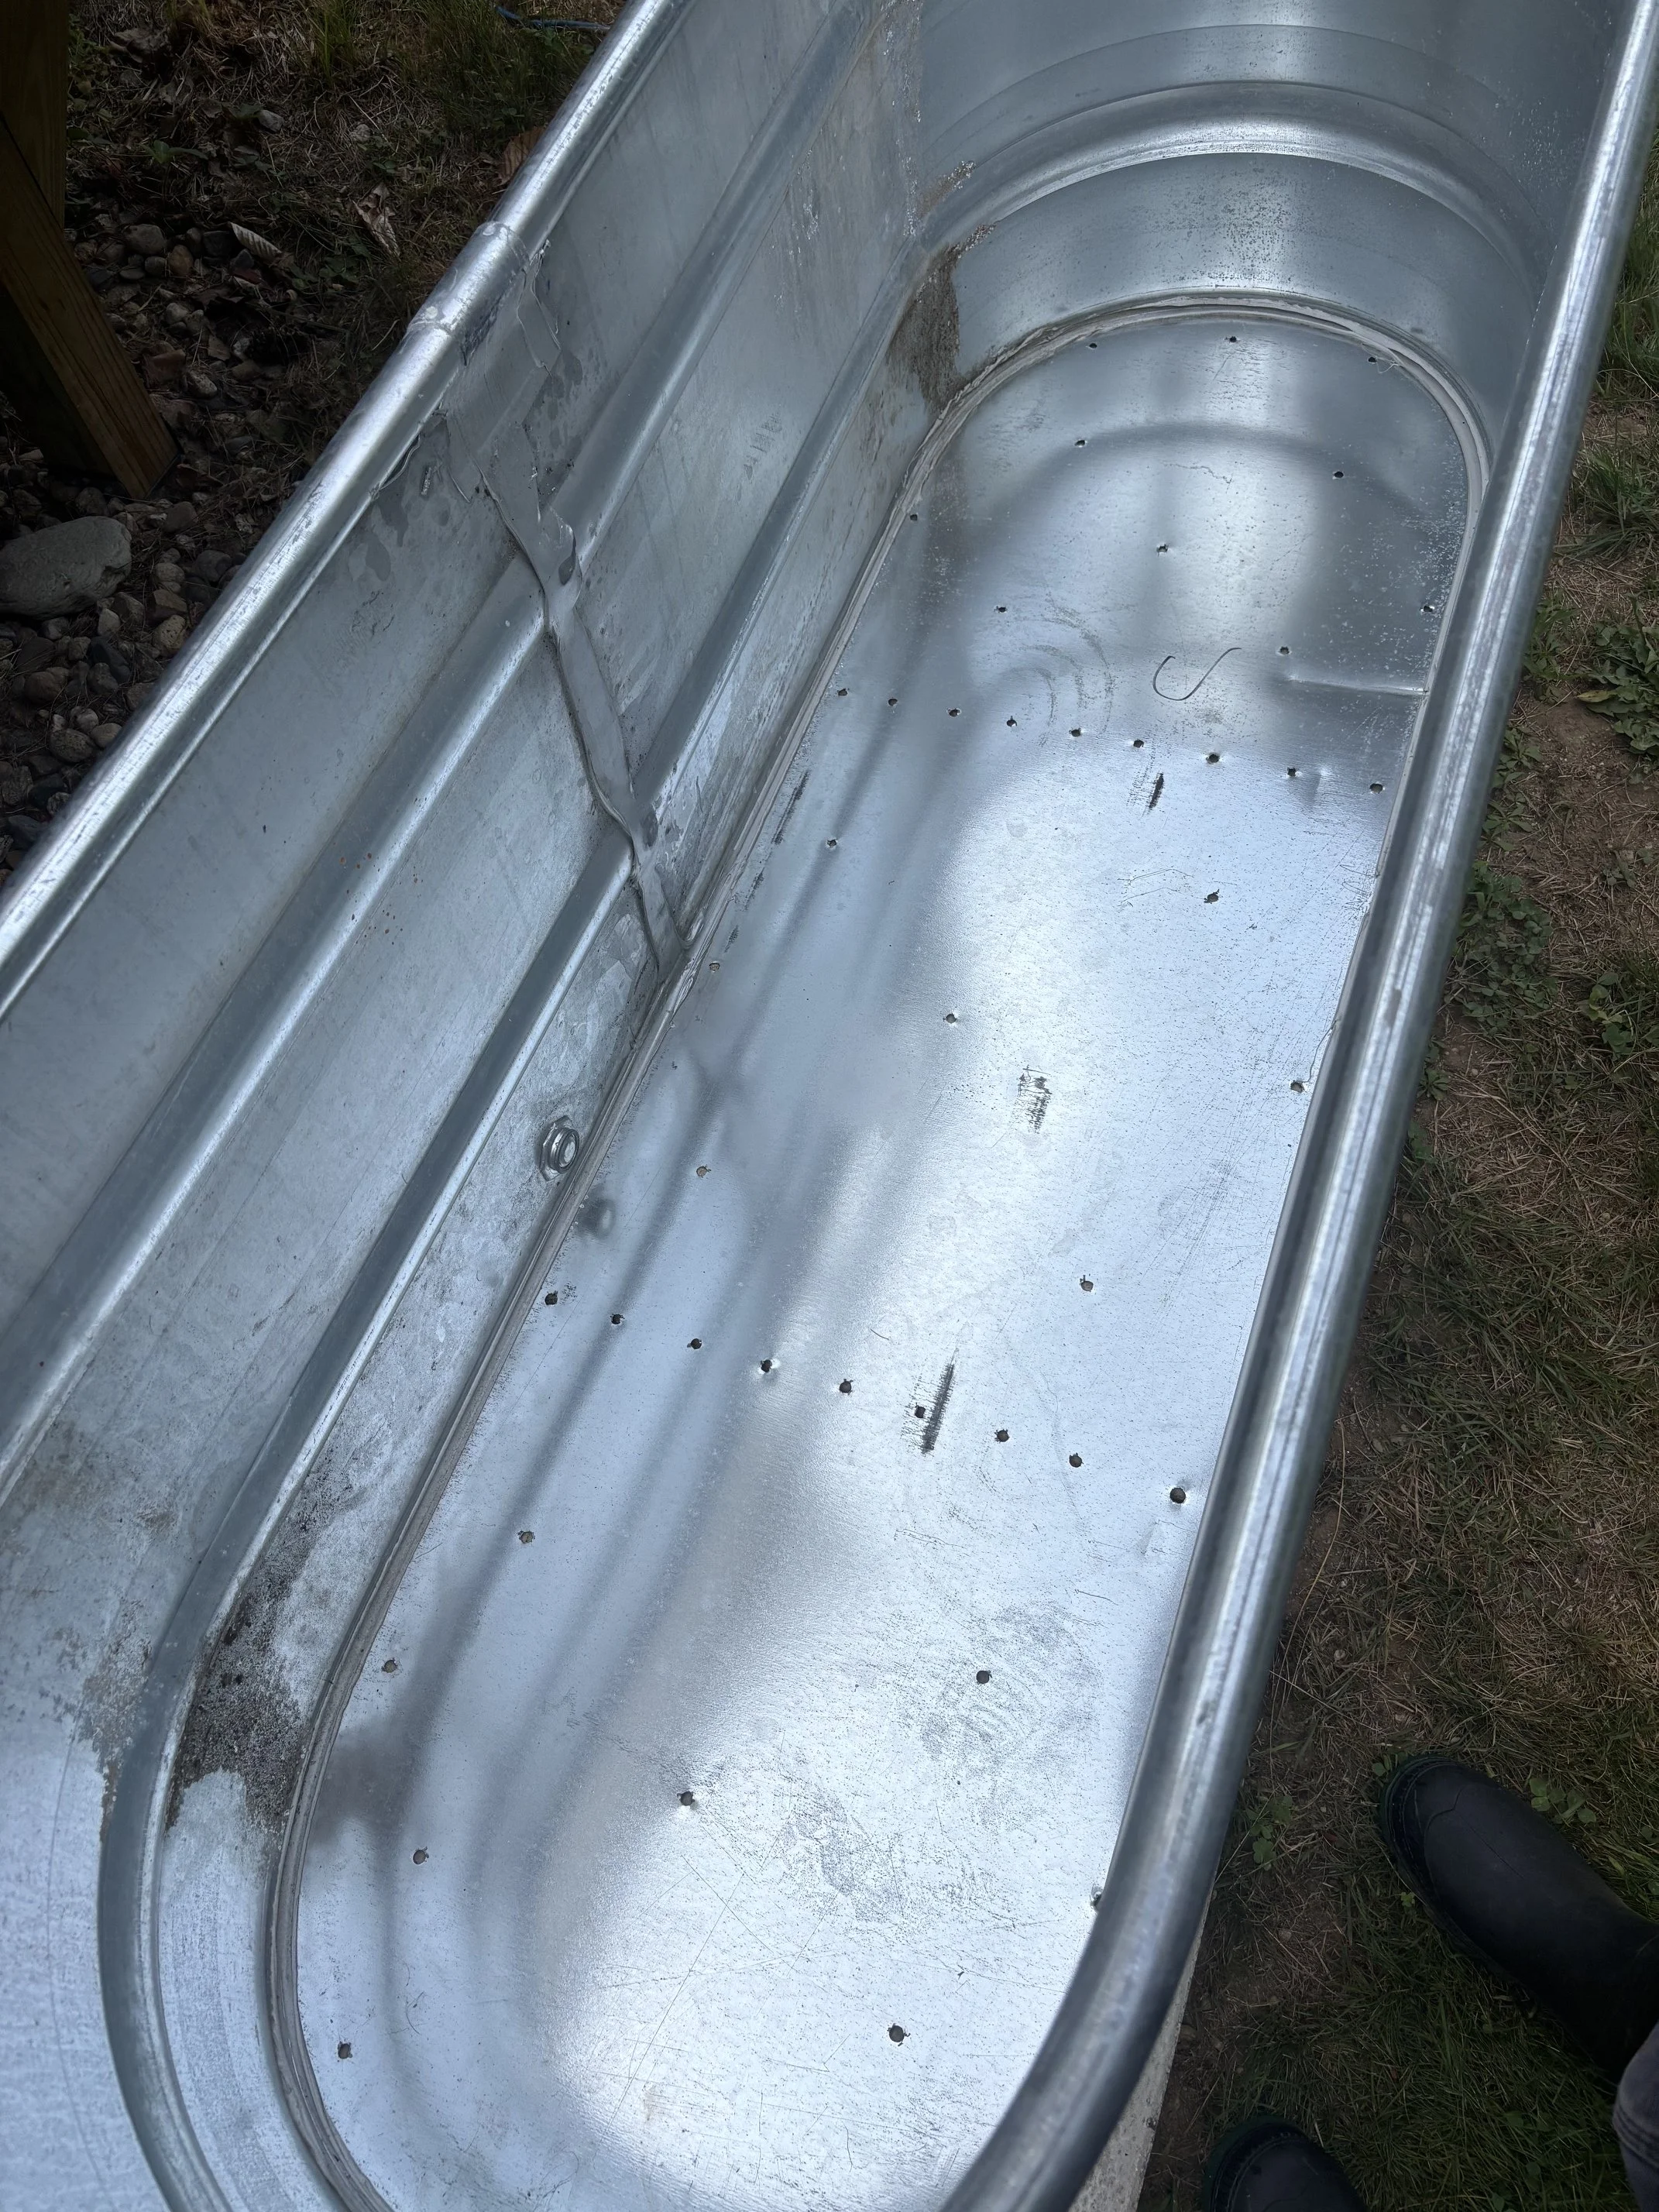
Next you want to flip the tank over and drill a considerable amount of drainage holes across the bottom of it because as a planter, you don’t want it to hold water. In order to keep the galvanized steel from tearing, start with a small diameter drill bit and work your way up in sizes. (I concentrated some of my drainage holes along where the joints of my paver base will be since I know the water will drain better in those areas.)
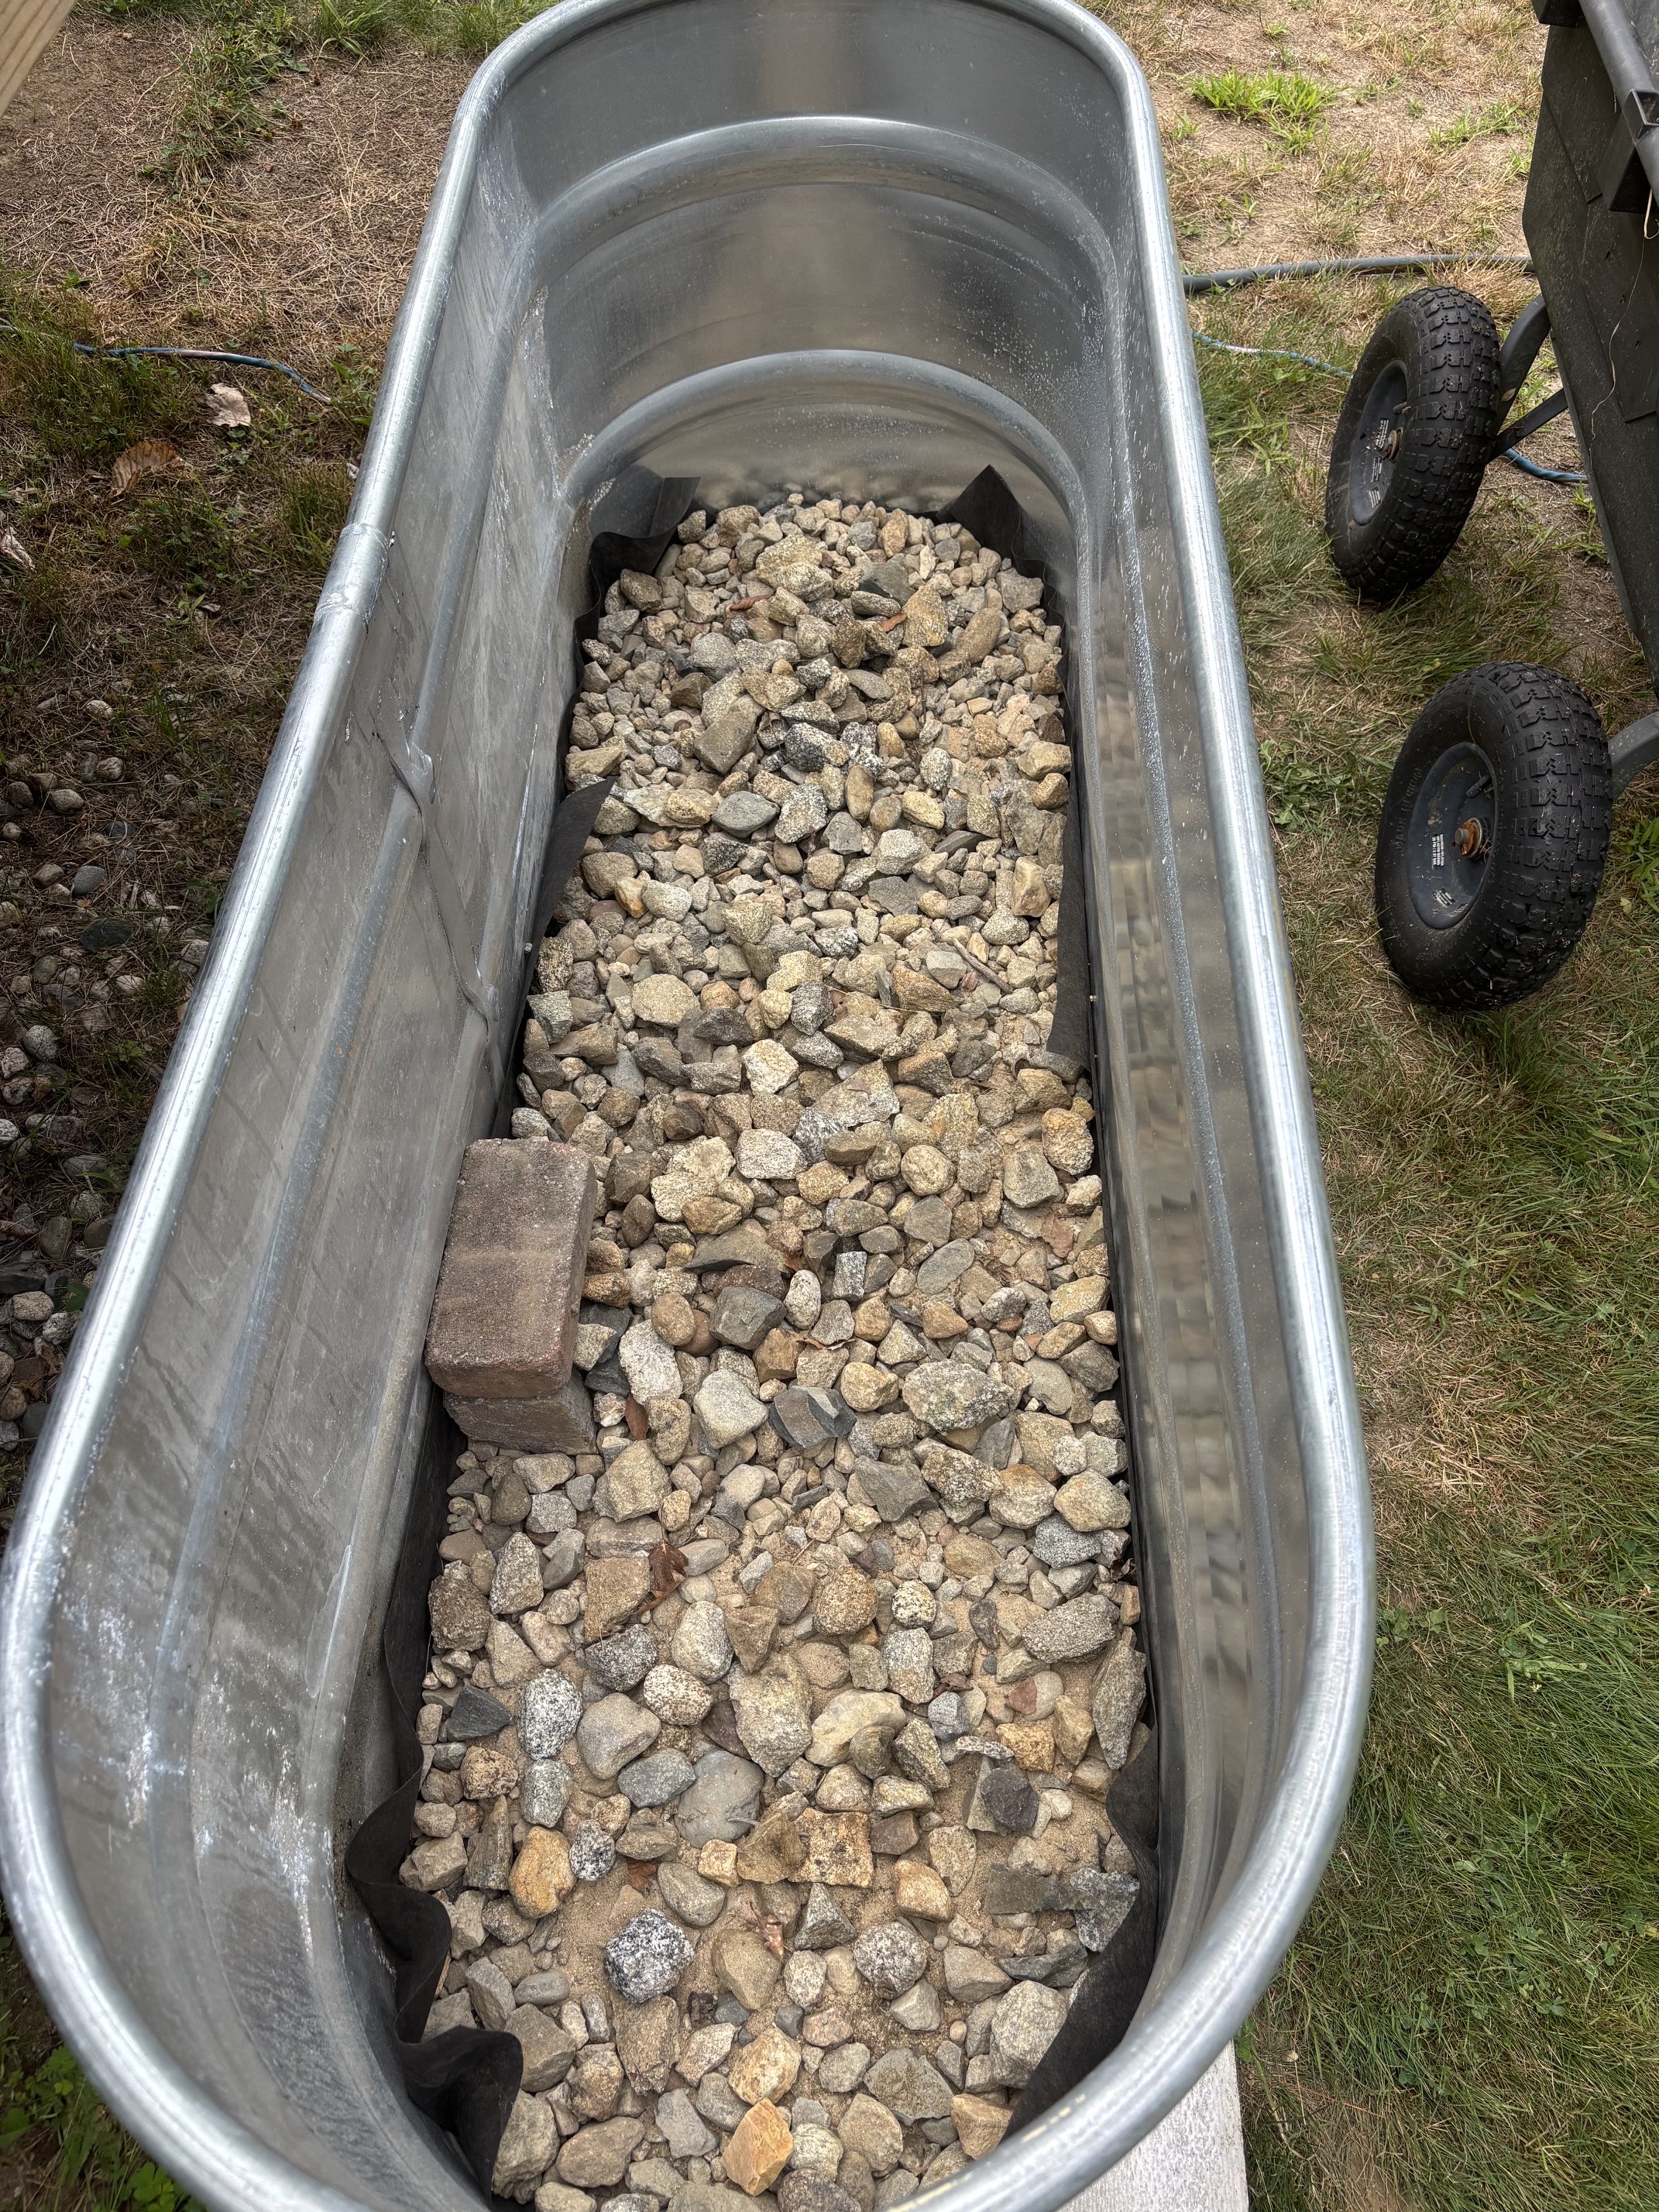
Then line the bottom of the stock tank with weed suppressant fabric to keep soil and sand from filling the holes, and lay down a layer of stones and gravel to help with drainage. Optional: I also built a little “bridge” around the main drain of the tank and put gravel around it to help optimize drainage, just in case we ever need to use it.
Next, it’s time to fill the tank with dirt. We had a lot of old “exhausted” dirt from the previous planters and this was perfect to use to fill in the bulk of the planter.
Once we were about two thirds full, I topped it off with compost and great quality garden soil. (I LOVE this Coast of Maine Raised Bed Garden Soil. It's seriously amazing and my little seedlings got huge and produced so much in just a few weeks.)
Now it’s time to fill with seedlings or plant your seeds! I decided to section off one end with some bricks to make a little herb garden. (Check out our old blog post on how to make these DIY Slate Garden Markers.) I also added a thin layer of cedar mulch to help with water retention.
Enjoy your raised stock tank garden planter!
Feel free to add a little whimsy…
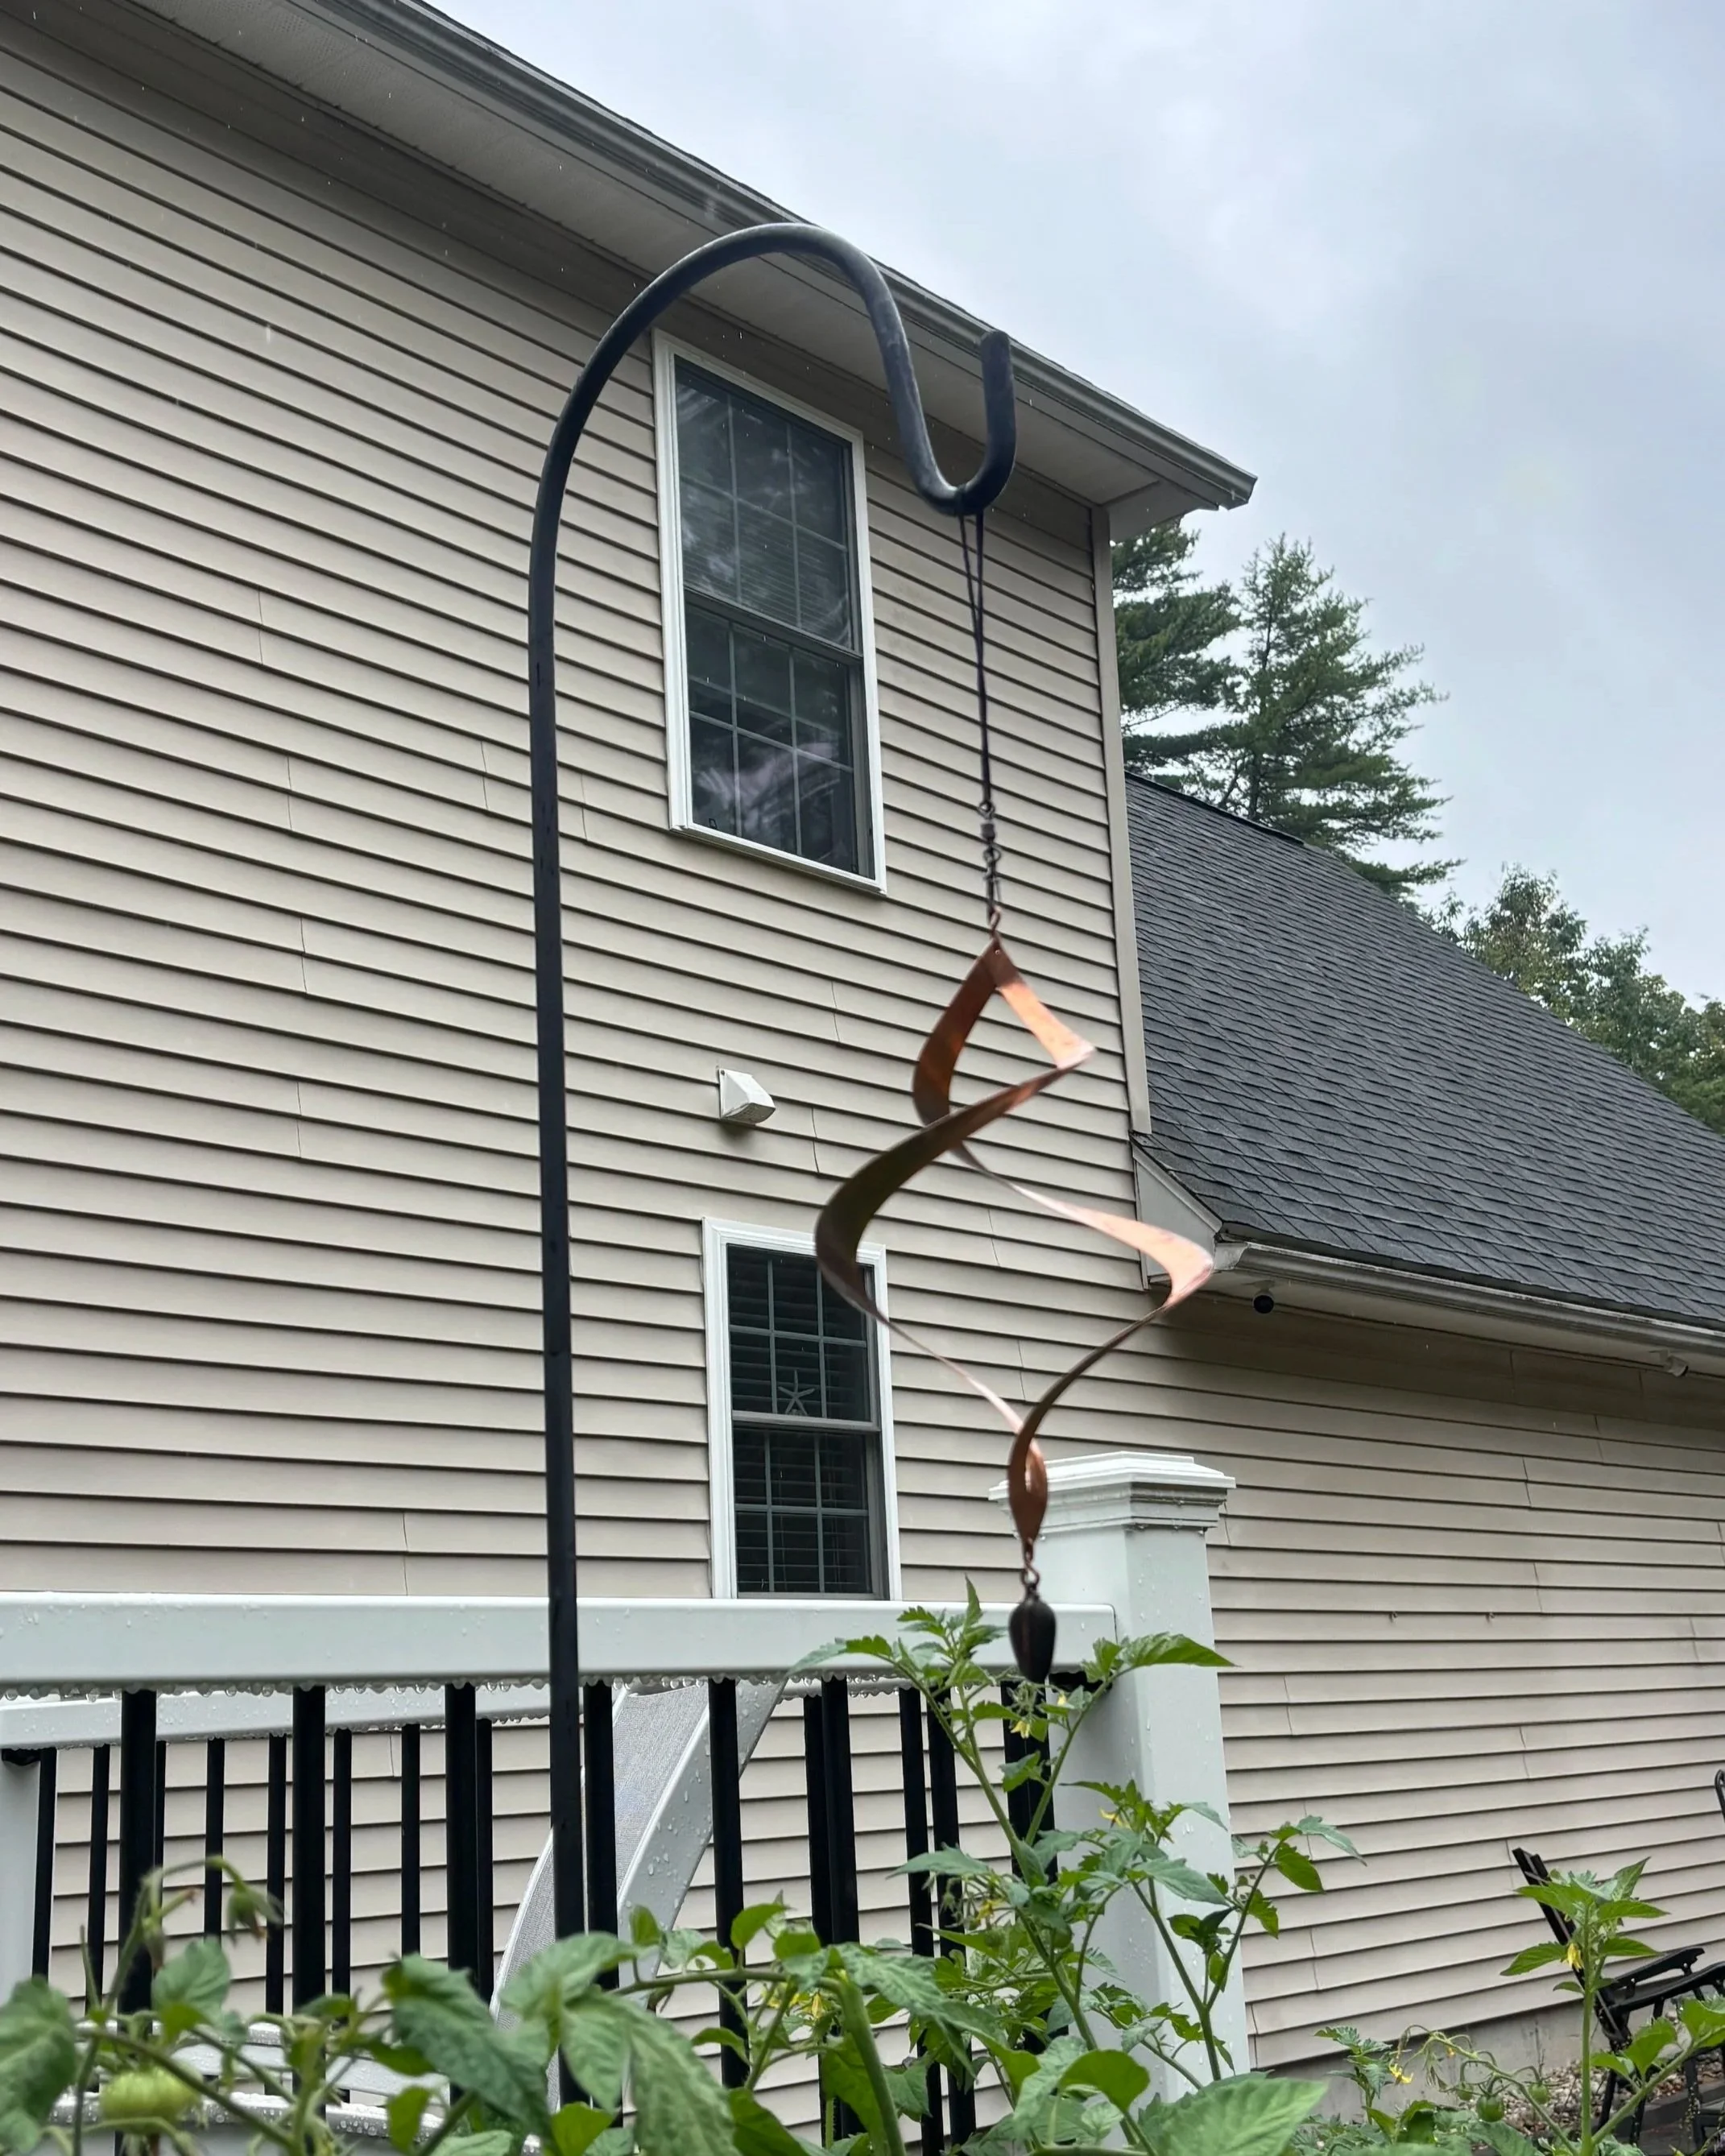
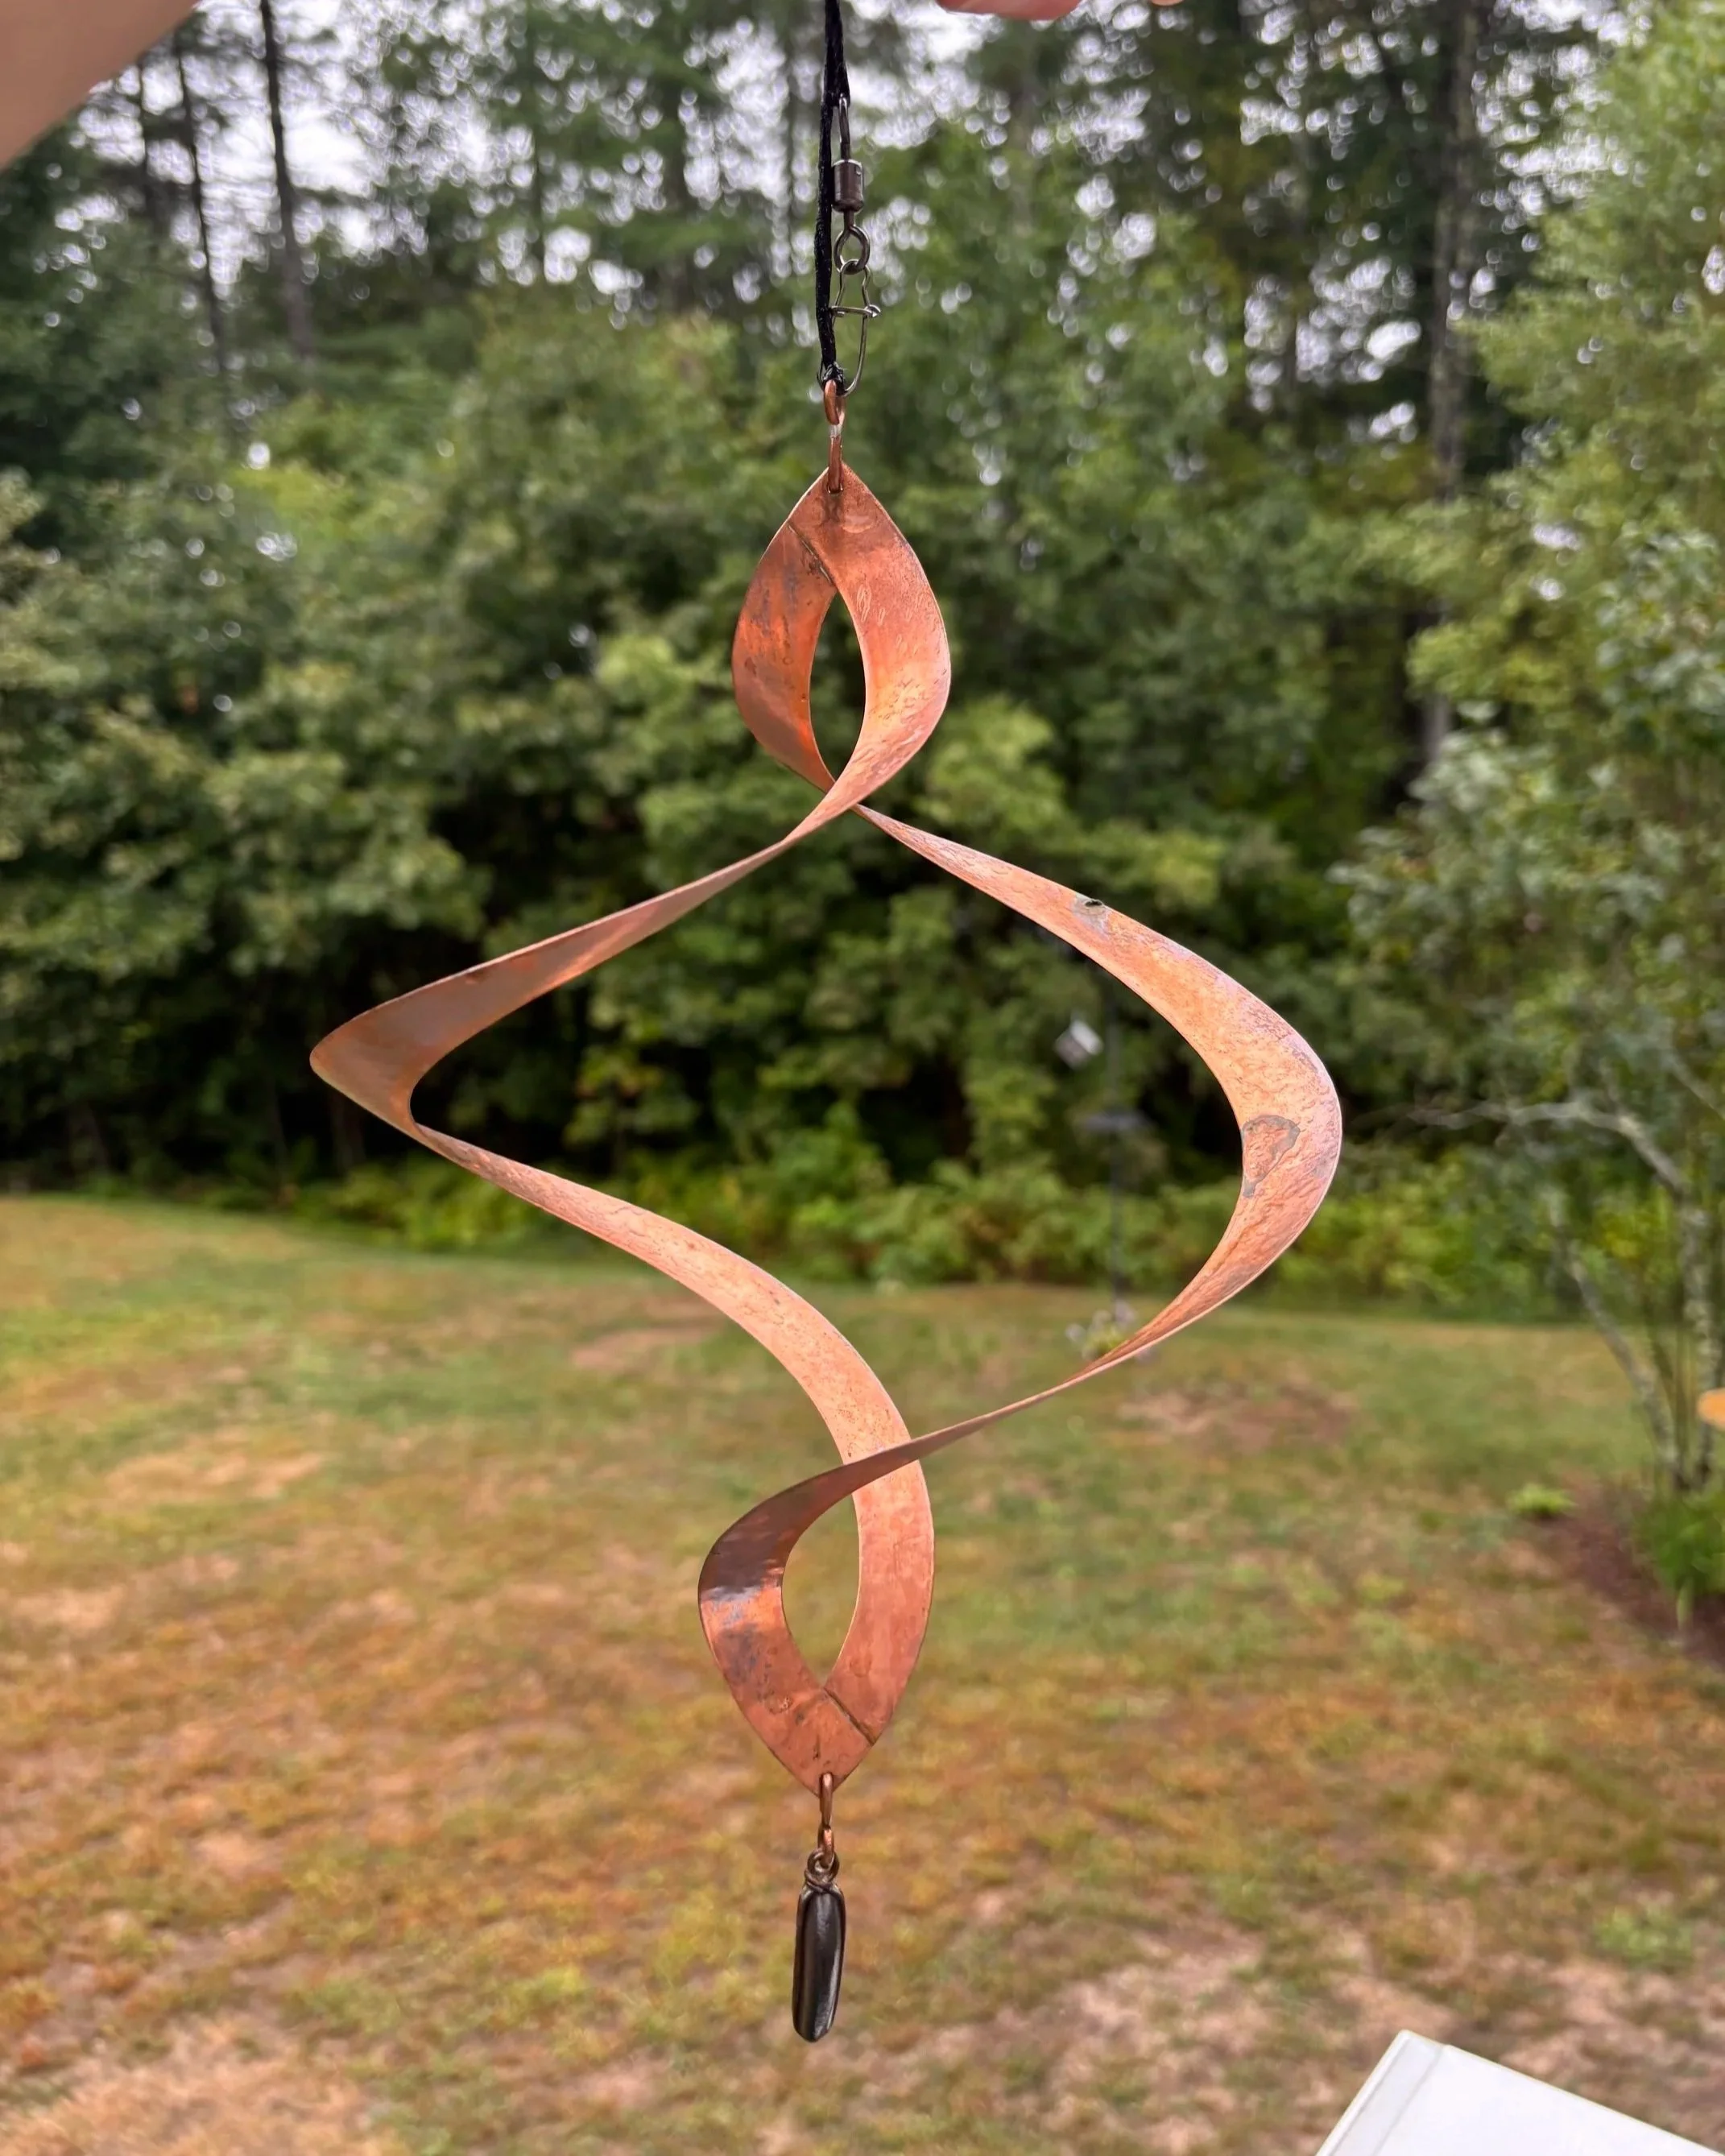
I also added a shepard's hook and this beautifulCopper Kinetic Wind Sculpture I purchased on Etsy. We love watching it spin from the deck and it's a fun way to add some whimsy to this raised planter.
I've been eyeing slate garden markers for our herb garden for awhile now, but buying pre-made ones are soooo expensive and they never have all the varieties I want. So I decided to take matters into my own hands and make my own. Because I have the world's worst handwriting (it's true, ask anyone) I used a Cricut to cut the text for me, but if you have half-decent handwriting you could easily do this project with a paint marker too. | This post contains affiliate links |
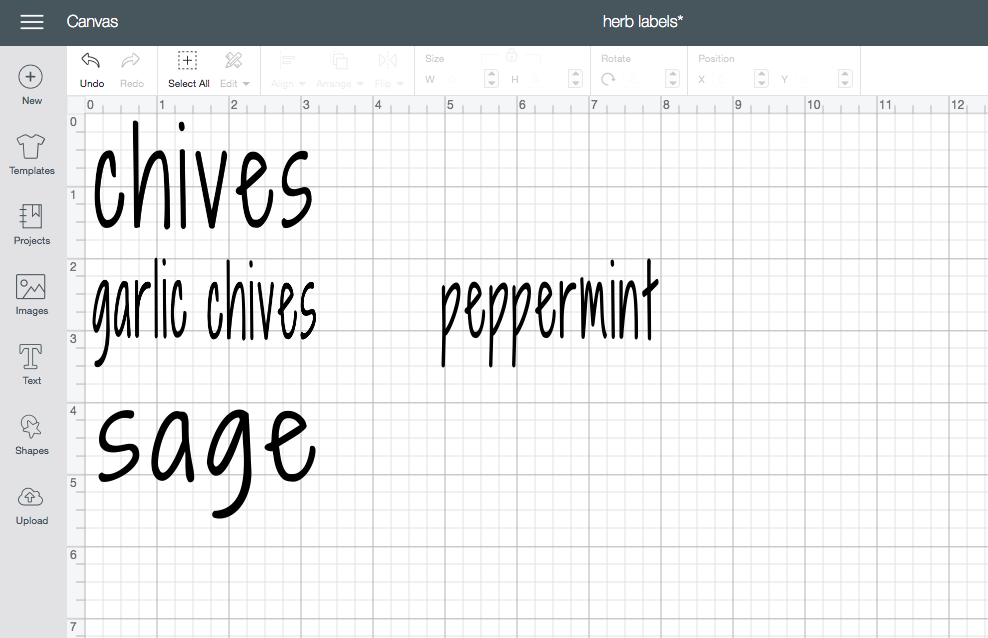
1. If using your Cricut to make the text, measure your garden markers and make each "label" in Design Space the appropriate size. I chose a font with a handwritten feel, but you can use whatever font you prefer. You may need to play around with the scale of the lettering to get it to fit. Use 651 Permanent Vinyl to cut your text.
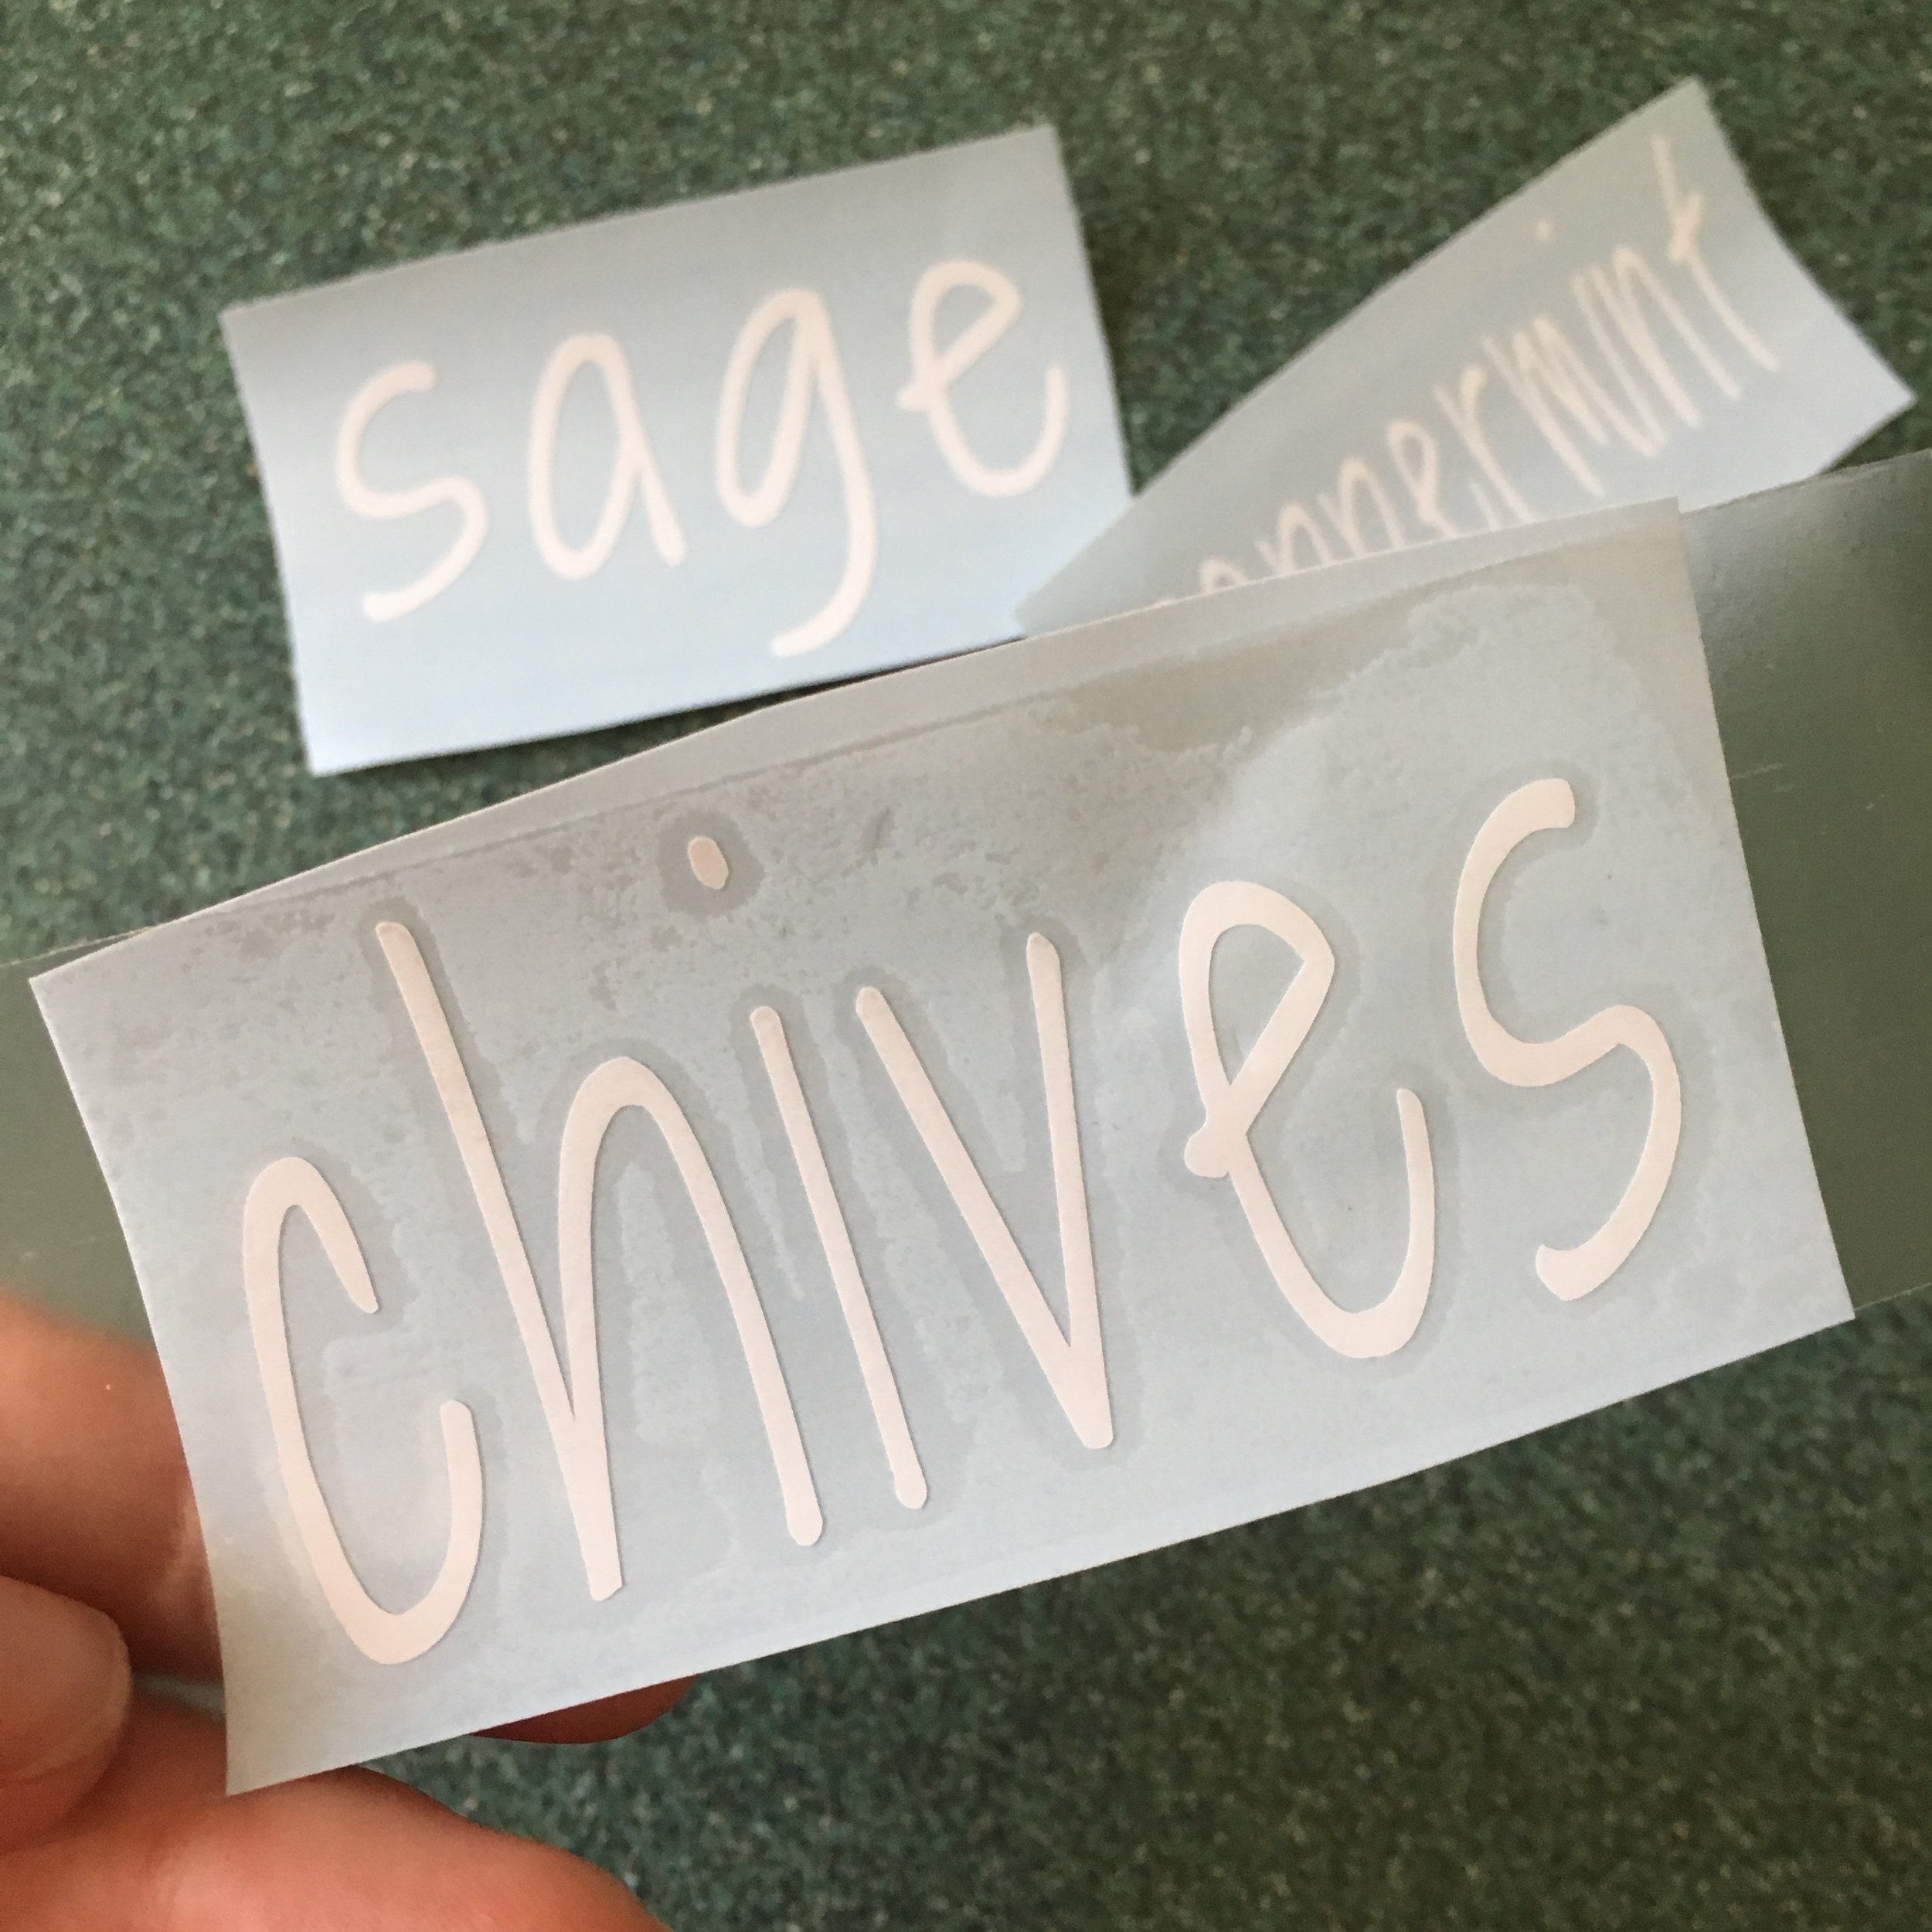
2. "Weed out" your text, removing any pieces of vinyl you don't want to be in your final design. I find a dental explorer to be super useful here to get rid of the pieces inside of letters, but it's not necessary. The finer-point text was definitely a lot harder to weed (which is why you'll notice the dot on the "i" in garlic chives isn't in the right place).
3. Next use contact paper or transfer tape to put over your final vinyl design and rub well to make sure it's on there good. This will "carry" the vinyl once the backing is removed.
4. Carefully peel the backing off your design.. this can be tricky. My advice is to go slowly and have your dental explorer handy if you have one! It can help hold letters down as you peel off the back.
5. Once the backing is removed, carefully place on a clean and dry slate marker. Rub the design on well (I use an old gift card like a squeegee). Once it's on there good, carefully peel off the contact paper. Alternatively: If you don't have a Cricut or want to do this project by hand, you can skip steps 1-5 and just write your text freehand with a white paint marker and allow to dry.
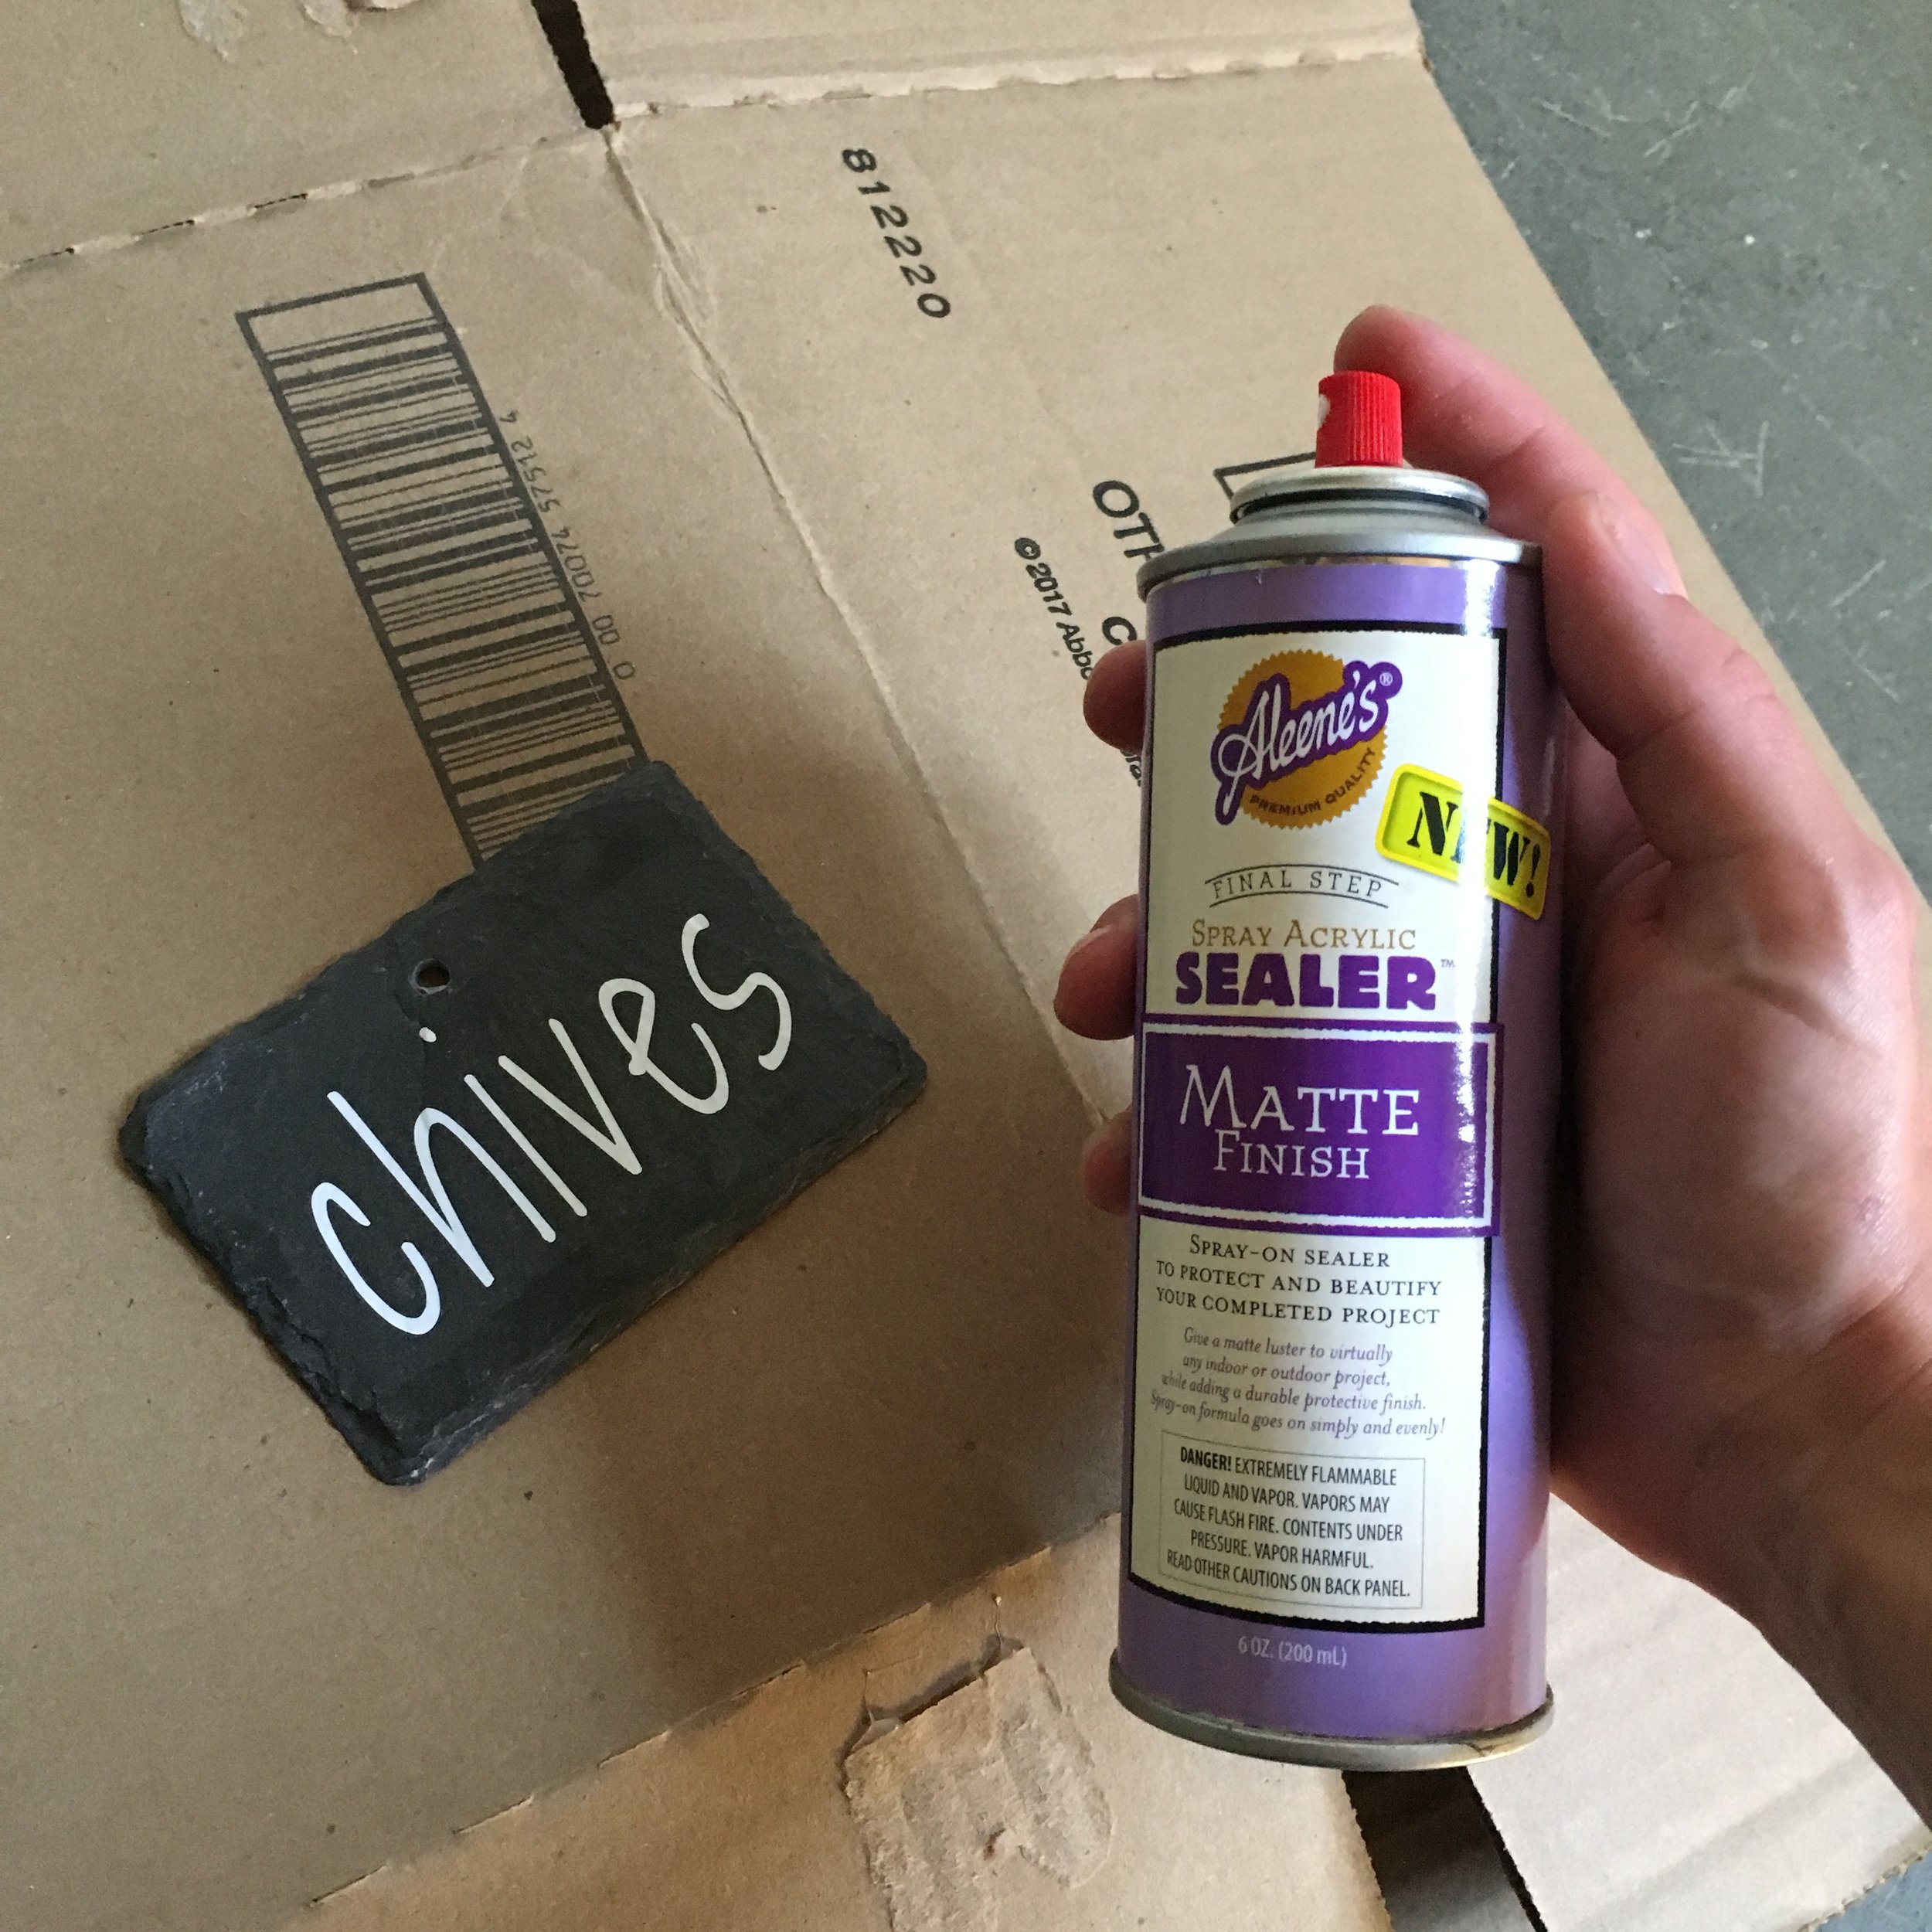
6. To make sure the vinyl doesn't peel or come loose, I use a spray acrylic sealer to seal them. Just put the markers on a scrap piece of cardboard, give a light coating of the spray sealer, and allow to dry (make sure you're in a well-ventilated area). If you used a paint marker instead I would also suggest sealing them.
7. Hang your new garden markers! You can buy special hangers for them if you like, or use sticks and some twine or wire. In my case I wanted them on the barrels in our herb garden so I simply used some thin copper wire and "flossed" it through the slots in the barrel, tying it off with a large washer at the back so they don't pull through.
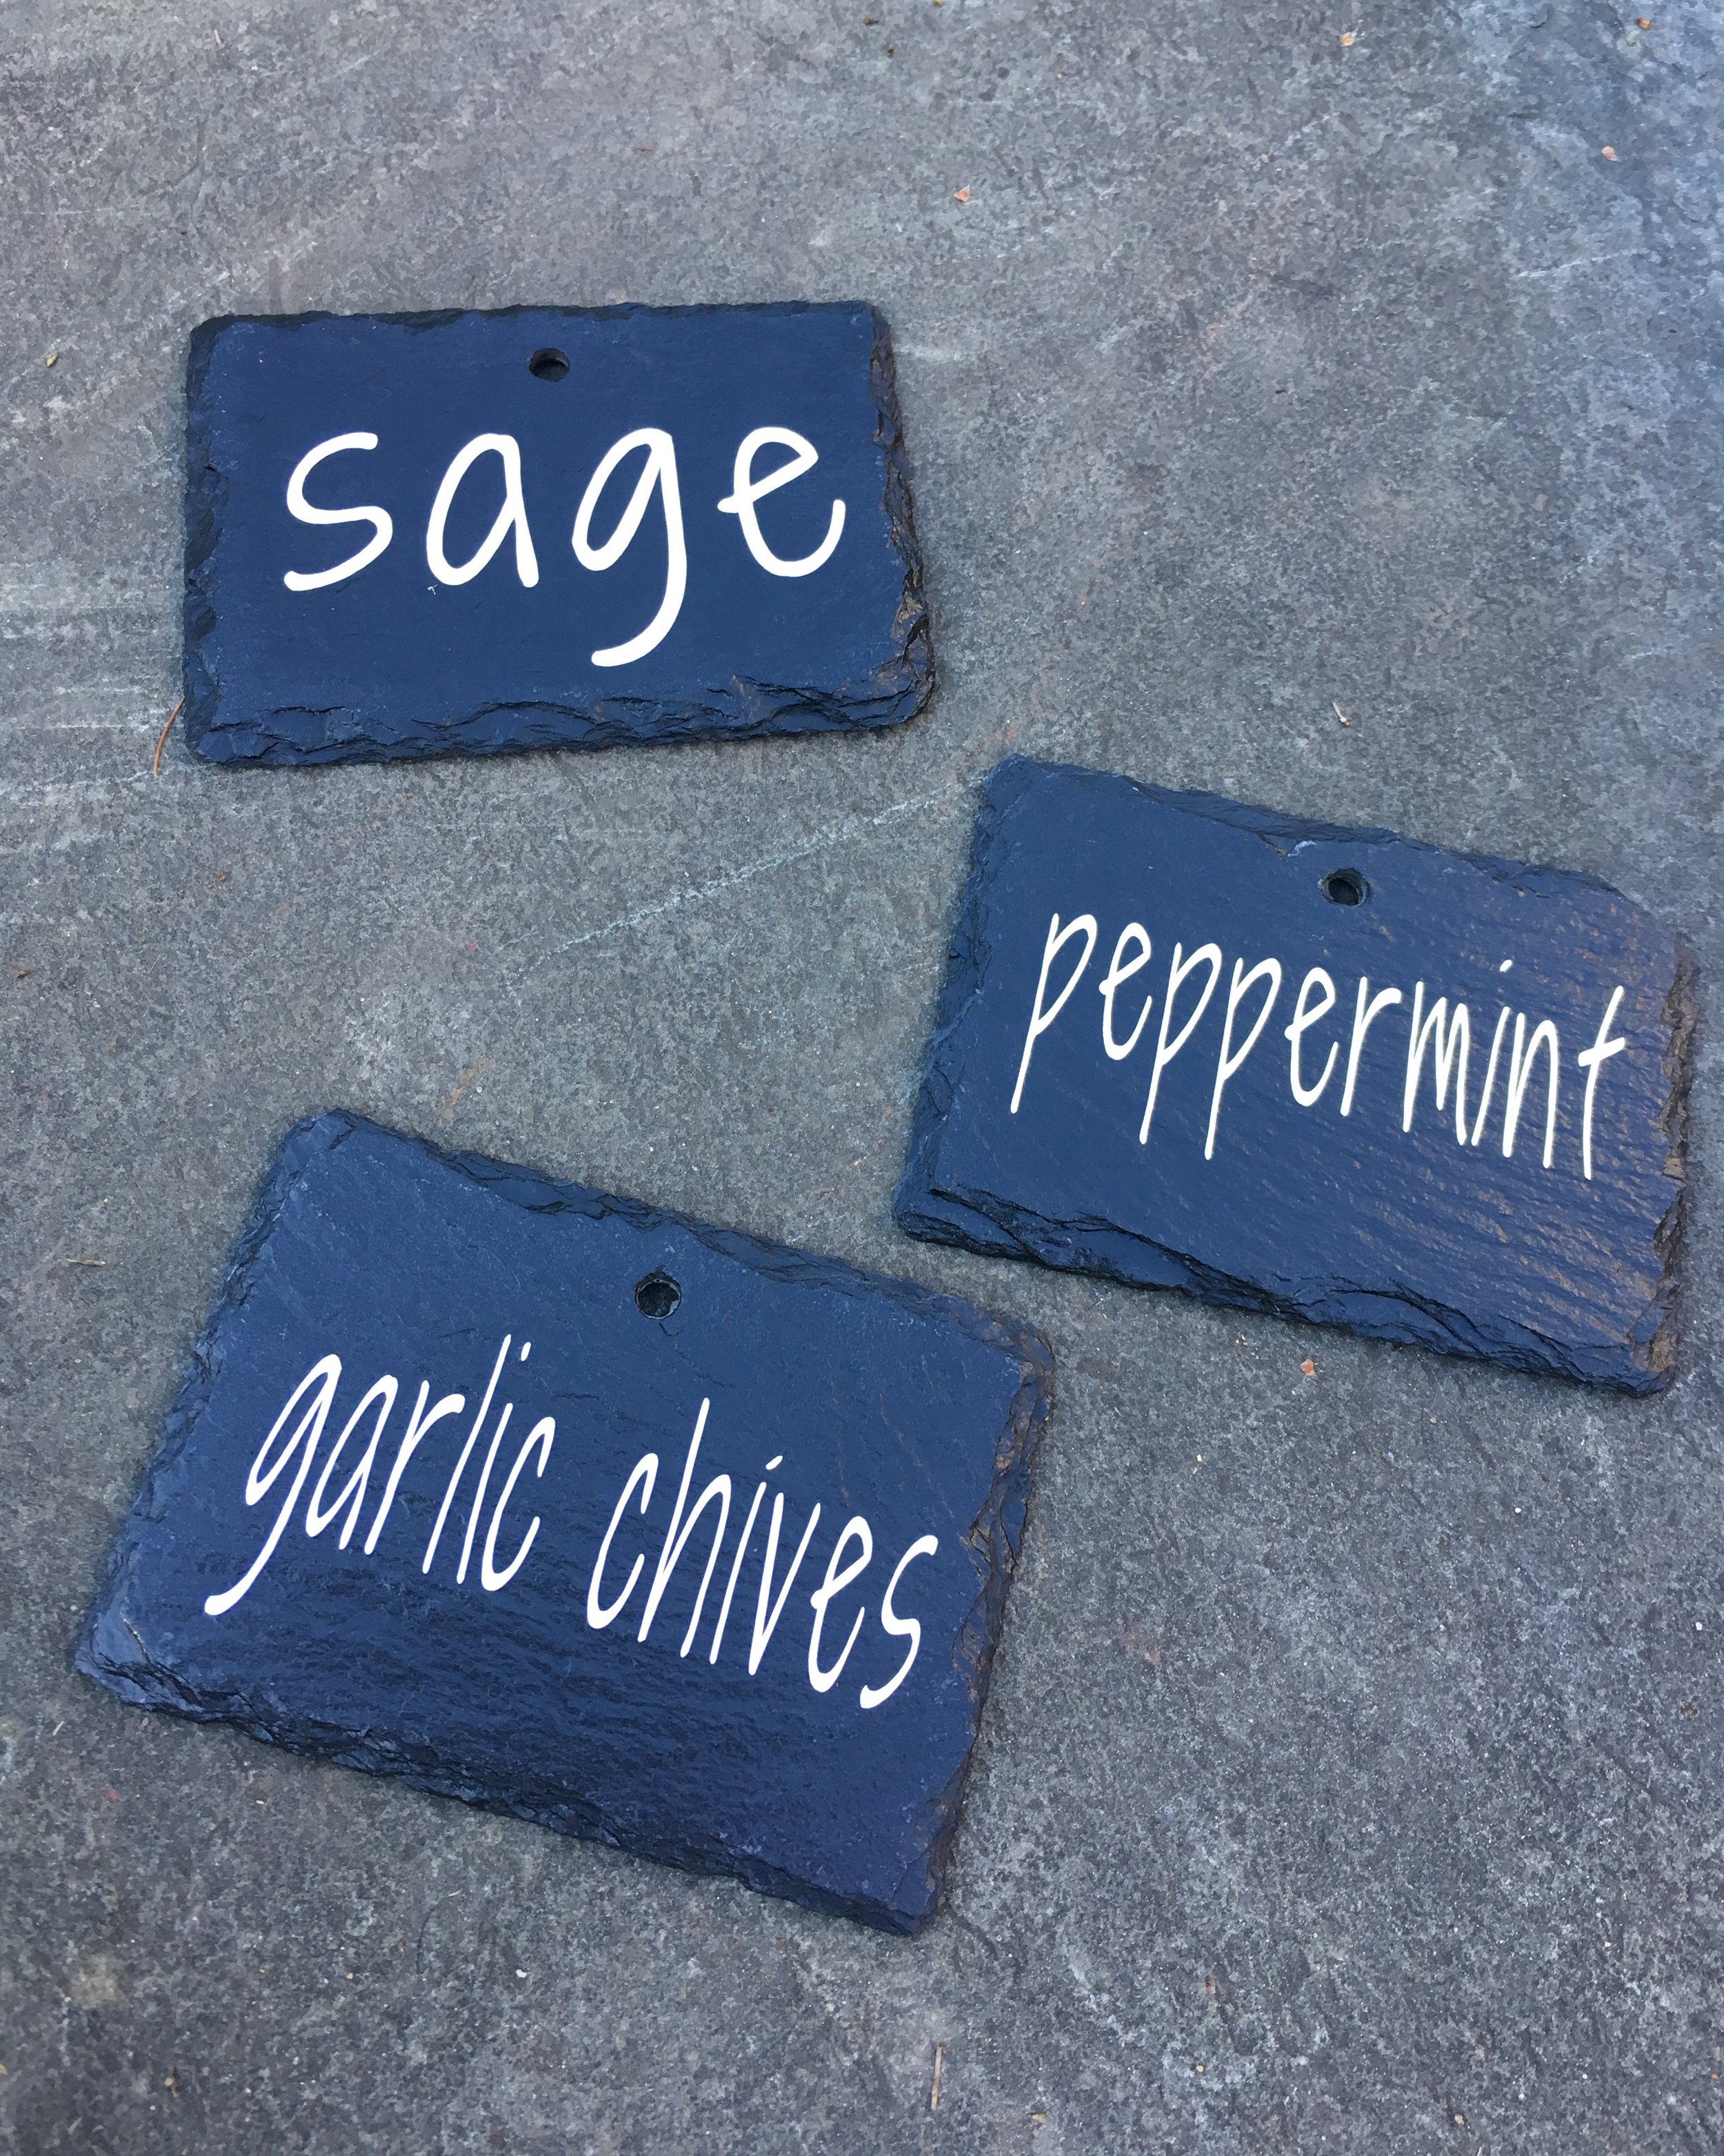
It has been SOOO abnormally hot in New England these past few weeks that my herb garden isn't looking too wonderful at the moment (hence the limited "after" pictures). We have six wine barrel planters on a small patio; four of the planters have perennial herbs (chives, garlic chives, sage, and peppermint) that come back each year and the other two planters I switch up each summer. Currently my poor plants are a bit sun-stressed and I'm far behind on weeding, but I hope you'll get the idea of the final install below. I think it really helps finish the space and I love that things are finally labeled.
EDIT Spring, 2020: Just wanted to hop on here and add that I’ve left these up year-round on our herb barrels since 2018 and they still look great! No fading or peeling with the sun or snow. The slate with the permanent vinyl labels and sealer have definitely held up wonderfully.
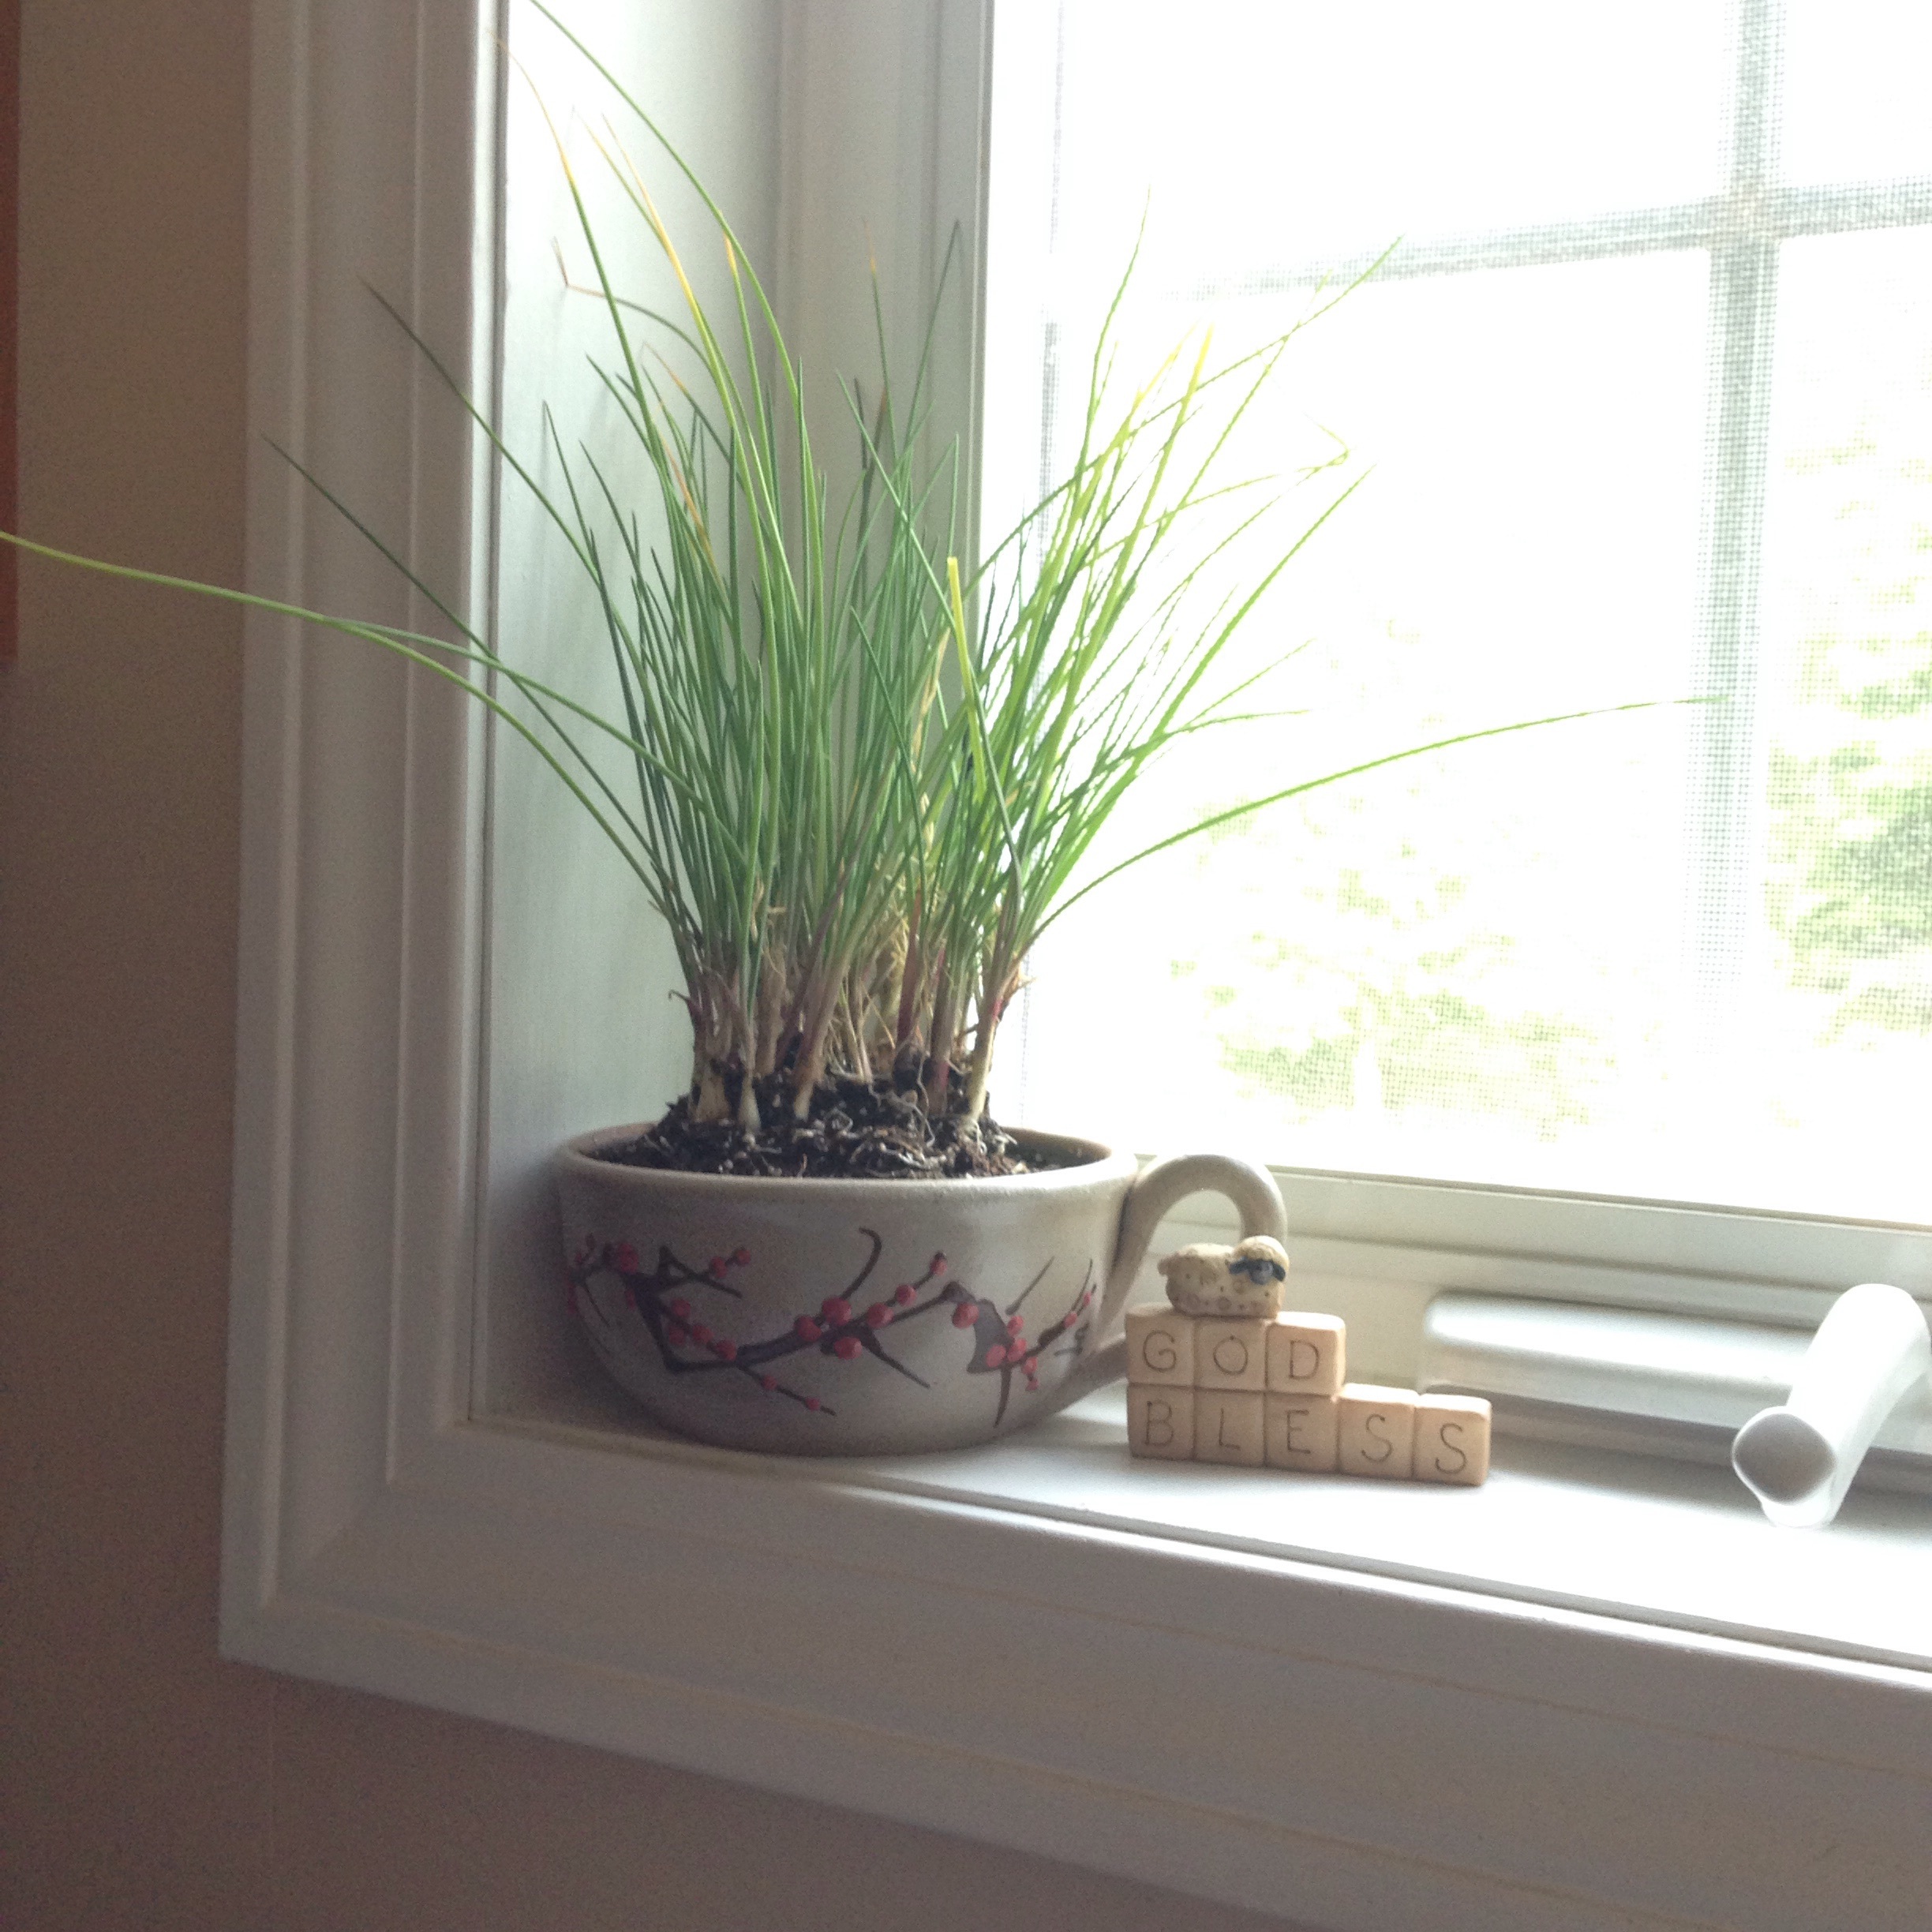
Ever have a favorite mug but the handle broke? :( Well that very thing happened to this great Salmon Falls Chowder Mug I have. I superglued it back together and while the repair looked pretty good I didn't dare trust it to hold a piping hot cup of soup or coffee over my lap anymore. I was thinking of tossing it but decided to repurpose it into a little herb planter for the kitchen instead.
The first step was to fill the bottom with some gravel so my herbs won't sit directly in water. Alternatively, you could drill a hole in the bottom for drainage and put a saucer underneath, but since I don't have anything to put under the mug that matches I decided to use it as-is.
Then I filled it with dirt and added an Italian Chive plant I picked up at the local garden center and it was done! (Pretty easy, right?) Depending on the size of your mug and your plants, you could add more than one type of herb in it. You could also grow your herbs from seed.
Now I just need to keep it on a sunny windowsill and water it very carefully as needed. Keep in mind since there's no drainage hole at the bottom and it's a small container, it would be very easy to over-water a plant like this.