Easy DIY Book Rails

In our daughter's small bedroom, space is at a premium.  We try hard to make the most of the space and keep the floor as open as possible to help the room feel a little bigger and give her more area to play.  On one wall of her room, there is a very shallow nook I wasn't sure what to do with but wanted to make it an efficient use of space.  After some thought, I decided building some custom book storage would be the perfect solution.  

DIY Book Rails, Book Ledge, Storage.  Kids Room / Nursery

Materials:  

IMG_8626.JPG
  • 1x3 boards

  • 1x2 boards

  • screws

  • wood glue

  • spackle

  • level

  • painters tape

How-To:  

1.  Cut the wood the desired length of the rail shelf.  You will need two 1x3 boards and one 1x2 board for each rail.  

2.  Line up the boards as shown below (the wide ones on the bottom and back, and the narrow one at the front).  Pre-drill, then glue the edges, and secure with wood screws.  

IMG_8625.JPG
IMG_8641.JPG

3.  Once it's dried and secure, spackle the screw holes, let dry, and then apply 3 coats of paint (I used semi-gloss trim paint).  

IMG_8752.JPG

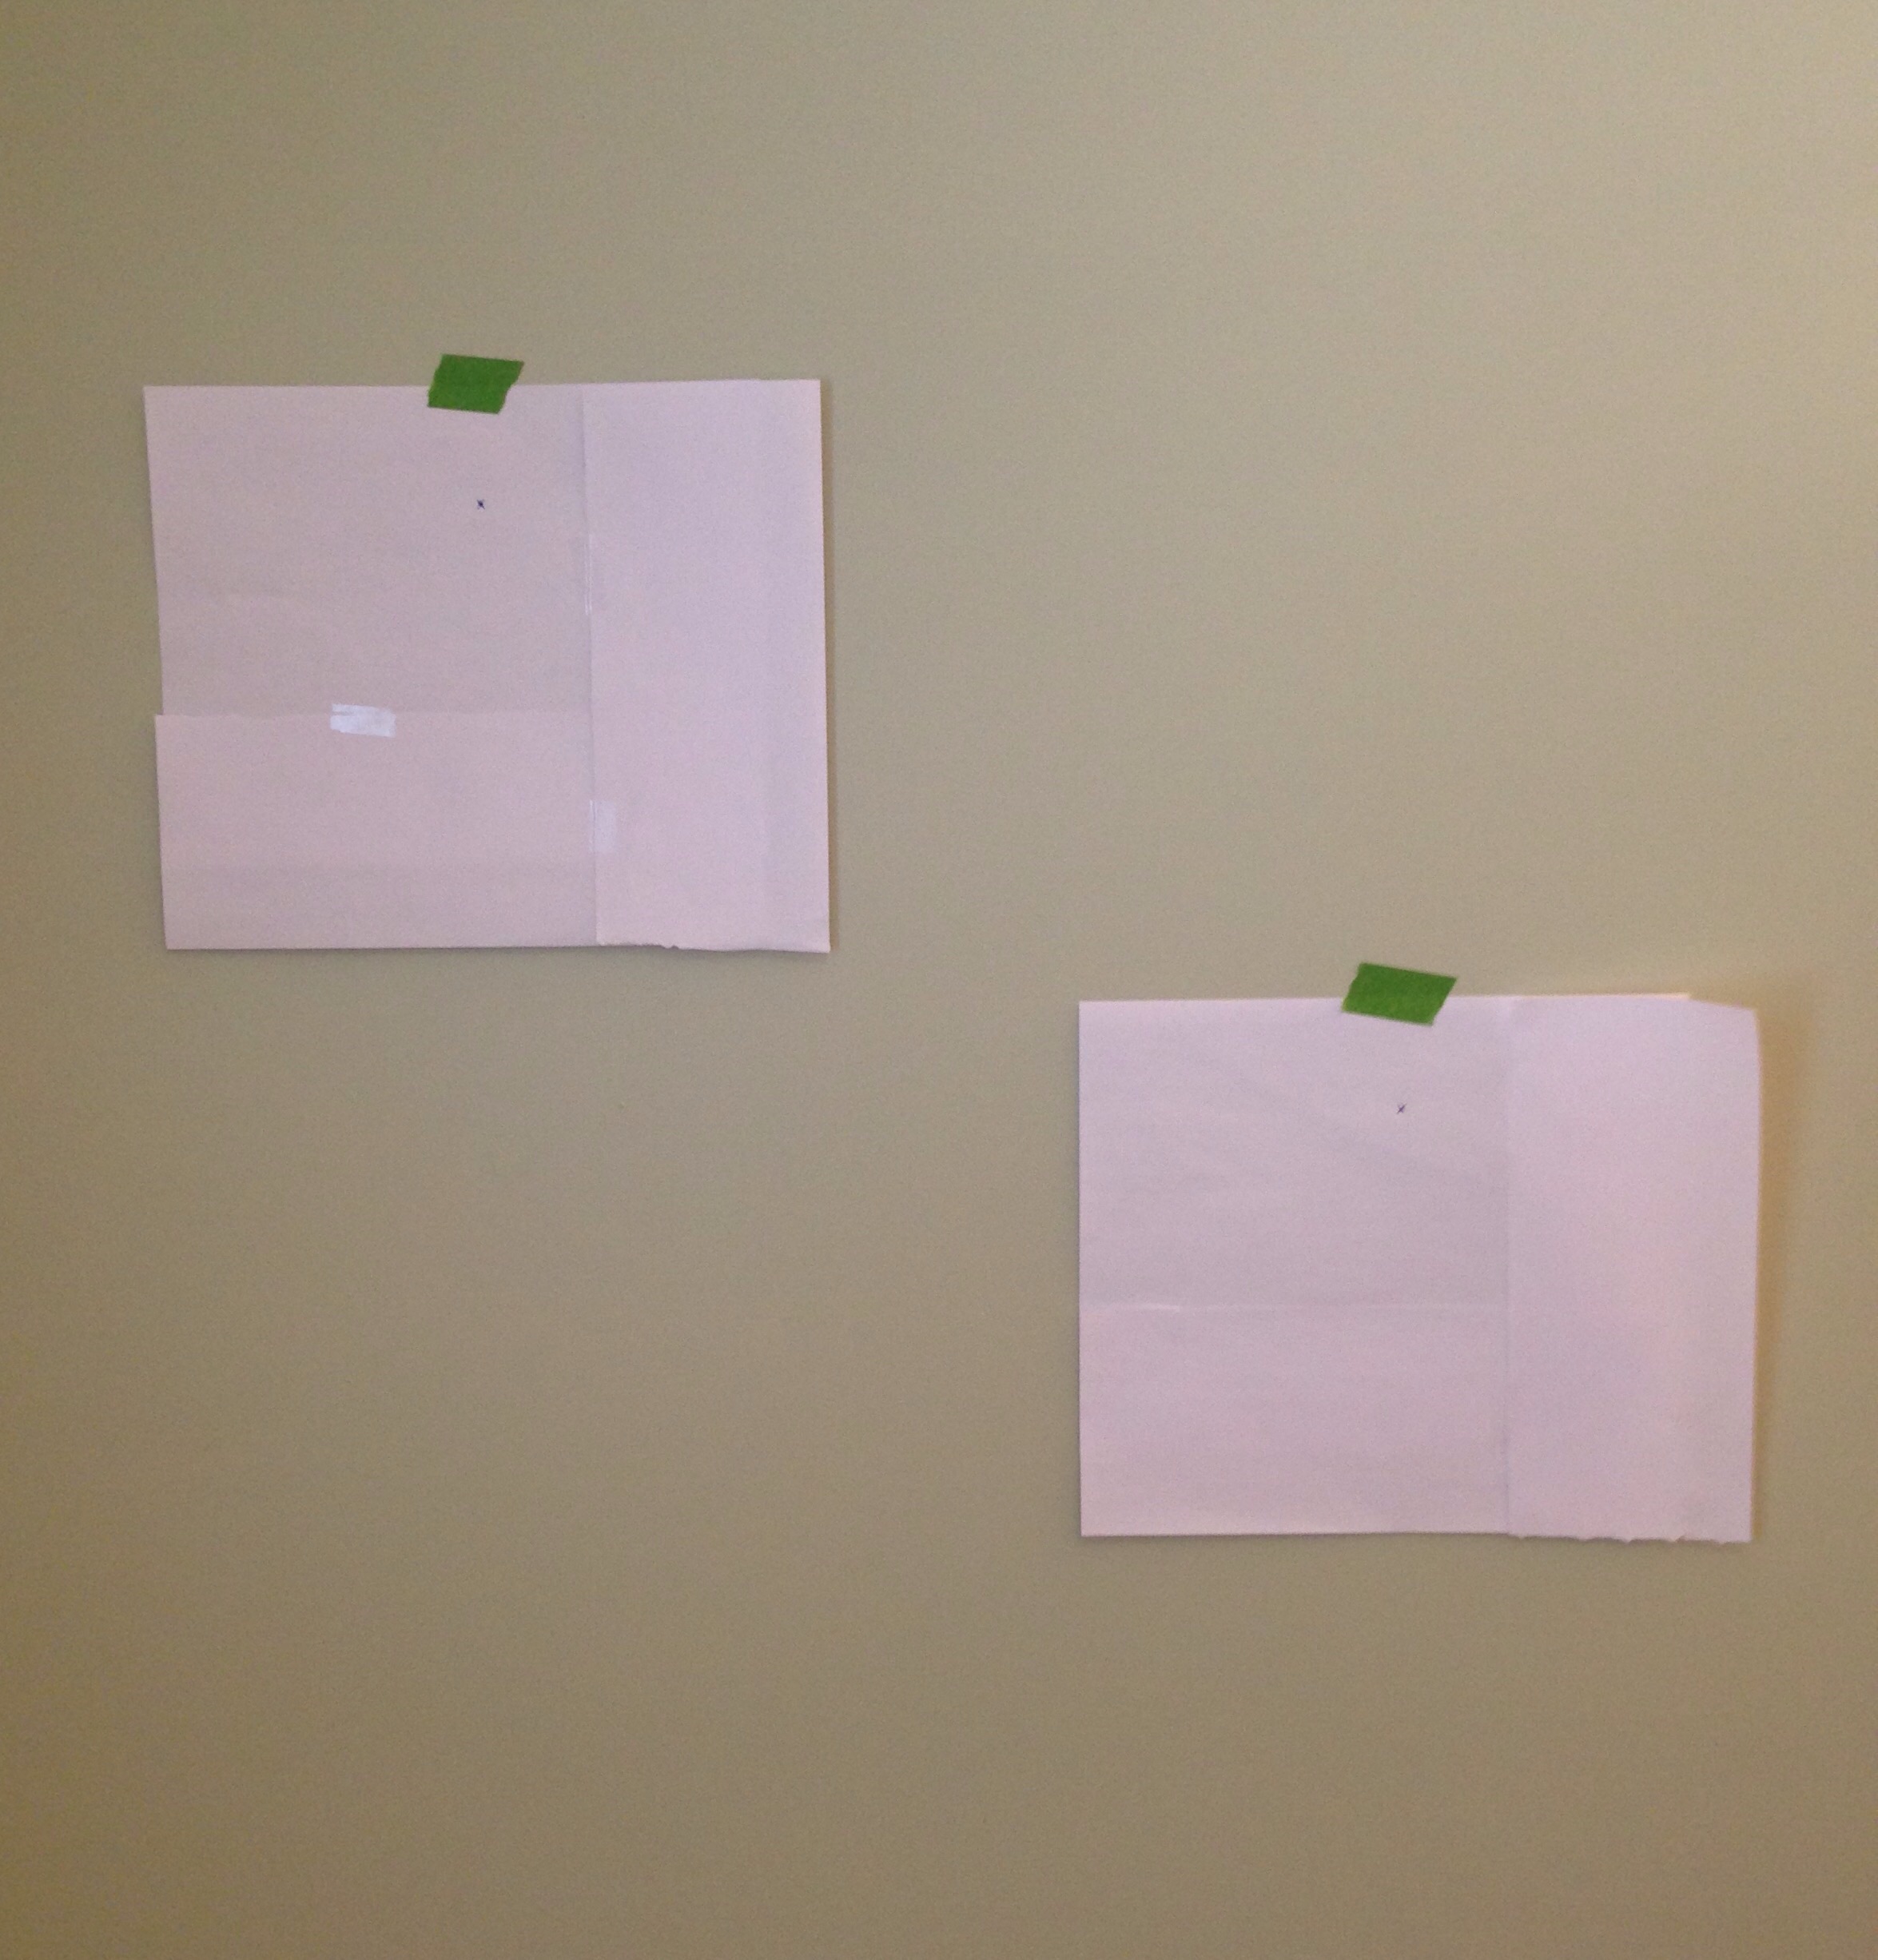
4.  Next mark the location of the studs and the approximate spacing of the book rails.  I could have easily put three rails in this space but I didn't want our toddler trying to climb it like a ladder, so I decided to only do two.  

IMG_8764.JPG

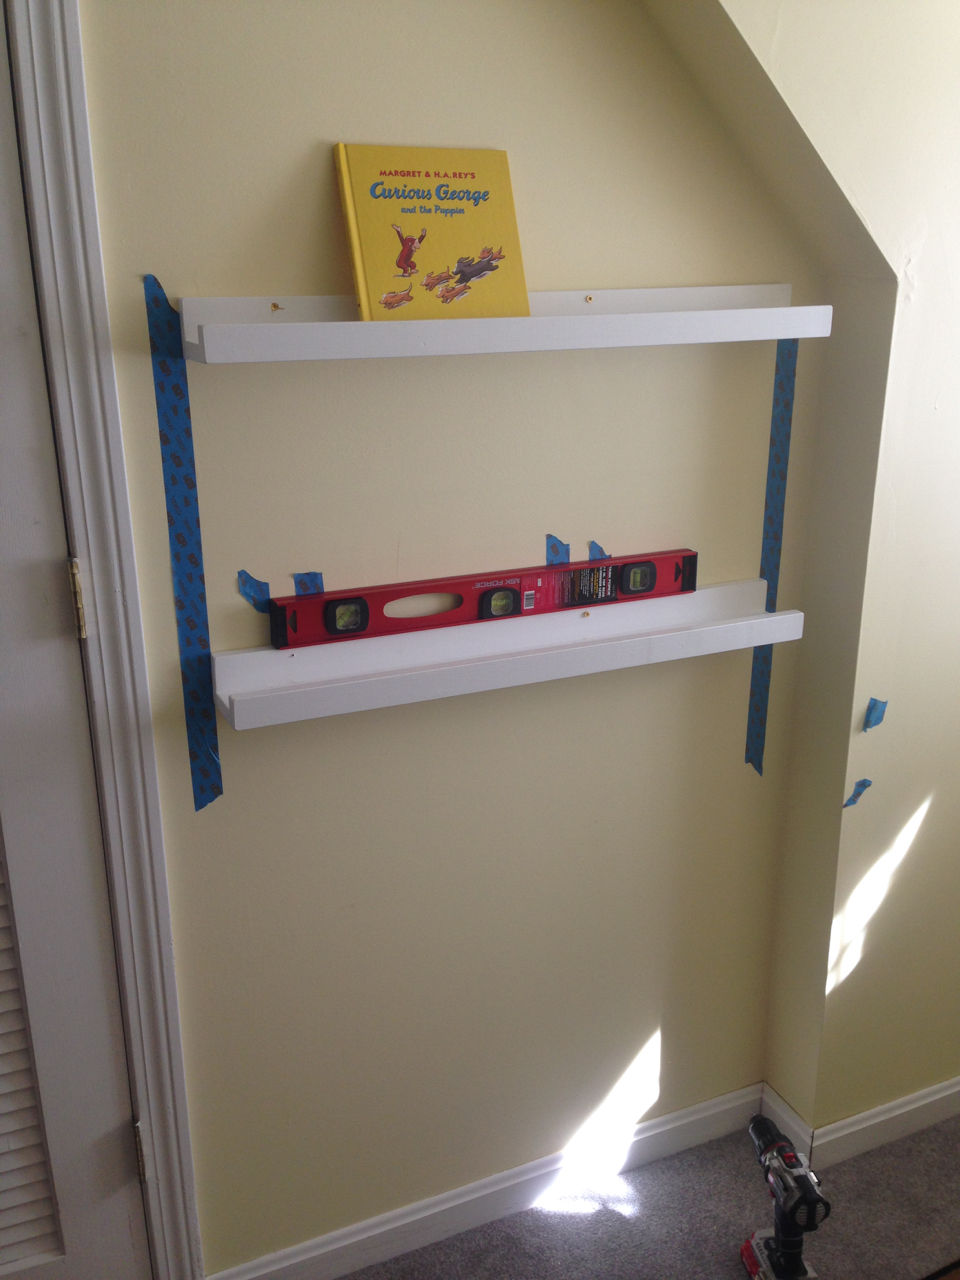
5.  Center the book rails in the space and use a level to hang the book rails, pre-drilling and screwing the book rails into the wall studs.  

Leveling the book rails for hanging.

6.  Decorate and add your books!  While these are pretty sturdy, I would recommend being mindful of the weight put on the rails - don't put too many books or large, heavy books on them, especially since your little one will be reaching up to pull books off and you don't want anything heavy to topple off.  

And finally I decided to build a simple, sturdy narrow crate to hold our daughter's bigger, heavier books.  


IMG_9328.JPG

KEEP UP WITH BIRCH LANDING HOME
|  Etsy  |  Facebook  |  Instagram  |  Pinterest  |  Bloglovin'  |  Hometalk  |

How to Lay Out a Gallery Wall

This post will show you a simple technique to lay out gallery wall so everything is spaced the way you want, without the trial and error of putting a lot of nail holes in your wall.  My example is very small-scale (only two photos), but this technique would work well for any size gallery wall. 

Simple technique to lay out and hang a gallery wall

Materials:  

  • picture frames
  • paper
  • painter's tape
  • scotch tape
  • pen or marker
  • nails
  • hammer
    Also useful:
  • tape measure
  • level
Tools for hanging a gallery wall

How-to:  

Cut paper to size of frames.  I used computer paper since it was handy, taped together in order to make it large enough.  

Paper template for gallery wall

Next, lay your paper template over the back of the frame and feel where the hanger is.  Mark were the nail would be with a pen or marker.  

Paper template for the gallery wall

Now's the fun part - start laying out your gallery wall by hanging up the paper templates with painter's tape and moving them around until you're happy with the height, spacing, etc.  Here is where a tape measure and level might be useful if you have large pieces to hang or want to get the spacing absolutely perfect.  

Putting up paper templates to hang gallery wall

Next nail right through your paper templates, where the marking for the hanger is.  Then take down the templates, ripping the paper off around the nail.  

Using paper templates to hang a gallery wall

Now hang up your photos, and they'll be spaced just the way you wanted them!  

Simple Gallery Wall

This tiny gallery wall is in our family bathroom - it will have black and white photos of our little one taking a bath and brushing her teeth.  I can't wait for the photos to come in so I put them in the frames!  

KEEP UP WITH BIRCH LANDING HOME
|  Etsy  |  Facebook  |  Instagram  |  Pinterest  |  Bloglovin'  |  Hometalk  |