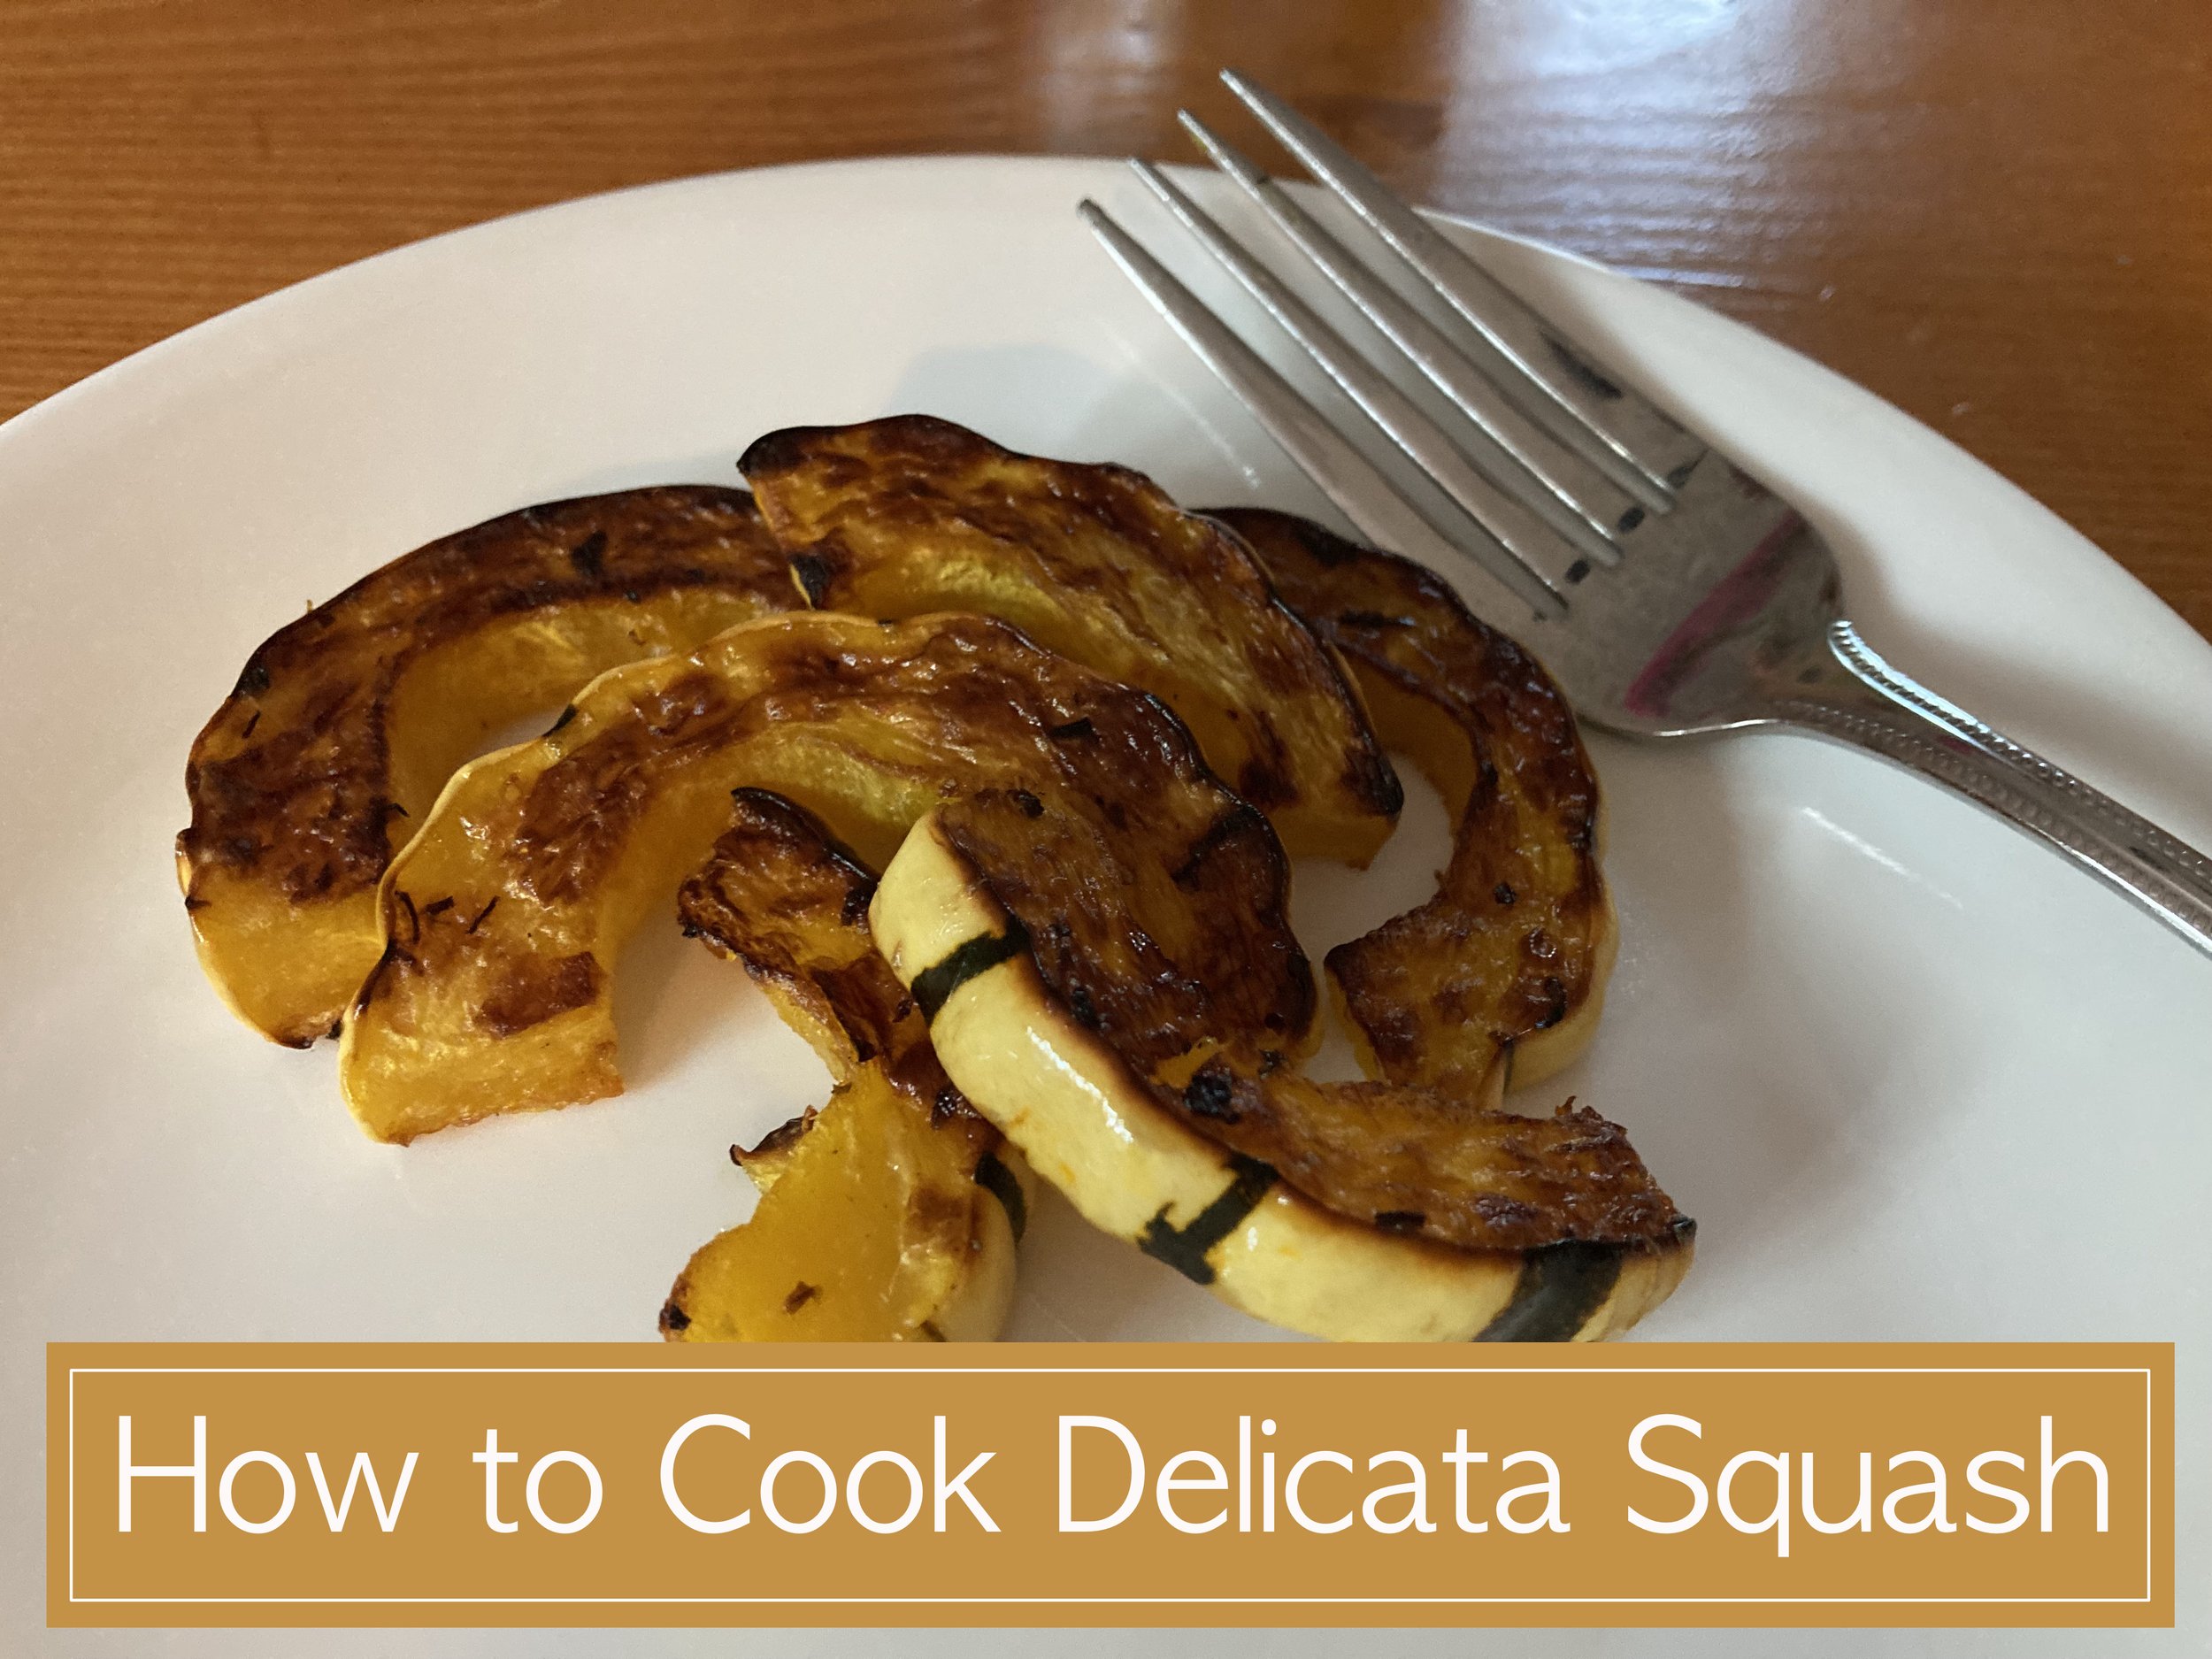
After trying Delicata Squash for the first time it quickly became a favorite - super easy to cook, no peeling (that’s a huge plus!), and a delicious maple-y taste without adding any sweetener. This squash is still an unknown to many people so I thought I would share the easy how-to of roasting them. | This post contains affiliate links |
- delicata squash
- olive oil
- salt and pepper
- kale flakes (optional)
How-To:
First make sure to wash and scrub the delicata squash thoroughly since you’ll be roasting and eating the skin as well - you don’t want any gritty dirty from the field left on!
Once it’s clean, chop each end off and cut open the long way. Next scoop out all the seeds and strings with a spoon until it’s nice and clean (like the photo on the right).
Next chop up the squash into whatever size pieces you prefer. We like cutting them into “quarter smiles” about half an inch thick.
Toss with some olive oil to coat and then sprinkle with salt and pepper to taste. We also love sprinkling on dehydrated kale flakes too - it adds a super subtle flavor and a tiny extra veggie boost too. (We add these kale flakes to most of our meals - love them!)
Now that it’s ready to cook, roast at 425 degrees in a preheated oven for approximately 20-30 mins, flipping halfway through. Cook until it’s soft and starts to caramelize and look burnt. Enjoy!
This squash has become a favorite in our house and I’m looking forward to trying to grow some in our garden next year.
KEEP UP WITH BIRCH LANDING HOME
| Etsy | Facebook | Instagram | Pinterest | Bloglovin' | Hometalk |
My Great Aunt Stefie passed away a few months ago at 100 years old. I was lucky enough to inherit some of her recipe cards which is so very special. Cooking and taking care of everyone was such a huge part of her life. I’m looking forward to trying some of these recipes myself, though she never used recipes for all her best cooking - it always came from the heart.
KEEP UP WITH BIRCH LANDING HOME
| Etsy | Facebook | Instagram | Pinterest | Bloglovin' | Hometalk |
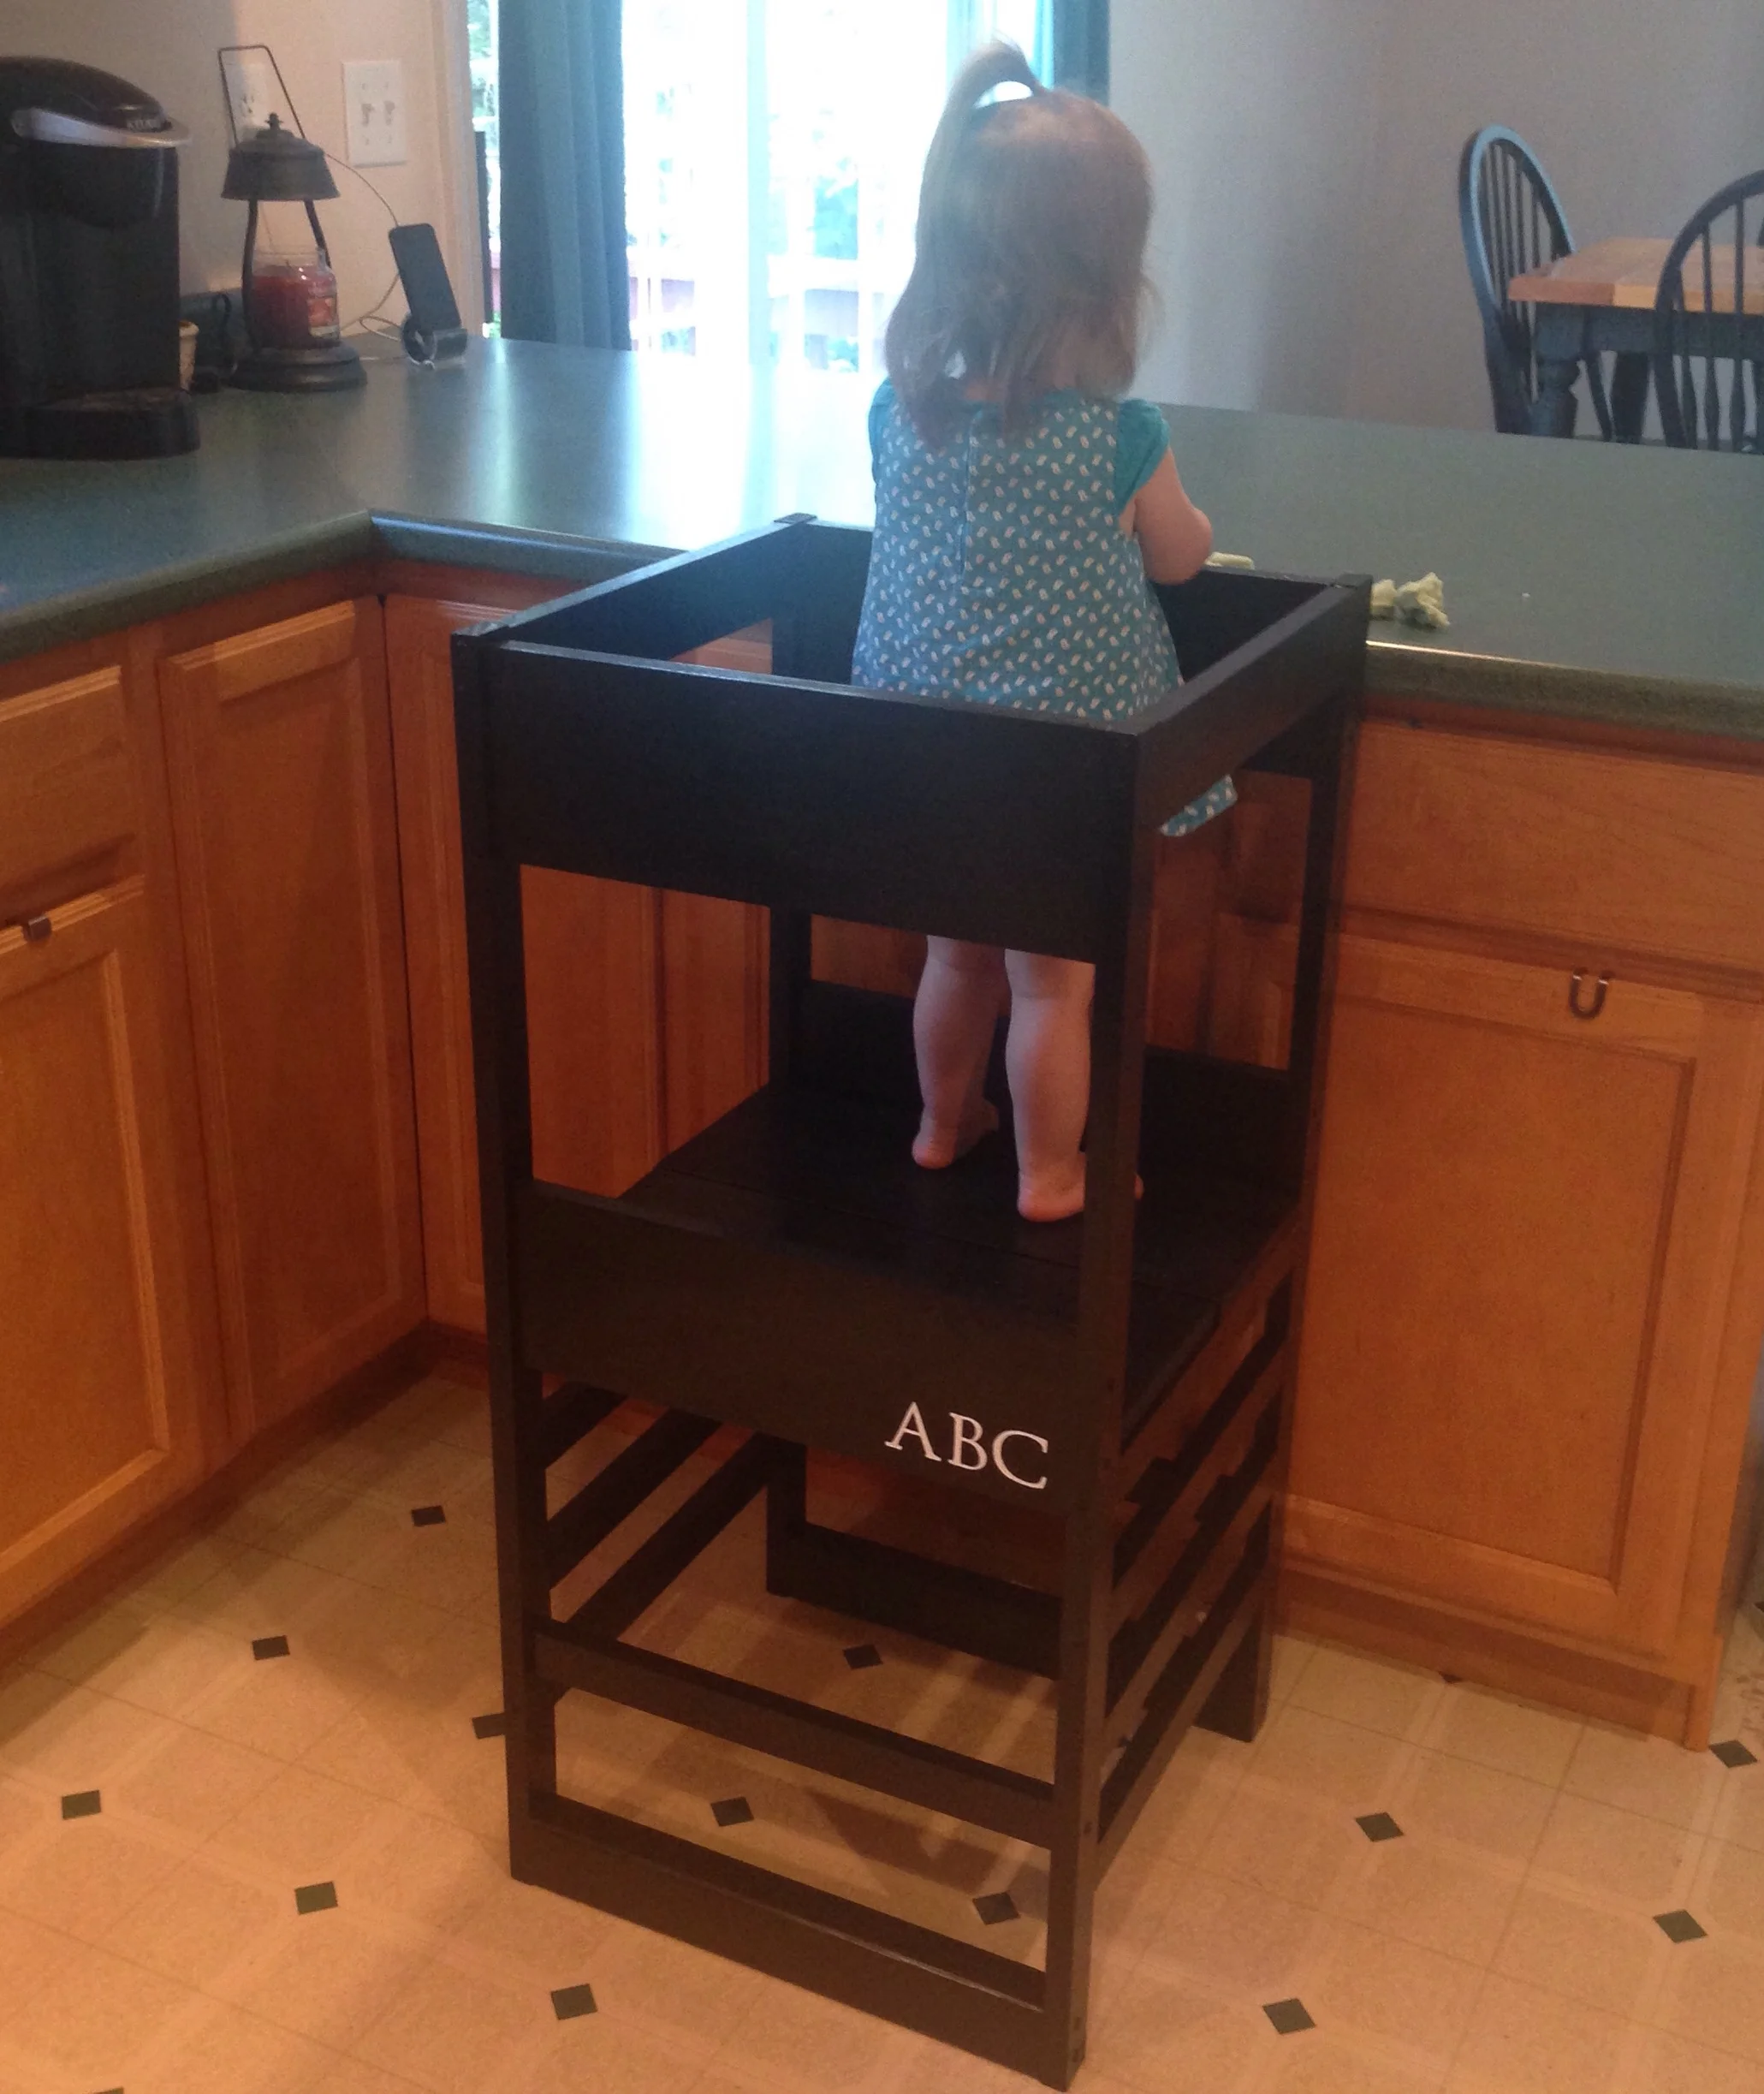
Our little one may be happily playing independently but the second I go to make dinner she demands to be held and refuses to be put down, making cooking impossible. To help keep her occupied but still involved I've been eyeing a learning tower / kitchen helper on Amazon for months now, but at $200 it just wasn't in our budget. My sister-in-law had made a learning tower from a plan by Ana White and suggested I try to make one too. I was unsure at first, I've never made anything more complicated than a birdhouse, but I decided to give it a go! Read on for my lessons learned and know that you can totally make one too. | This post contains affiliate links |
{ Note: the plans that I worked from were from Ana White and can be found HERE }
The first step to making the learning tower was buying the lumber.. which is easier said than done when you just have a little car! Nevertheless, Miss M and I made the nearly hour-long trek out to Lowe's to pick up lumber, paint, and screws. One thing I really liked about the Ana White plan was that it had both a shopping list and a "cut list" so you knew exactly how much of each kind of wood to buy and then how to cut it up. I made a mistake at Lowe's though and ended up buying 6-foot boards instead of 8-foot.. I don't know if I read the sign too quickly or what, but it made me come up short for the project. Thankfully we had some extra wood in the garage and I was able to fudge it.
For our learning tower, I made some modifications - some were planned and some kind of happened as the project went on (partly due to the wood shortage). For example, I decided against doing the arches on the top - as lovely as they were, we don't have a jigsaw so I had to nix it. I also did the base of the tower a little differently and I didn't do the tip resistors (at least not yet), my sister-in-law omitted the tip resistors and has had no problems. Our little one is pretty good with the tower (knock on wood), but for peace of mind I think we will do something to help prevent it ever tipping - most likely adding some scrap wood to make a lip that will fit under the edge of our counter. Another thing I did differently was make the front and back top railing wider, the reasoning for this was two-fold - for one thing, it gave me more room to screw in the the top railings without the screws running into each other. Another was that the wider wood makes it impossible for our little one to open the kitchen drawers in front of her (so key).
One criticism of Ana White's plan is that while it gives you a great outline of what to make and how to go about it, it definitely doesn't spell everything out - and for this detail-oriented person that drove me nuts! For example, it doesn't detail how many screws you should use when attaching each piece or how to position the screws when you join sides together (this was a huge issue so they didn't run into each other). Another big problem was that the plan had quite a few typos and some of the steps would stop mid-sentence missing the full explanation of what to do.
I highly suggest cutting all the wood, labeling it, laying it out and really thinking through how it's going together. My biggest challenge by far was figuring out a good way to hold the pieces together while I pre-drilled and screwed them together. The wood the plan calls for is pretty thin (another downside of the plan), so that limited the ways I felt I could hold it without damaging it. I tried using vices and clamps to help hold everything together but they always seemed to be in the way so I ended up holding it in place anyway I could, even with my foot if necessary (awkward).
I also had to improvise on how to center the front and back side pieces against the wider side of the legs. It turned out that a picture book we had was the perfect thickness and became a great spacer.
To space the boards for the platform I placed some extra screws between them as spacers. Once it was all attached together, I just pulled the screw spacers out.
For paint, I used a high-gloss black enamel paint by Val-Spar and gave it two coats (though I probably should have done 1-2 more). I really recommend using high-gloss paint or stain so it can be wiped down easily after every use.
I wanted to add some personalization or decoration to the learning tower, but also wanted to keep it simple so that it would blend into the kitchen better. I decided against personalizing the tower since we're hoping to have more kids and I wanted to keep it "neutral" - so I settled for stenciling "ABC" on one of sides for a little decoration, using the Martha Stewart Monogram Serif Stencil Set.
Our little one loves her new learning tower and now feels like she can "help" when I'm making dinner. This tower also makes arts and crafts a lot easier (here she's playing with some homemade playdough).
Safety Notice: It goes without saying, but always supervise your little one while they're using the learning tower and make sure there is nothing dangerous within reach (hot plates, knives/other sharp objects, stove, off-limit foods, etc). Use at your own risk.
Other posts you might enjoy:
KEEP UP WITH BIRCH LANDING HOME
| Etsy | Facebook | Instagram | Pinterest | Bloglovin' | Hometalk |
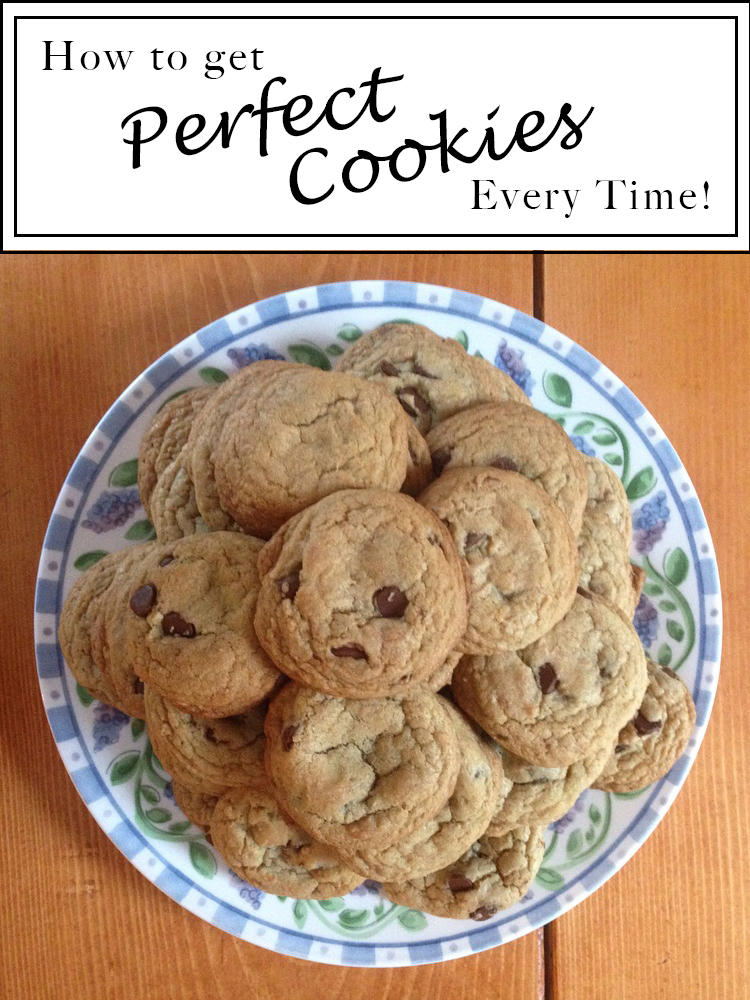
I always get told I make the best cookies, but making amazing cookies isn't all about the recipe - technique is what makes a good recipe great! Read on for my 5 tips to make perfect cookies, every time. | This post contains affiliate links |
5 Tips for Perfect Cookies
Sift
Make sure to sift all your dry ingredients. Doing this breaks up any clumps of flour or baking soda, combines everything evenly, and helps make your cookies light and fluffy.
Always line your cookie sheet with parchment paper, this is key to getting the cookie bottoms that perfect light golden brown. If you're planning on doing several batches of cookies make sure to round the corners of the parchment with some scissors first, as the sharp corners of the paper can start to burn after a few times in the oven.
A cookie scoop is probably one of the best little investments you'll make in the kitchen and I don't know how I ever lived without mine. Using a cookie scoop ensures you get uniform-sized cookies every time and makes the whole process of getting your cookies ready for the oven go so much faster.
Time
Always bake your cookies for the lower suggested time. Cookies that are just cooked all the way through make for the softest, chewiest cookies. If they aren't cooked in the middle yet you can always put them back in for another minute or two, but it's best to start with the lowest time.
Your Secret Weapon - the "Bread Trick"
Accidentally over-cook the cookies? Forget to cover them on the counter? Believe it or not, the magical solution for over-cooked or stale cookies is just a slice of sandwich bread and a big ziplock. Put all the cookies in a gallon ziplock bag, throw in a slice of bread, seal, and leave for a few hours - the cookies will get softer as the bread gets staler. Magic!
Looking for a yummy new cookie recipe? Be sure to check out my recipe for Grandma Dot's Apple Cookies!
Alright, now go make some amazing cookies (and share some with me, please?)
KEEP UP WITH BIRCH LANDING HOME
| Etsy | Facebook | Instagram | Pinterest | Bloglovin' | Hometalk |


