First Birthday Party Details

Our little Madison turned one last month!  We had a very low-key, small party with just immediate family invited.  We decided to keep decorations to a minimum and keep it simple and fun.  
Here are some of the details from the little party.  

Madison's 1st Birthday Party Centerpiece

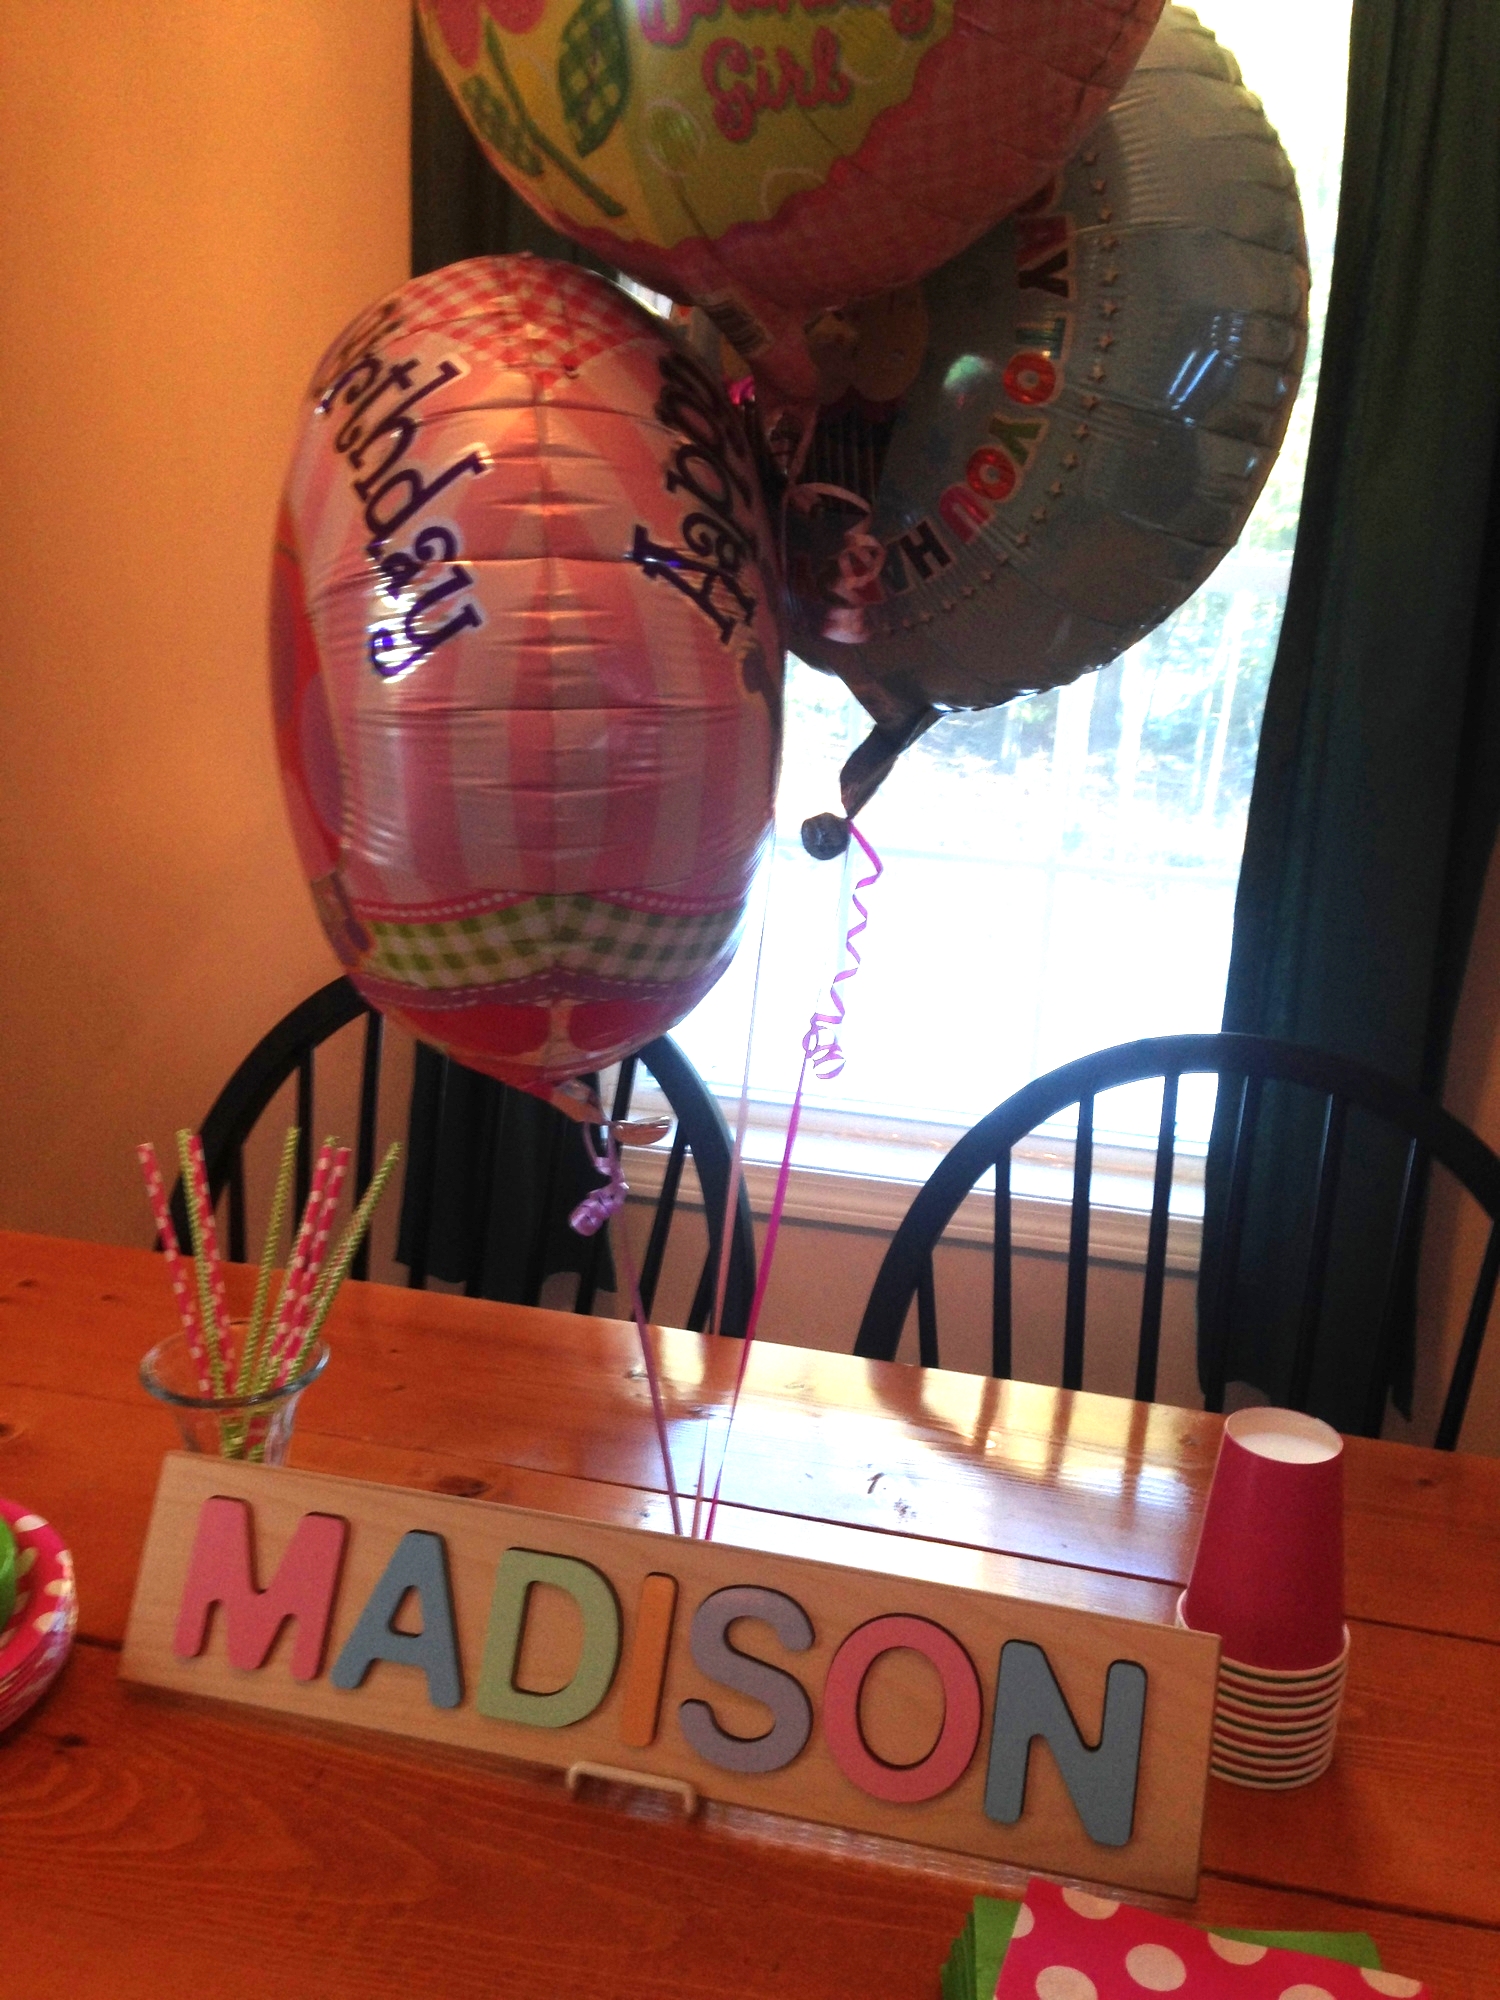
Her party theme was pink and green polk-a-dots (with some buttons for good measure).  For the centerpiece we used her name puzzle propped up on a plate stand with some birthday balloons added for fun:  

Simple 1st birthday decorations

I made the cake myself and kept it easy, to decorate it I added edible sugar buttons:  

Button 1st Birthday Cake

For favors we filled pink polk-a-dot paper favor bags with chocolate Hershey's Hugs and Kisses candies, so party-goers could take home "hugs and kisses" from the birthday girl:  

Hugs and Kisses from the birthday girl for party favors
Party favors are chocolate hugs and kisses from the birthday girl

KEEP UP WITH BIRCH LANDING HOME
|  Etsy  |  Facebook  |  Instagram  |  Pinterest  |  Bloglovin'  |  Hometalk  |

DIY Button Easter Basket

I've never really liked the cheesy Easter baskets they push at the big box stores.  You know, the cheaply-made dyed ones.. the ones you always seem to need to re-buy every year because they're so easily damaged?  Not to mention, they're pretty boring.  This year I decided to make a special one for our daughter.  I LOVE buttons and thought that would make a very adorable theme for decorating an Easter basket.  | This post contains affiliate links |
 

DIY Button Easter Basket - perfect Easter basket for a little girl

Materials: 

How-to:

I started with a sturdy willow basket (we purchased ours off Amazon, but you could get one just about anywhere), and used a needle strung with heavy button thread to "sew" the buttons to the basket.  Really I'm just tying them on, but the needle makes it a lot easier to thread the string around a few times.  

"Sewing" the buttons to the basket.

"Sewing" the buttons to the basket.

Once I felt as though the button was good and secure (we don't want them coming off, remember they can be a choking hazard), I tied off the thread with a couple knots and cut off the excess string.  

Sewing one of the last buttons on. 

Sewing one of the last buttons on. 


This project took less than half an hour and now we have a cute, special Easter basket to use for years to come!  

Looking for more Easter ideas?  Check out our other Easter posts:  

KEEP UP WITH BIRCH LANDING HOME
|  Etsy  |  Facebook  |  Instagram  |  Pinterest  |  Bloglovin'  |  Hometalk  |