I'm a wife, stay-at-home mom, crafter, and blogger living in rural New England. As seen in Martha Stewart Living, Food Network Magazine, and more! | Tutorials, DIY, crafts, parenting tips, recipes, money saving tips, product reviews, local product features, New England living, intentional living, and more! |
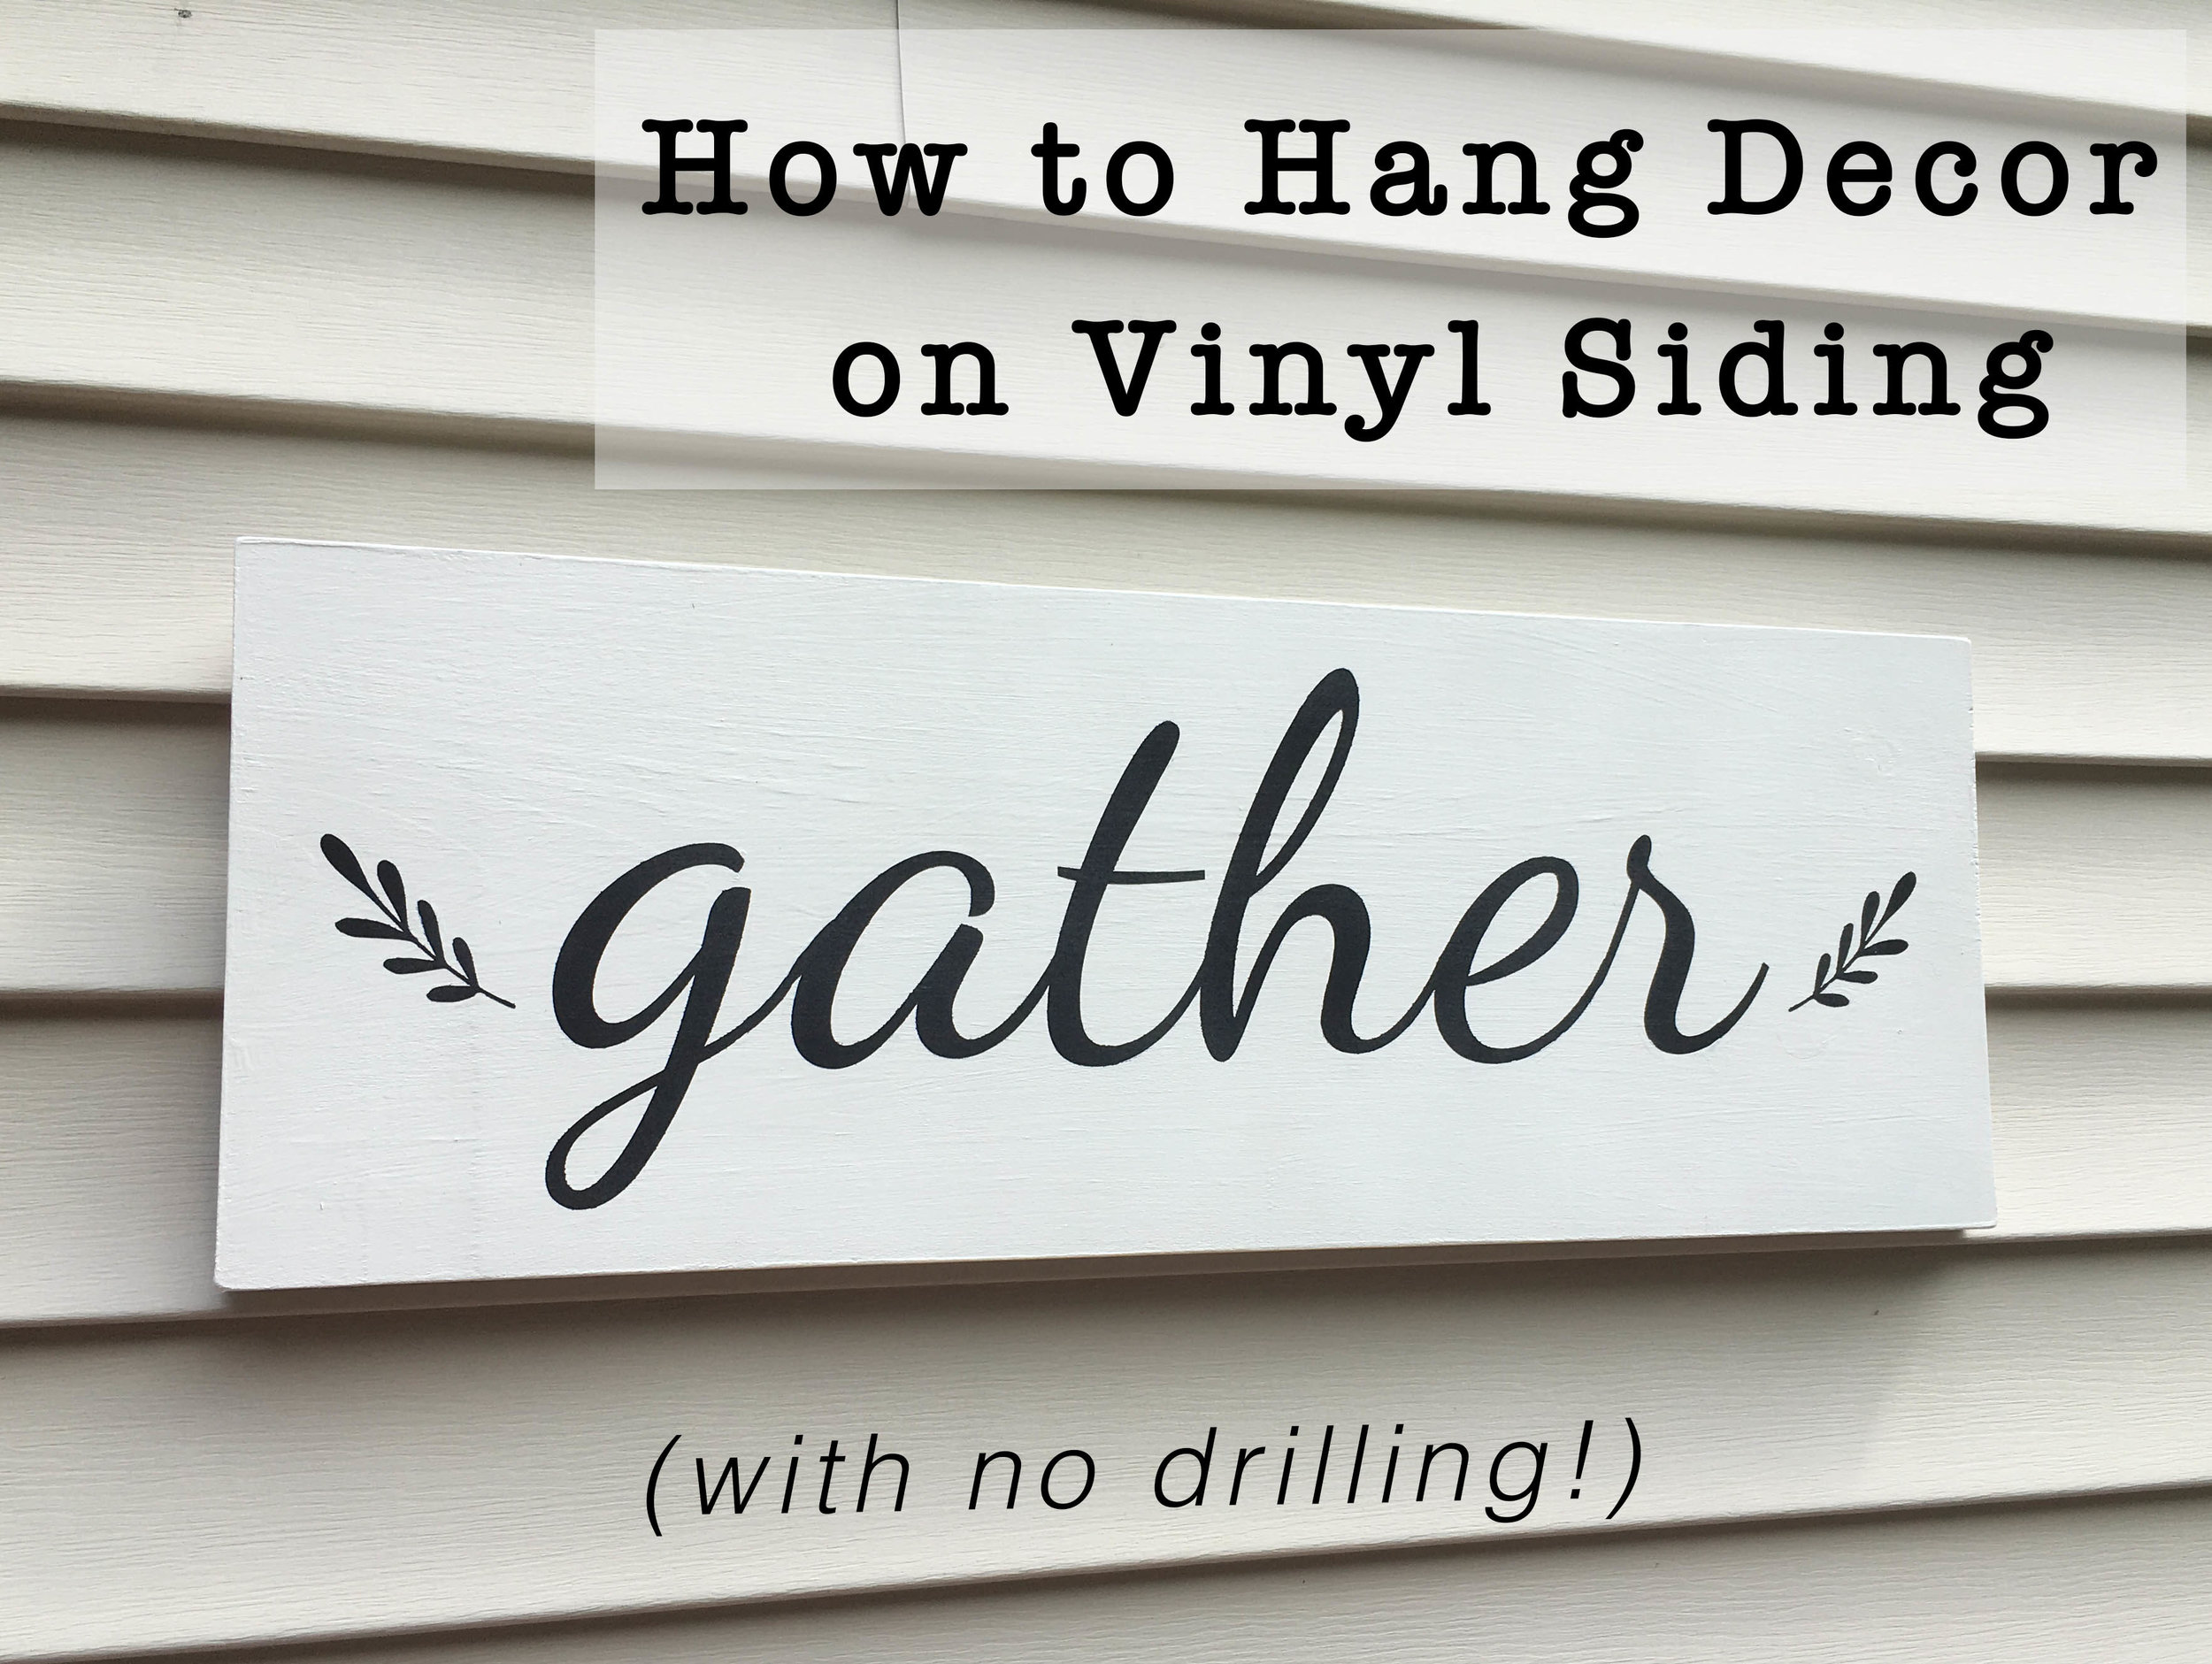
I’ve been wanting to hang a few decorative signs on the outside of our house… a welcome sign by the door and this “gather” sign on our back deck. However, with vinyl siding I was very hesitant… I didn’t want to drill into it or make a mess of it. Which is why I was so happy when I came across this incredibly simple, no tools needed solution! | This is not a sponsored post, but an honest independent review of a product. This post contains affiliate links |
Vinyl Siding
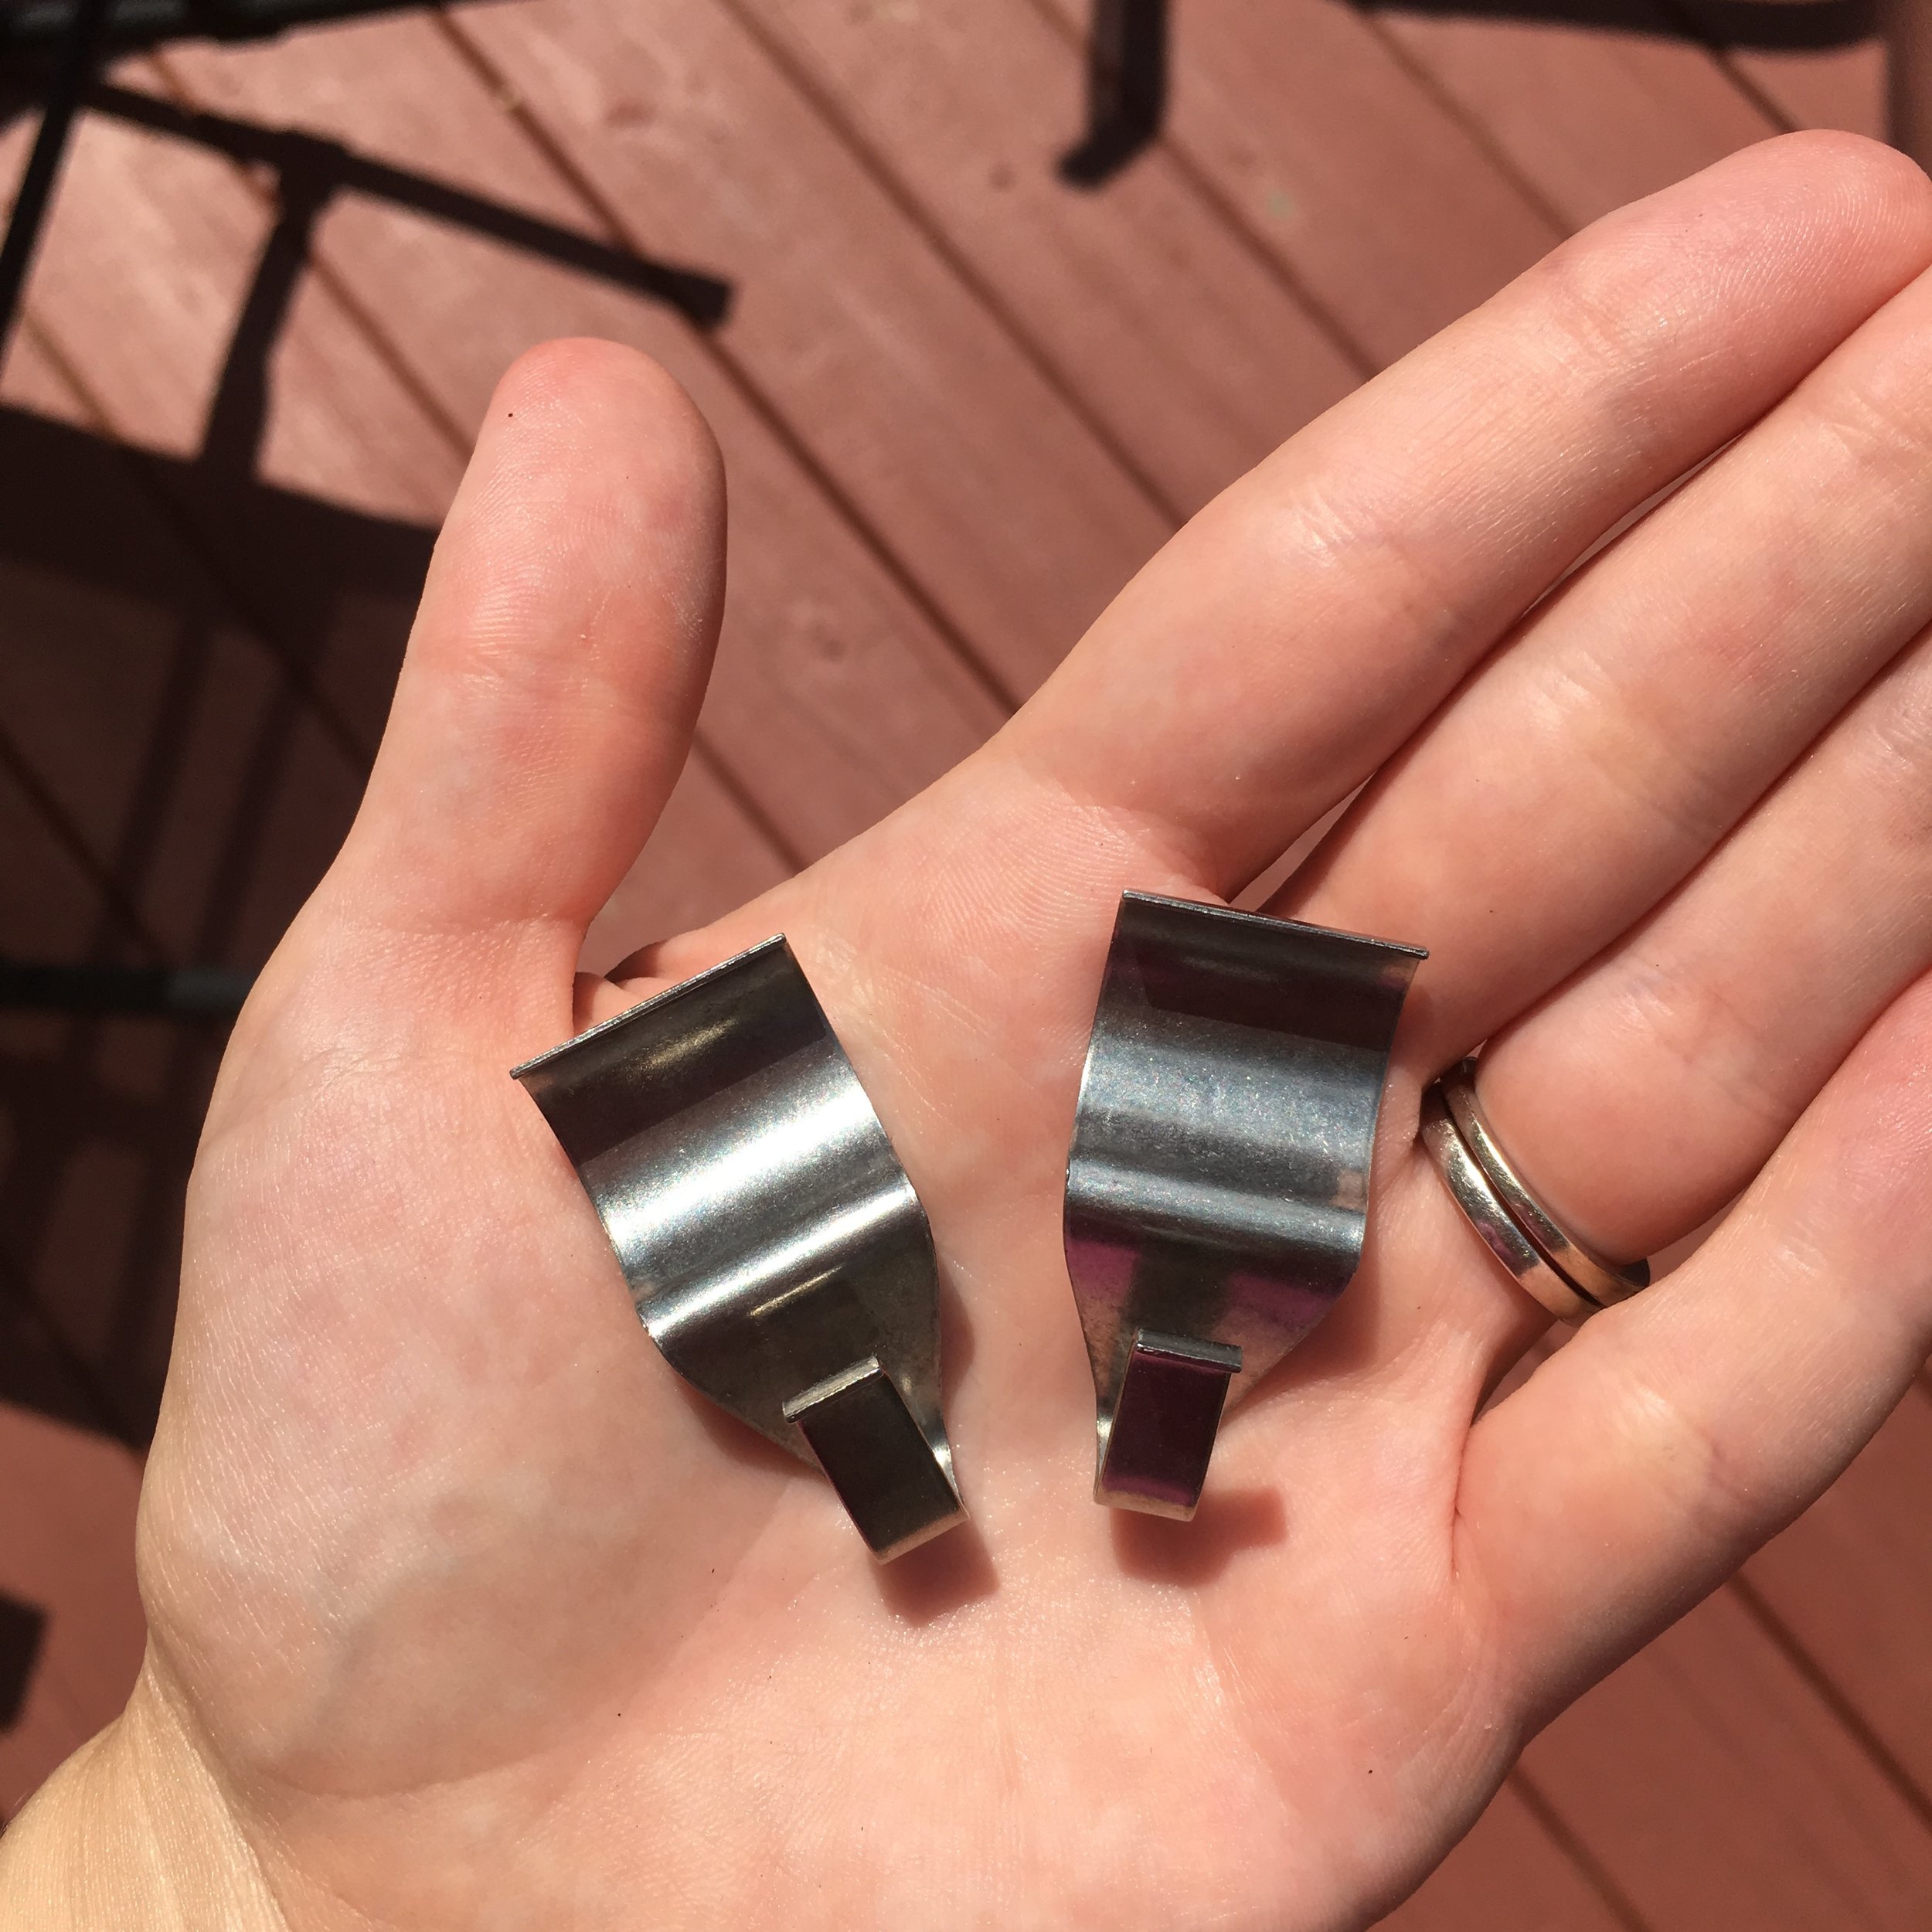
After some searching on Amazon I came across these
"No-Hole Hooks" and it seemed to be the perfect solution! These are special stainless-steel hooks that are meant to "roll" under the lip of your vinyl siding and hang lightweight decor. Just what I needed!
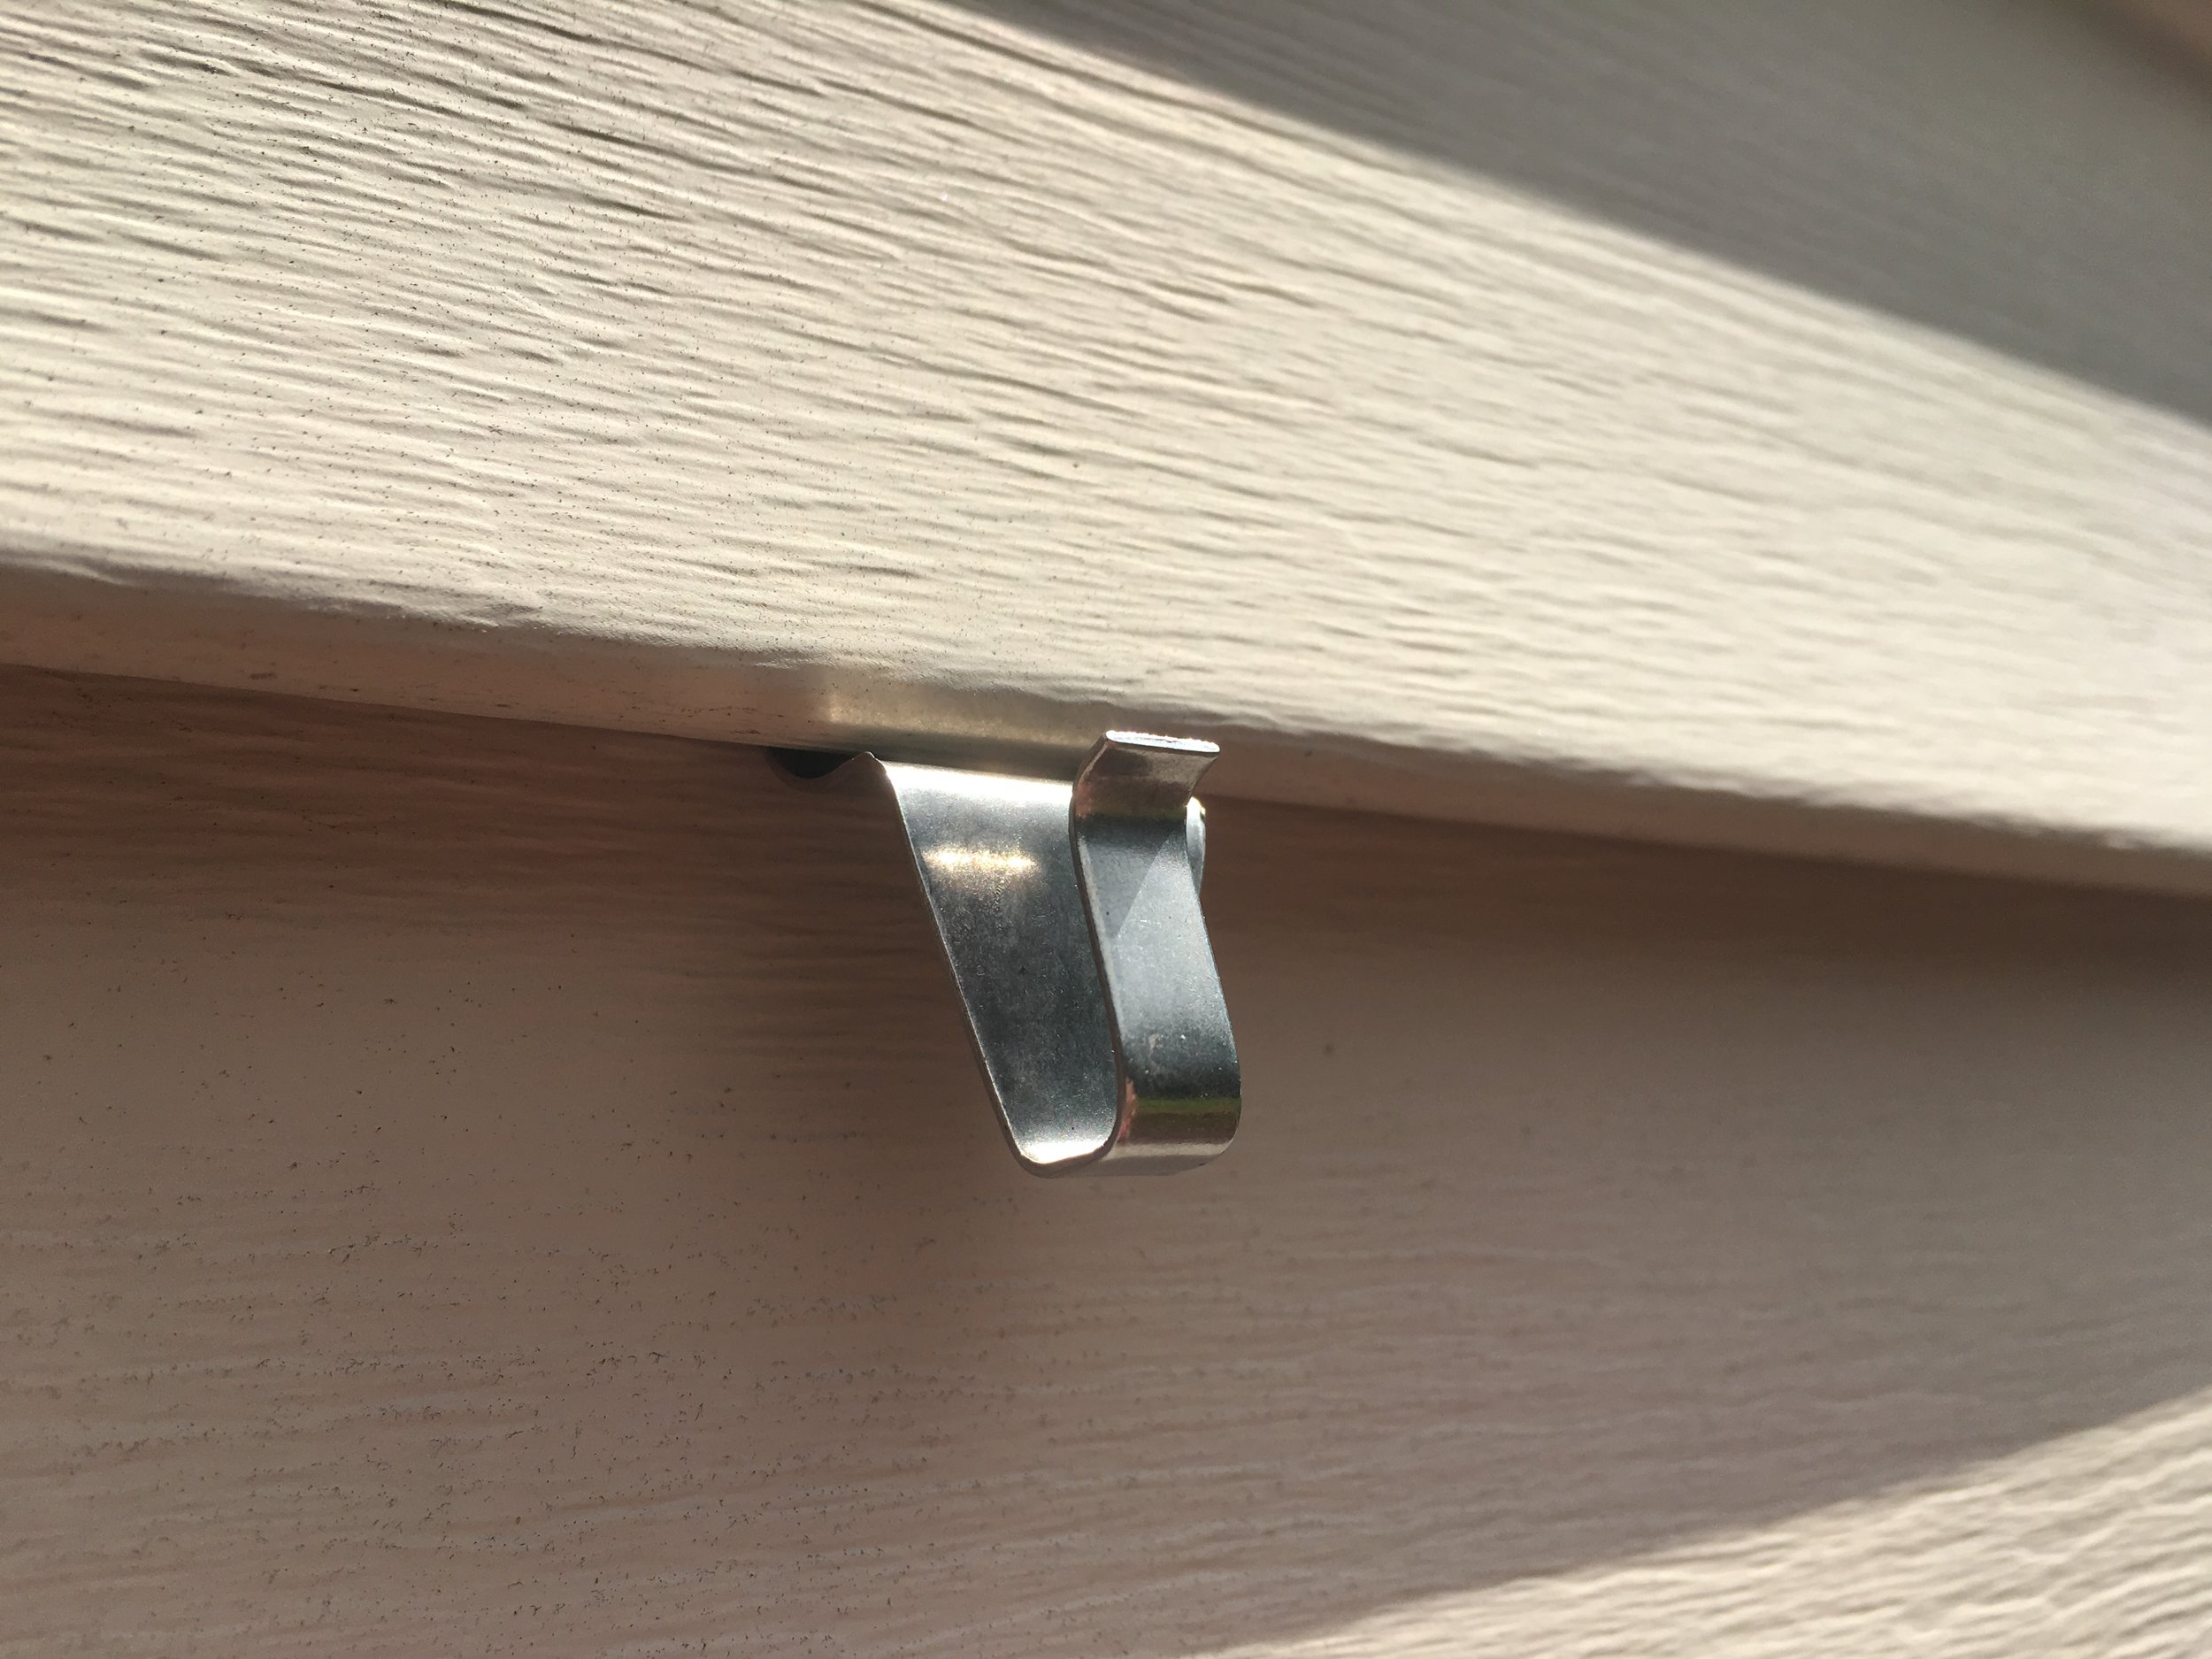
I measured out the distance between the hangers on the back of my sign, placed the hooks at the correct distance, and hung the sign - ta-da! It couldn’t have been easier! I’m really happy with how easy it was.
It seems that as long as you have good condition (not sun brittle), quality siding and hang only light-weight items, this would be a great solution over drilling into your siding. I also love that if we decide to take down the decor, it leaves no holes behind! I’ve had these signs up for a few months now and I’ve been really happy with how these have worked and held up.
Similarly there is a no-drill product to hang items on bricks too! We do not have any brick surfaces at our home, so I personally haven't tried them myself but these Brick Hook Clips are well rated and meant to hang decor on brick surfaces, indoors or outdoors. Just make sure to follow the manufacturer's instructions regarding installation and weight limits.
Disclaimer: This is not a sponsored post, but an honest independent review of a product. Always follow manufacturer’s guidelines when using and use product at your own risk. Not liable for any damages or improper use.
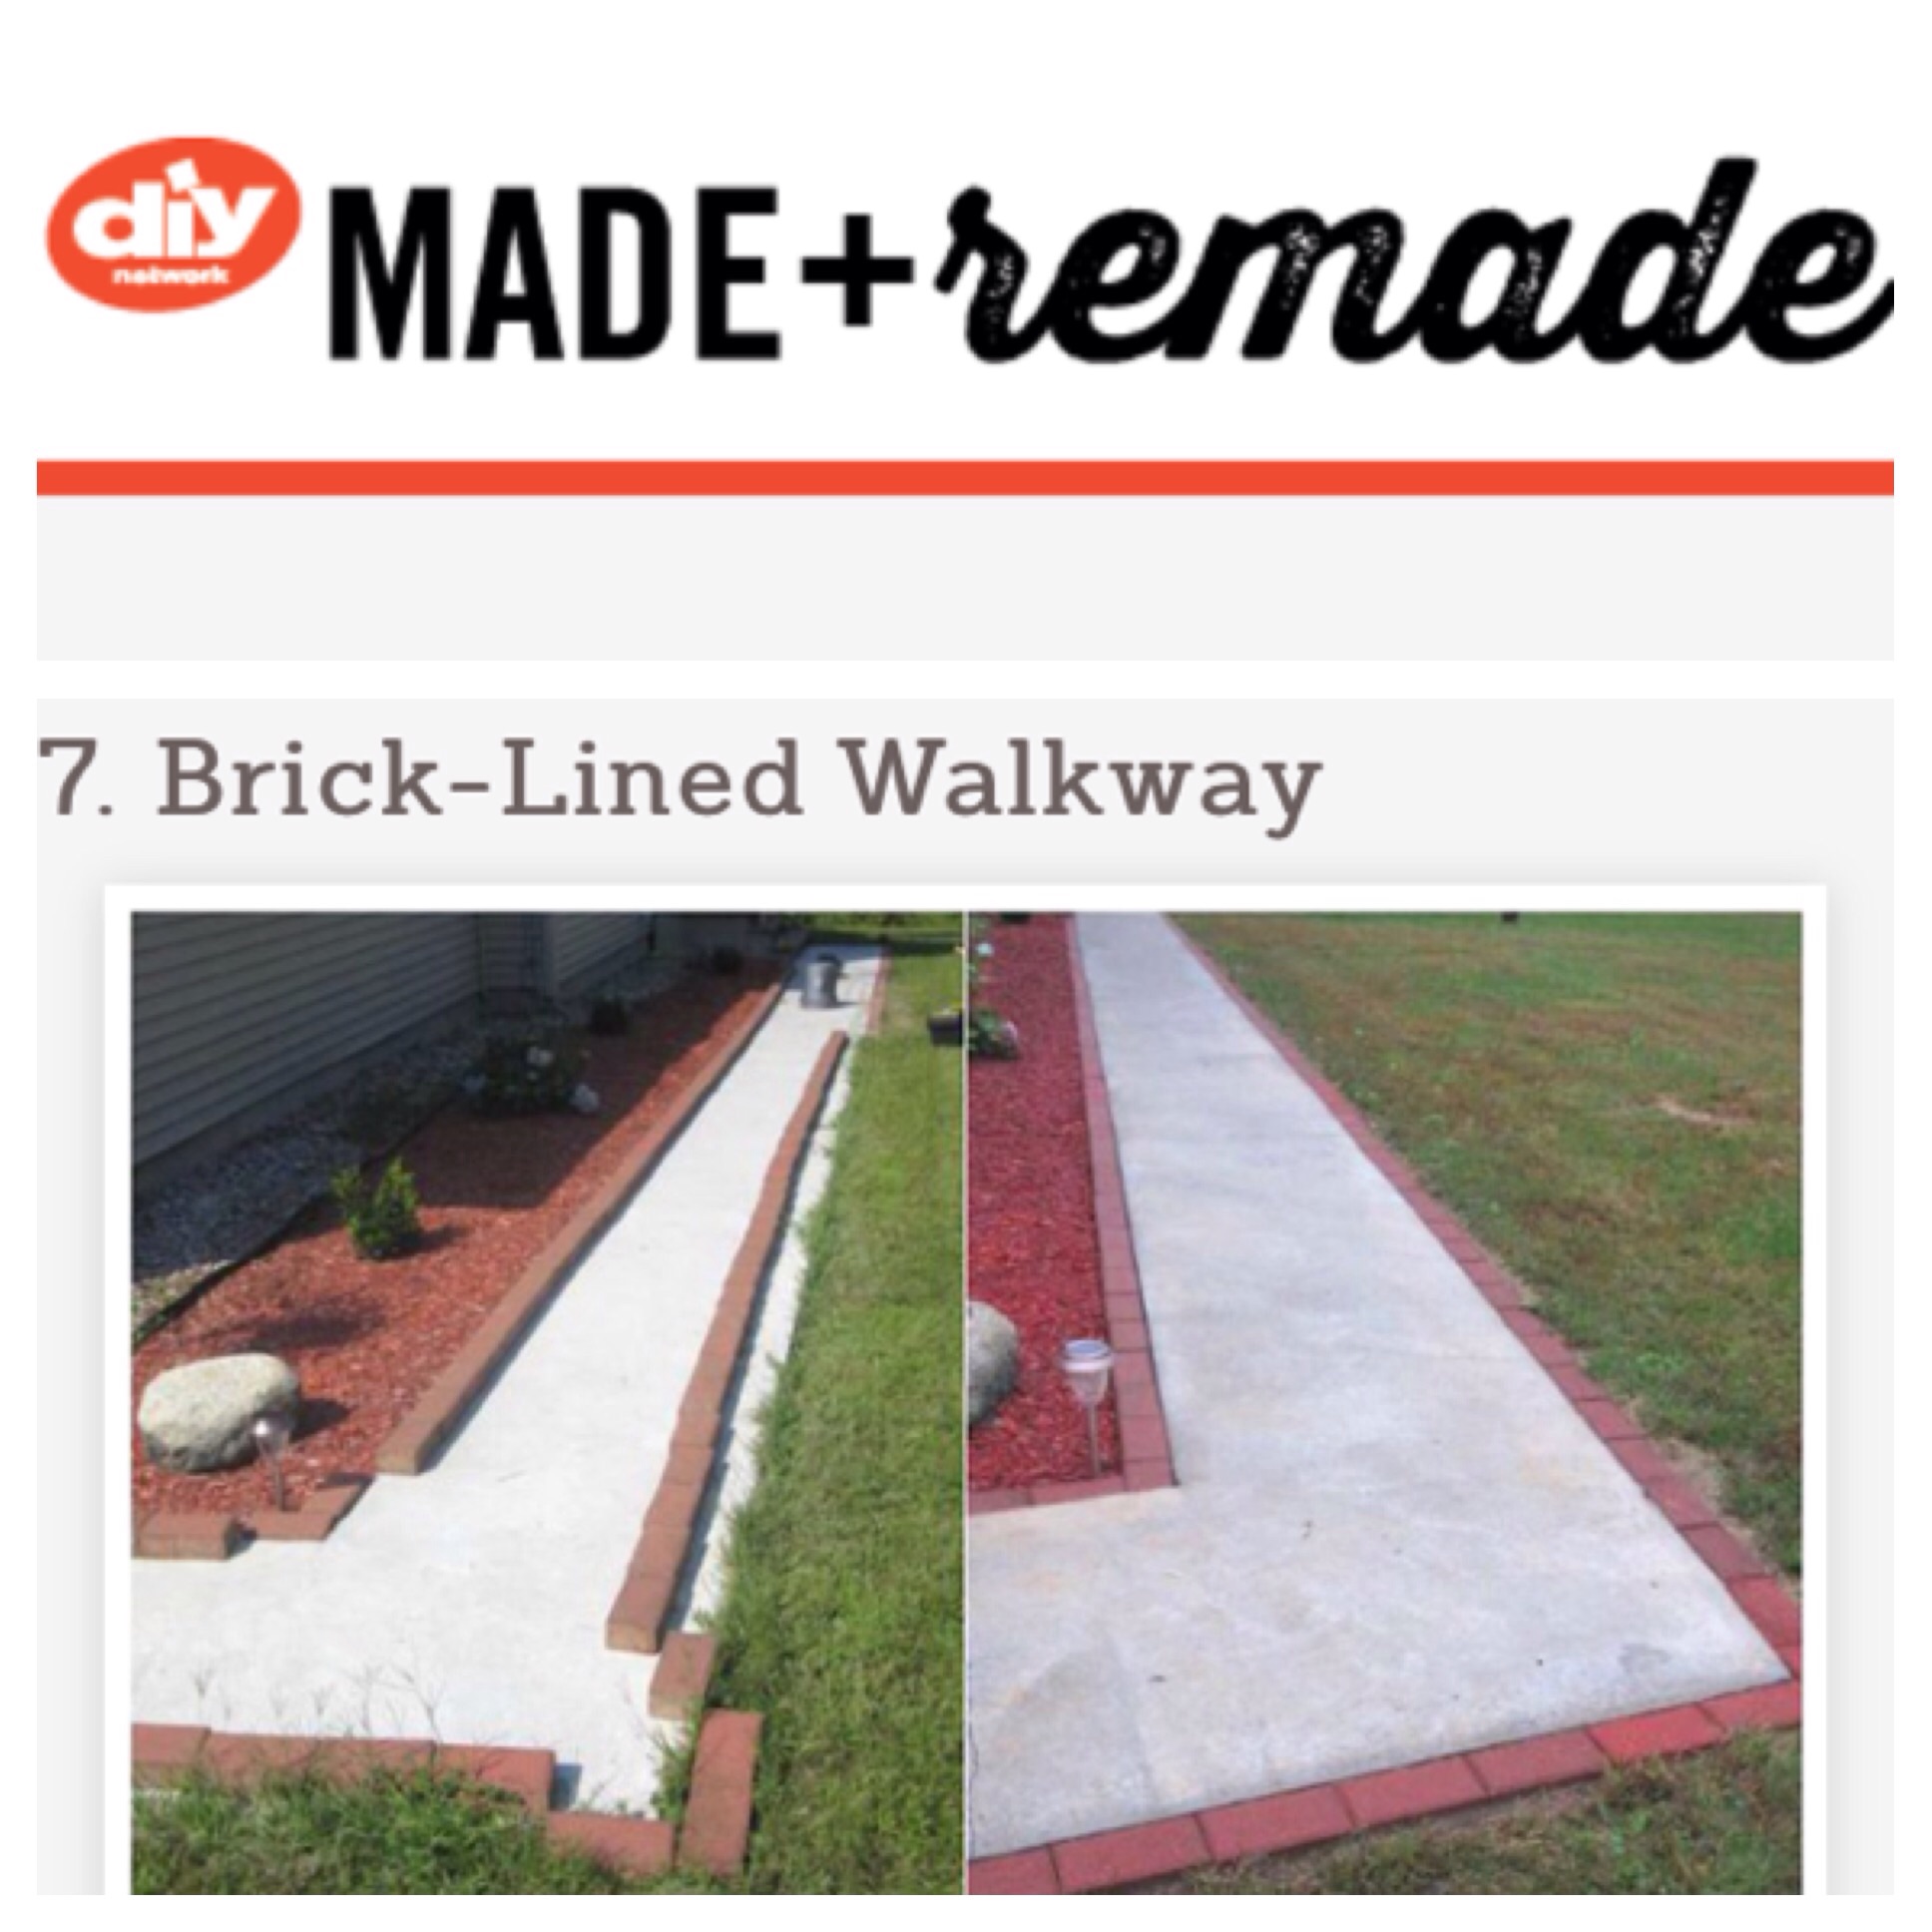
This week I was hoping to bring you a post on making pickles. I've never made them before and wanted to give them a try with all the cucumbers we've been getting out of our garden. Unfortunately I let the cucumbers get too big and they were all seeds - no good for pickles. Such a bummer, but I've learned my lesson. So, without the pickle post I decided to share the easy brick upgrade we did on our concrete walkway after we moved in our home.
When we first moved into our home there was nothing in front of it.. no bushes or anything substantial, just a plain white concrete walkway and a bark mulch bed with a few sad daffodils that had already gone by. It was so boring and even the walkway looked really unfinished.
The obvious solution to dressing up the existing "flower" (I use that term loosely here) bed was to get plants and bushes in there - but what about the concrete walkway? Luckily for us the previous homeowners had left behind a lot of bricks... A LOT. Some were stacked under the back deck, but there was also a small random brick patio that we had plans to disassemble anyways. There were sooo many bricks.. it was actually becoming a problem on where to store them and what to do with them.
While trying to figure out what to do I came up with the idea of inlaying them along the walkway to dress it up a bit - and though it was a little time-consuming, the whole process was actually really easy!
Materials:
lots of bricks (enough to line both sides of the walkway, plus a few extra)
edger
wheelbarrow
spade
rubber mallet
How to:
First I started hauling all the bricks to the front yard and laying them along the walkway to make sure I had enough (though we had so many I probably could have done this project twice!). I started laying them out at the front steps and put them end-to-end along the whole length of the walkway, along both sides. This way I was able to get a sense of how they fit and where I would need to do cuts (we were very lucky to have a pretty straight walkway, so the cuts needed were minimal). If you're thinking of starting this project from scratch, I would recommend measuring the length along both sides of the walkway, then head to your local home improvement center to see what they have for bricks, their sizes, and how much they cost. Once you decide on a brick you like, you can calculate how many bricks you will need.
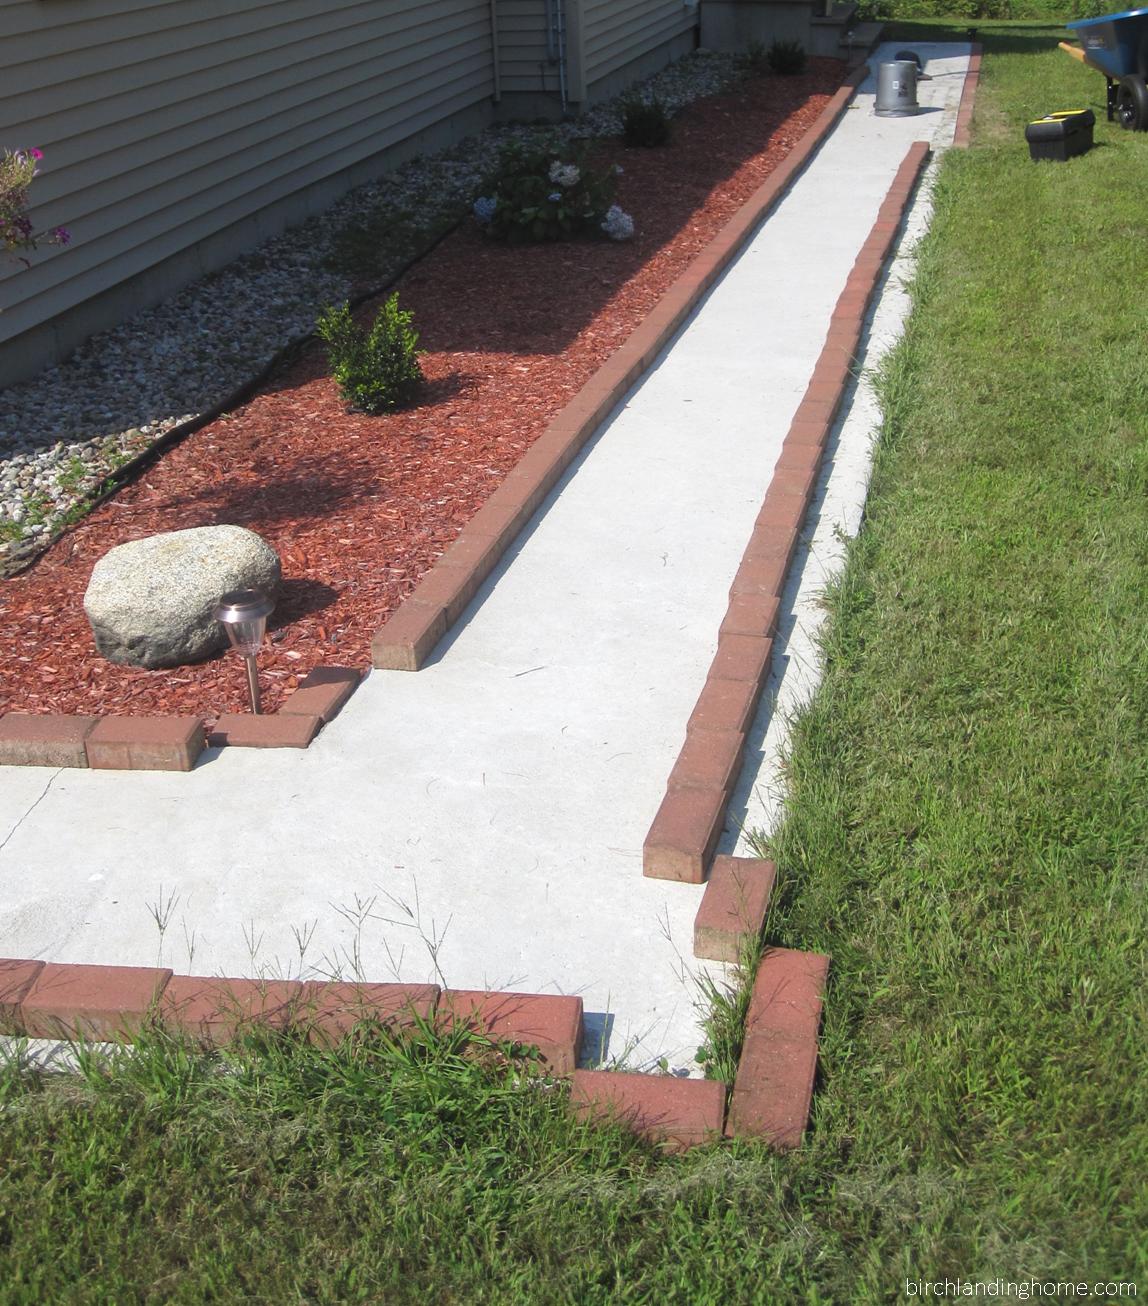
Laying out all the bricks. You can also see our first additions to the flower bed - some tiny boxwoods and hydrangea bushes. It's amazing how much they've grown!
After everything was all laid out, I started by using the edger along the side of the bricks to cut the edge of the "trench" they would be set in. I made sure not to get carried away and would only prep about two feet ahead of where I was. I would cut as I went along to compensate for how the bricks were sitting against the walkway.
Once the outside edge was cut, I would use the spade to dig out enough soil for a brick. Then I'd set the brick in and pound on it with the rubber mallet until it was even with the grass. Sometimes I would need to take the brick out and add or remove soil until it sat where I wanted it too.
I continued this process along the line, brick-by-brick until I got to corners or areas where the bricks needed to be cut. After tracing on the bricks where cuts would need to be and a quick trip to a local mason, they were cut and ready to be inlaid as well.
We have a really long walkway and I worked on this project at my leisure over the course of a week or two but probably could have gotten it done over a weekend if I had really set my mind to it. It's definitely made a huge difference to the curb appeal of our home.
The now-full flower beds look great next to the brick lined walkway.