August is winding down but the good news is I'm hard at work restocking my Etsy shop and working on filling pre-orders for the Christmas season, including the amazing Daytrip Society in Kennebunkport, Maine (so excited!).
Can't wait to turn these birch beauties into some adorable snowflake ornaments once they dry completely.
KEEP UP WITH BIRCH LANDING HOME
| Etsy | Facebook | Instagram | Pinterest | Bloglovin' | Hometalk |
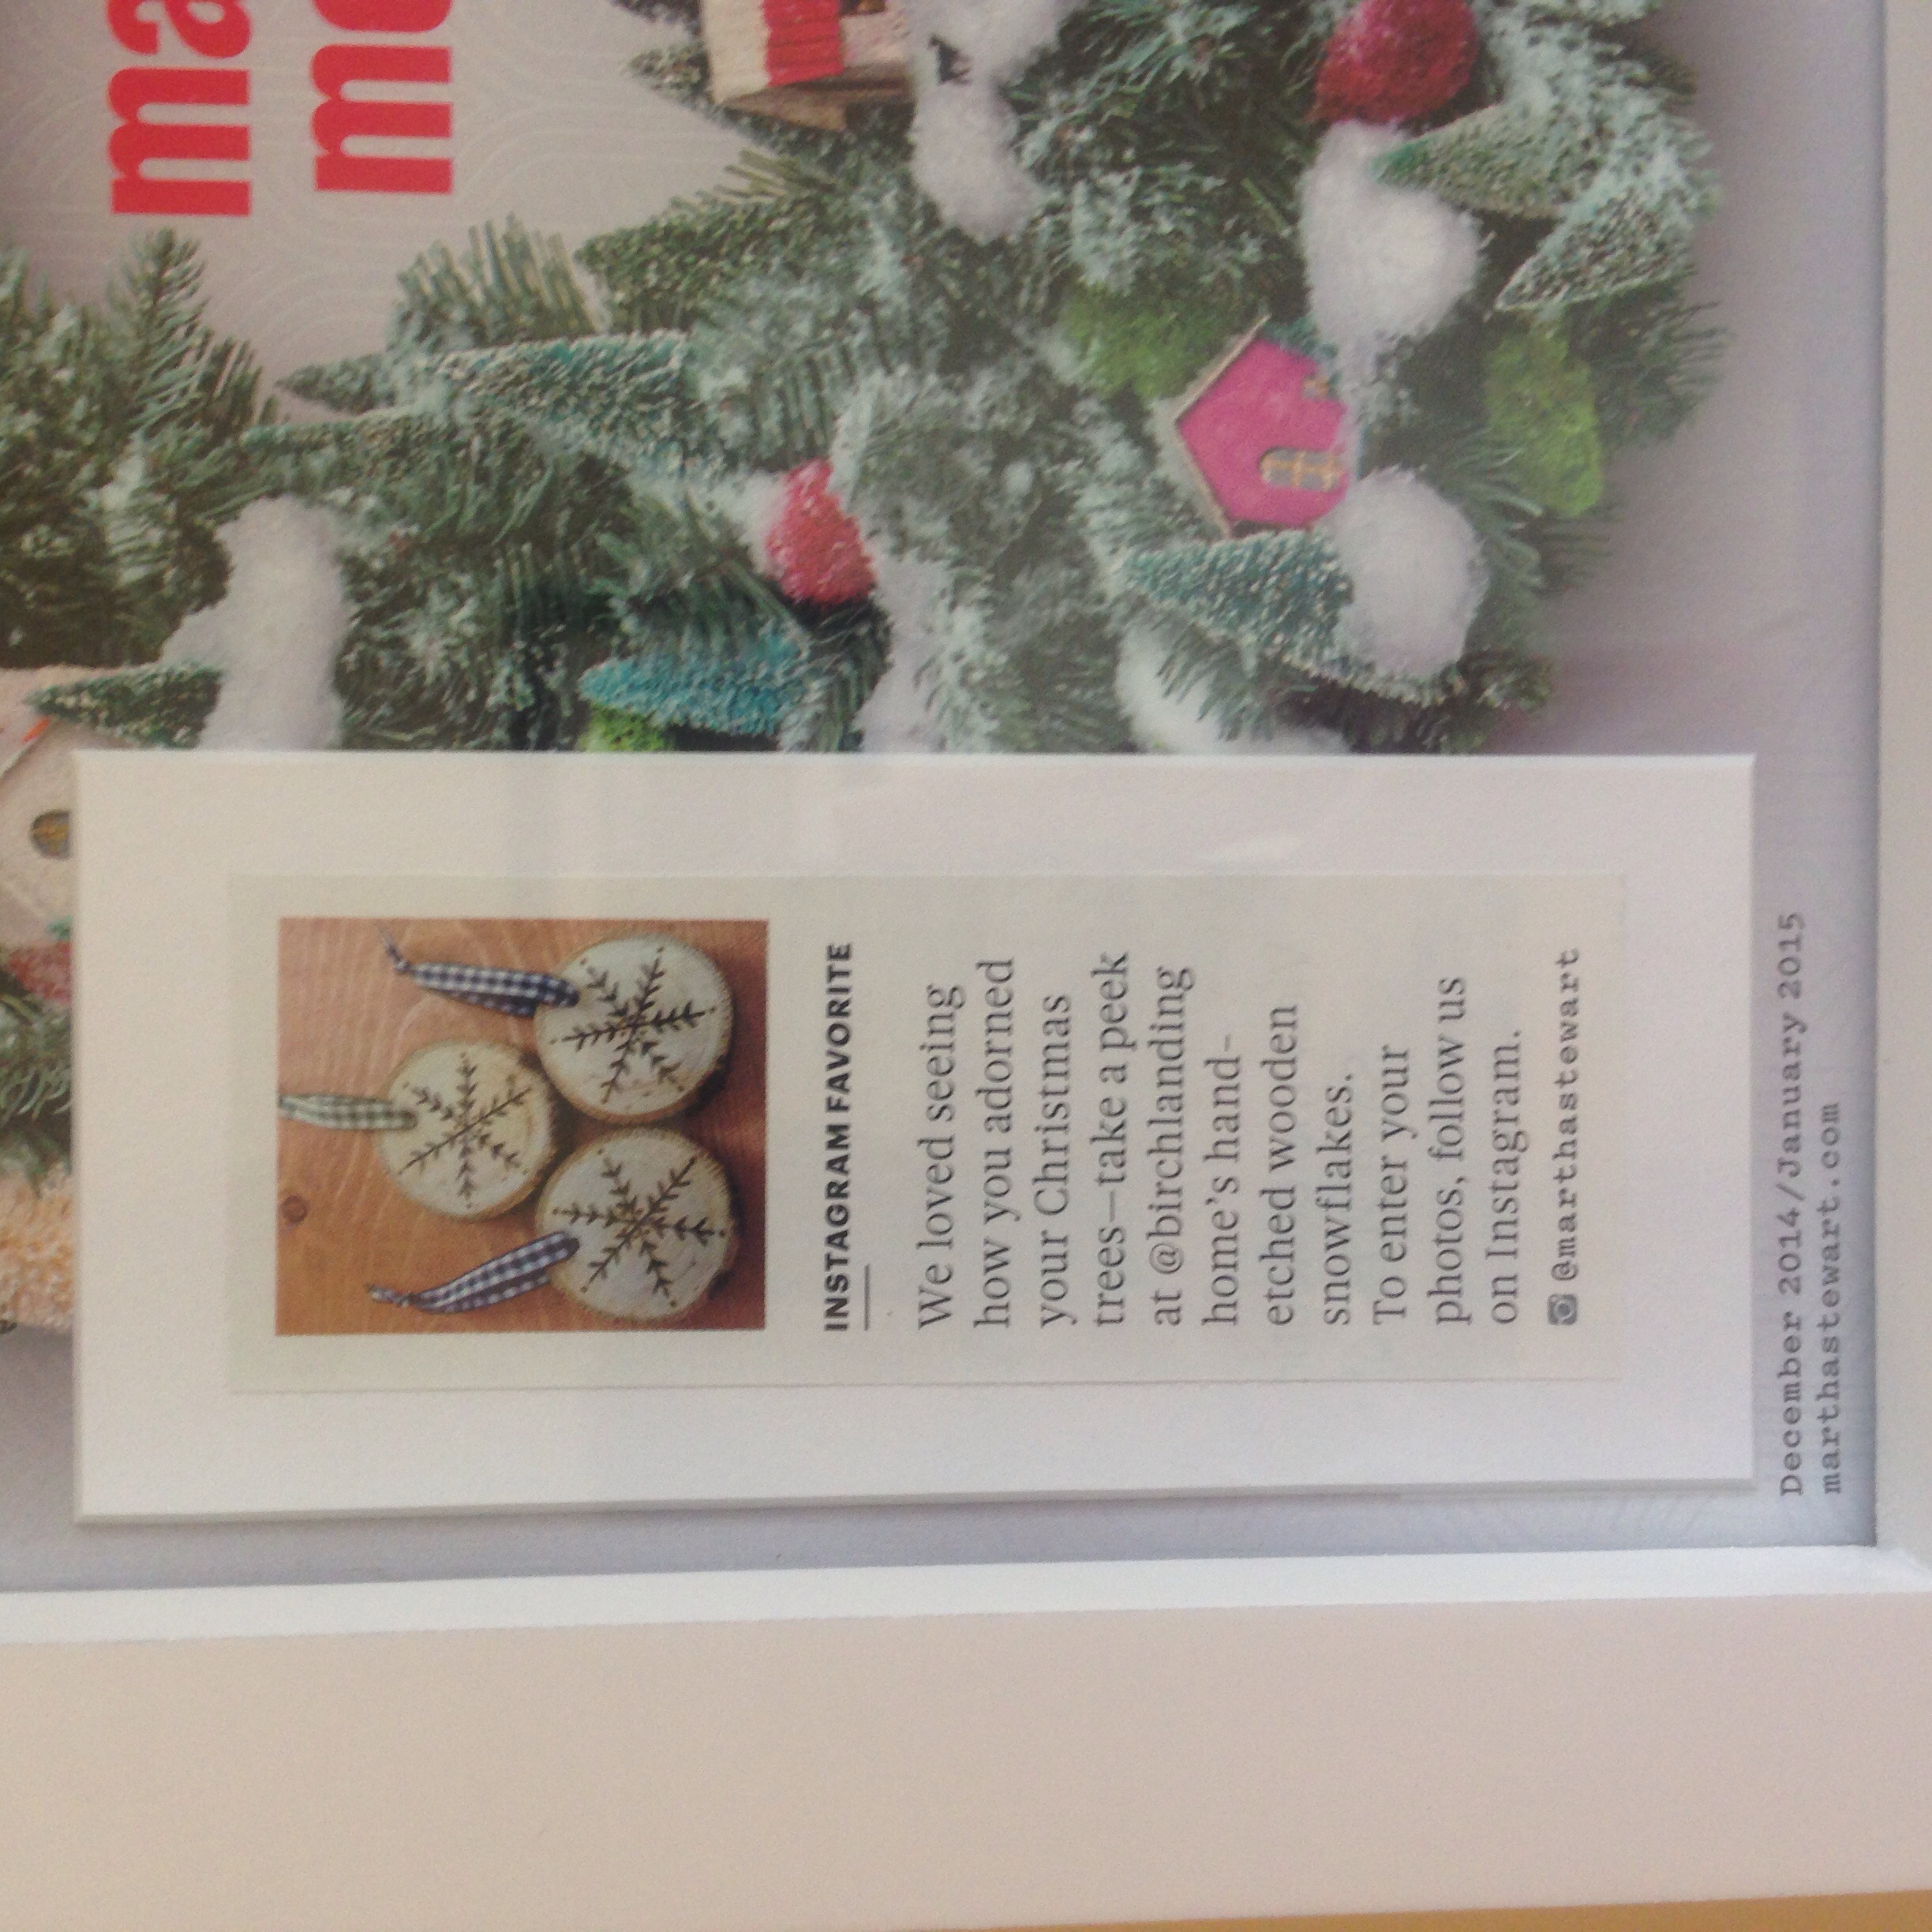
I felt a little silly about it at first but being featured was a huge honor and having it hanging in the craft room is just more motivation to keep at my little Etsy business and blog.
And I have to confess.. it is fun seeing it hanging up :) It's always been a dream to get into a big publication like Martha Stewart or Country Living and even though the feature was small I can now say I've done it.
So tell me, would you have framed it too..?
KEEP UP WITH BIRCH LANDING HOME
| Etsy | Facebook | Instagram | Pinterest | Bloglovin' | Hometalk |
Maybe I'm cheap, but it always hurts buying Christmas wreaths every year. It's so easy to drop $40-50 just to buy two wreaths for the front and back doors, only to throw them out not long after New Year's. Starting last year I got tired of throwing that money away and decided to make my own super-simple swag for our doors.
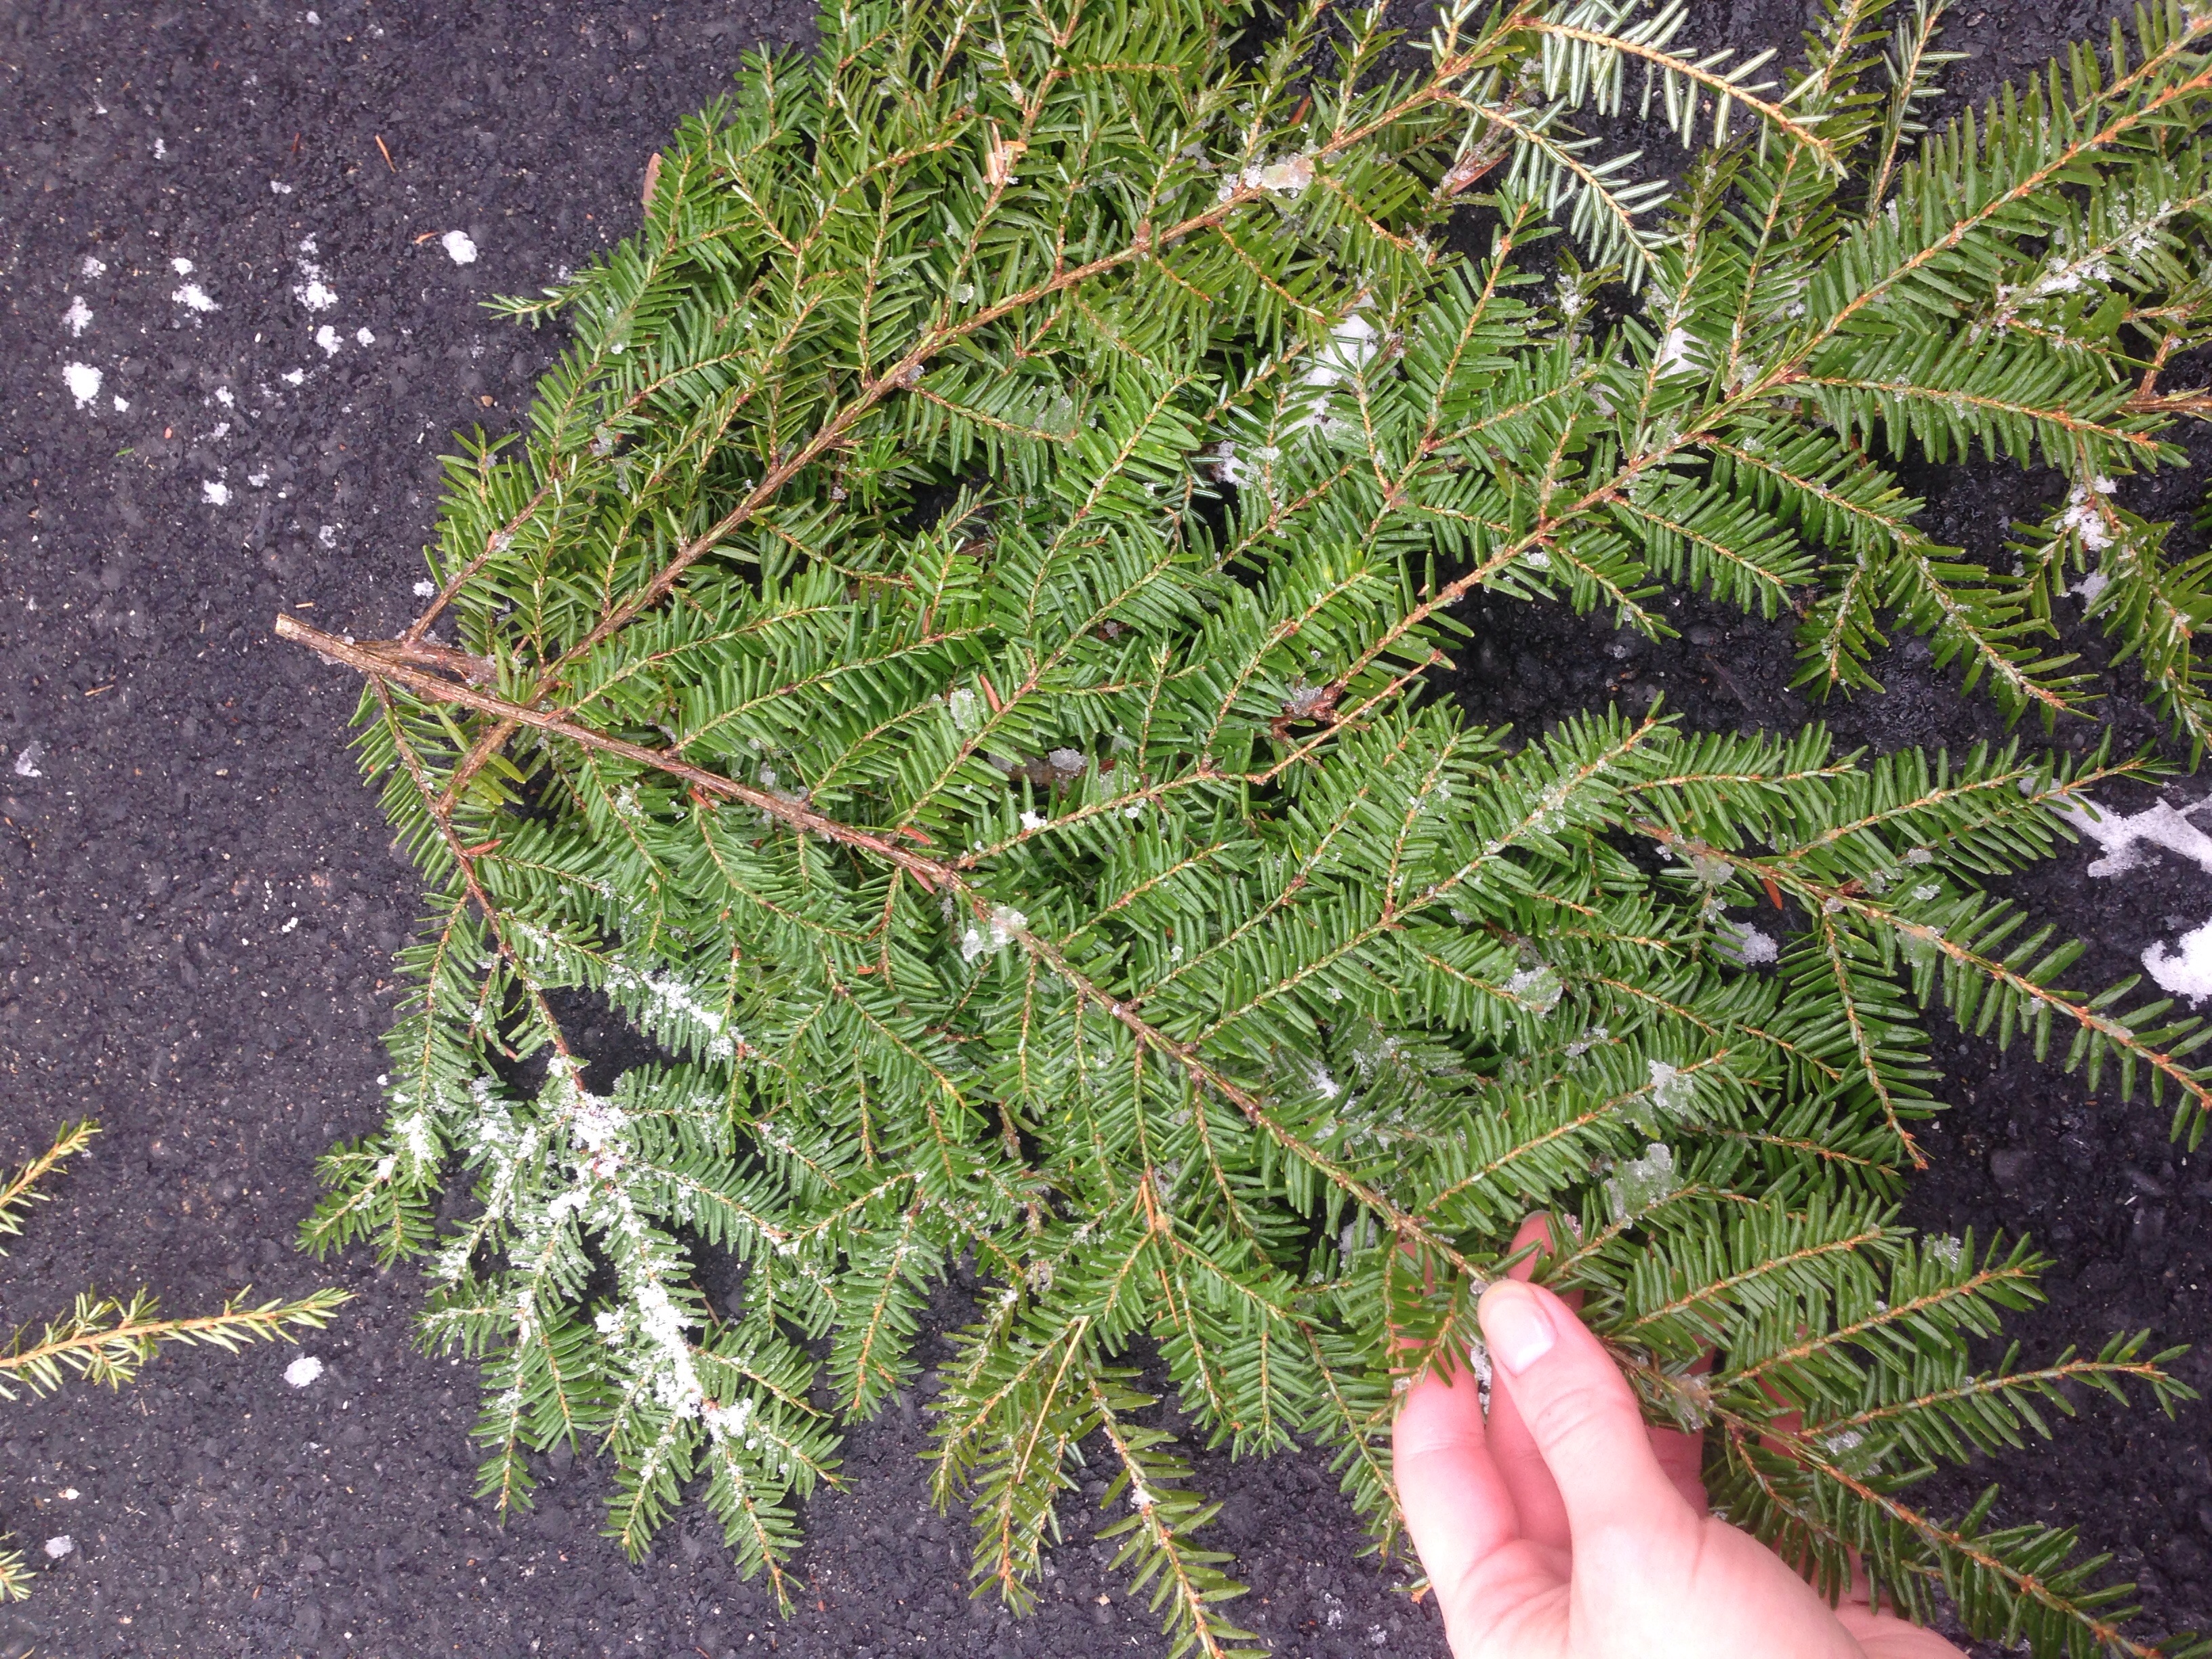
We're lucky enough to have a lot of hemlock trees behind our house, so I took some clippers and headed out to trim back some branches that needed to be cut anyways. Our dog followed me out to "help" - and by help I mean run around with a branch I cut. If you don't have suitable trees in your yard you may be able to get away with using the trimmings off your Christmas tree or you can buy bundles of hemlock or fir tree at the grocery or craft store for pretty cheap.
I made some smaller cuttings and started fanning them out, making a rough diamond shape.
Once it was getting close to what I wanted, I used some hand clippers to trim long pieces back into shape. If you have holly or other greenery you want to add, now would be when to do it.
Once I was pretty happy with it, I used some craft wire to bundle it together. You want to make it pretty tight so none of your branches slide out over time as you open and close the door. Use some extra wire to make a loop at the back for hanging.
Now add your bow. I had our bows made at the local garden center a few years ago. They had spools and spools of different fabric ribbon available, I picked the pattern I wanted and they made me up a couple of matching bows. I think they cost me $7 each, but I reuse them every year so it was definitely worth it! These bows have some wire in the back to attach it to the swag. After you add the bow, do any final trimming of the greenery.
This finished swag cost me nothing this year since I already had all the materials, and that's just fine by me ;)
KEEP UP WITH BIRCH LANDING HOME
| Etsy | Facebook | Instagram | Pinterest | Bloglovin' | Hometalk |
Ever notice that the silhouette of those Starbucks bottles are very much like an old-fashioned milk bottle? I'm sure the real reason is smart marketing, but an ever better reason is for you to turn that bottle into a milk bottle vase!
Materials:
- Starbucks glass bottle, with lid (which means you have to drink one of those delicious coffee drinks.. darn)
- white or cream acrylic paint
- cardboard
How to:
First drink a Starbucks (most difficult part of the job right here). Then remove the labels and wash the bottle thoroughly, inside and out. You should be able to get the glue residue and expiration mark off the bottle with a scrubby sponge and dish soap. Rinse the cap and save.
After the bottle has completely dried, squirt a decent amount of acrylic paint into it and replace the cap. Swirl and shake the bottle until the paint has completely coated the inside of the bottle, adding more paint if necessary.
Remove the cap and pour the excess paint back into your paint bottle.
Next set bottle upside down on the cardboard for about 30 seconds then pick straight up, set back down in a different spot, and repeat several more times until you seem to have most of the excess paint out and a nice even coat on the inside of the bottle.
Put bottle back upright to dry so the paint doesn't drip and pull away from the bottom and also so that air can get inside. At this point I brought it inside the garage to dry - didn't want any curious grasshoppers falling in!
Let dry about 48 hours.. it can take a surprisingly long time to dry due to the small opening of the bottle.
Once completely dry, place on a sunny windowsill and admire. (Note: this vase is for decor purposes only. If you put water in it for cut flowers the acrylic paint may start to lift off the glass after a while.. just something to keep in mind. You may want to consider using fake flowers.)
You could even dress these up a bit with some gingham or burlap ribbon. They are so easy to make and could be used for all sorts of things such as small centerpieces or accents for a bridal or baby shower.
KEEP UP WITH BIRCH LANDING HOME
| Etsy | Facebook | Instagram | Pinterest | Bloglovin' | Hometalk |