Library at Lunch - School Library Program Idea
While I’ve been working in the school library environment for several years, this is my first year as an official middle school library media specialist. I’ve been really enjoying it and the challenges that come with this new role. Recently I decided to try a new initiative to bring the library TO the students and called it “Library at Lunch” - and I’m happy to report it was a great success! | This post contains affiliate links |
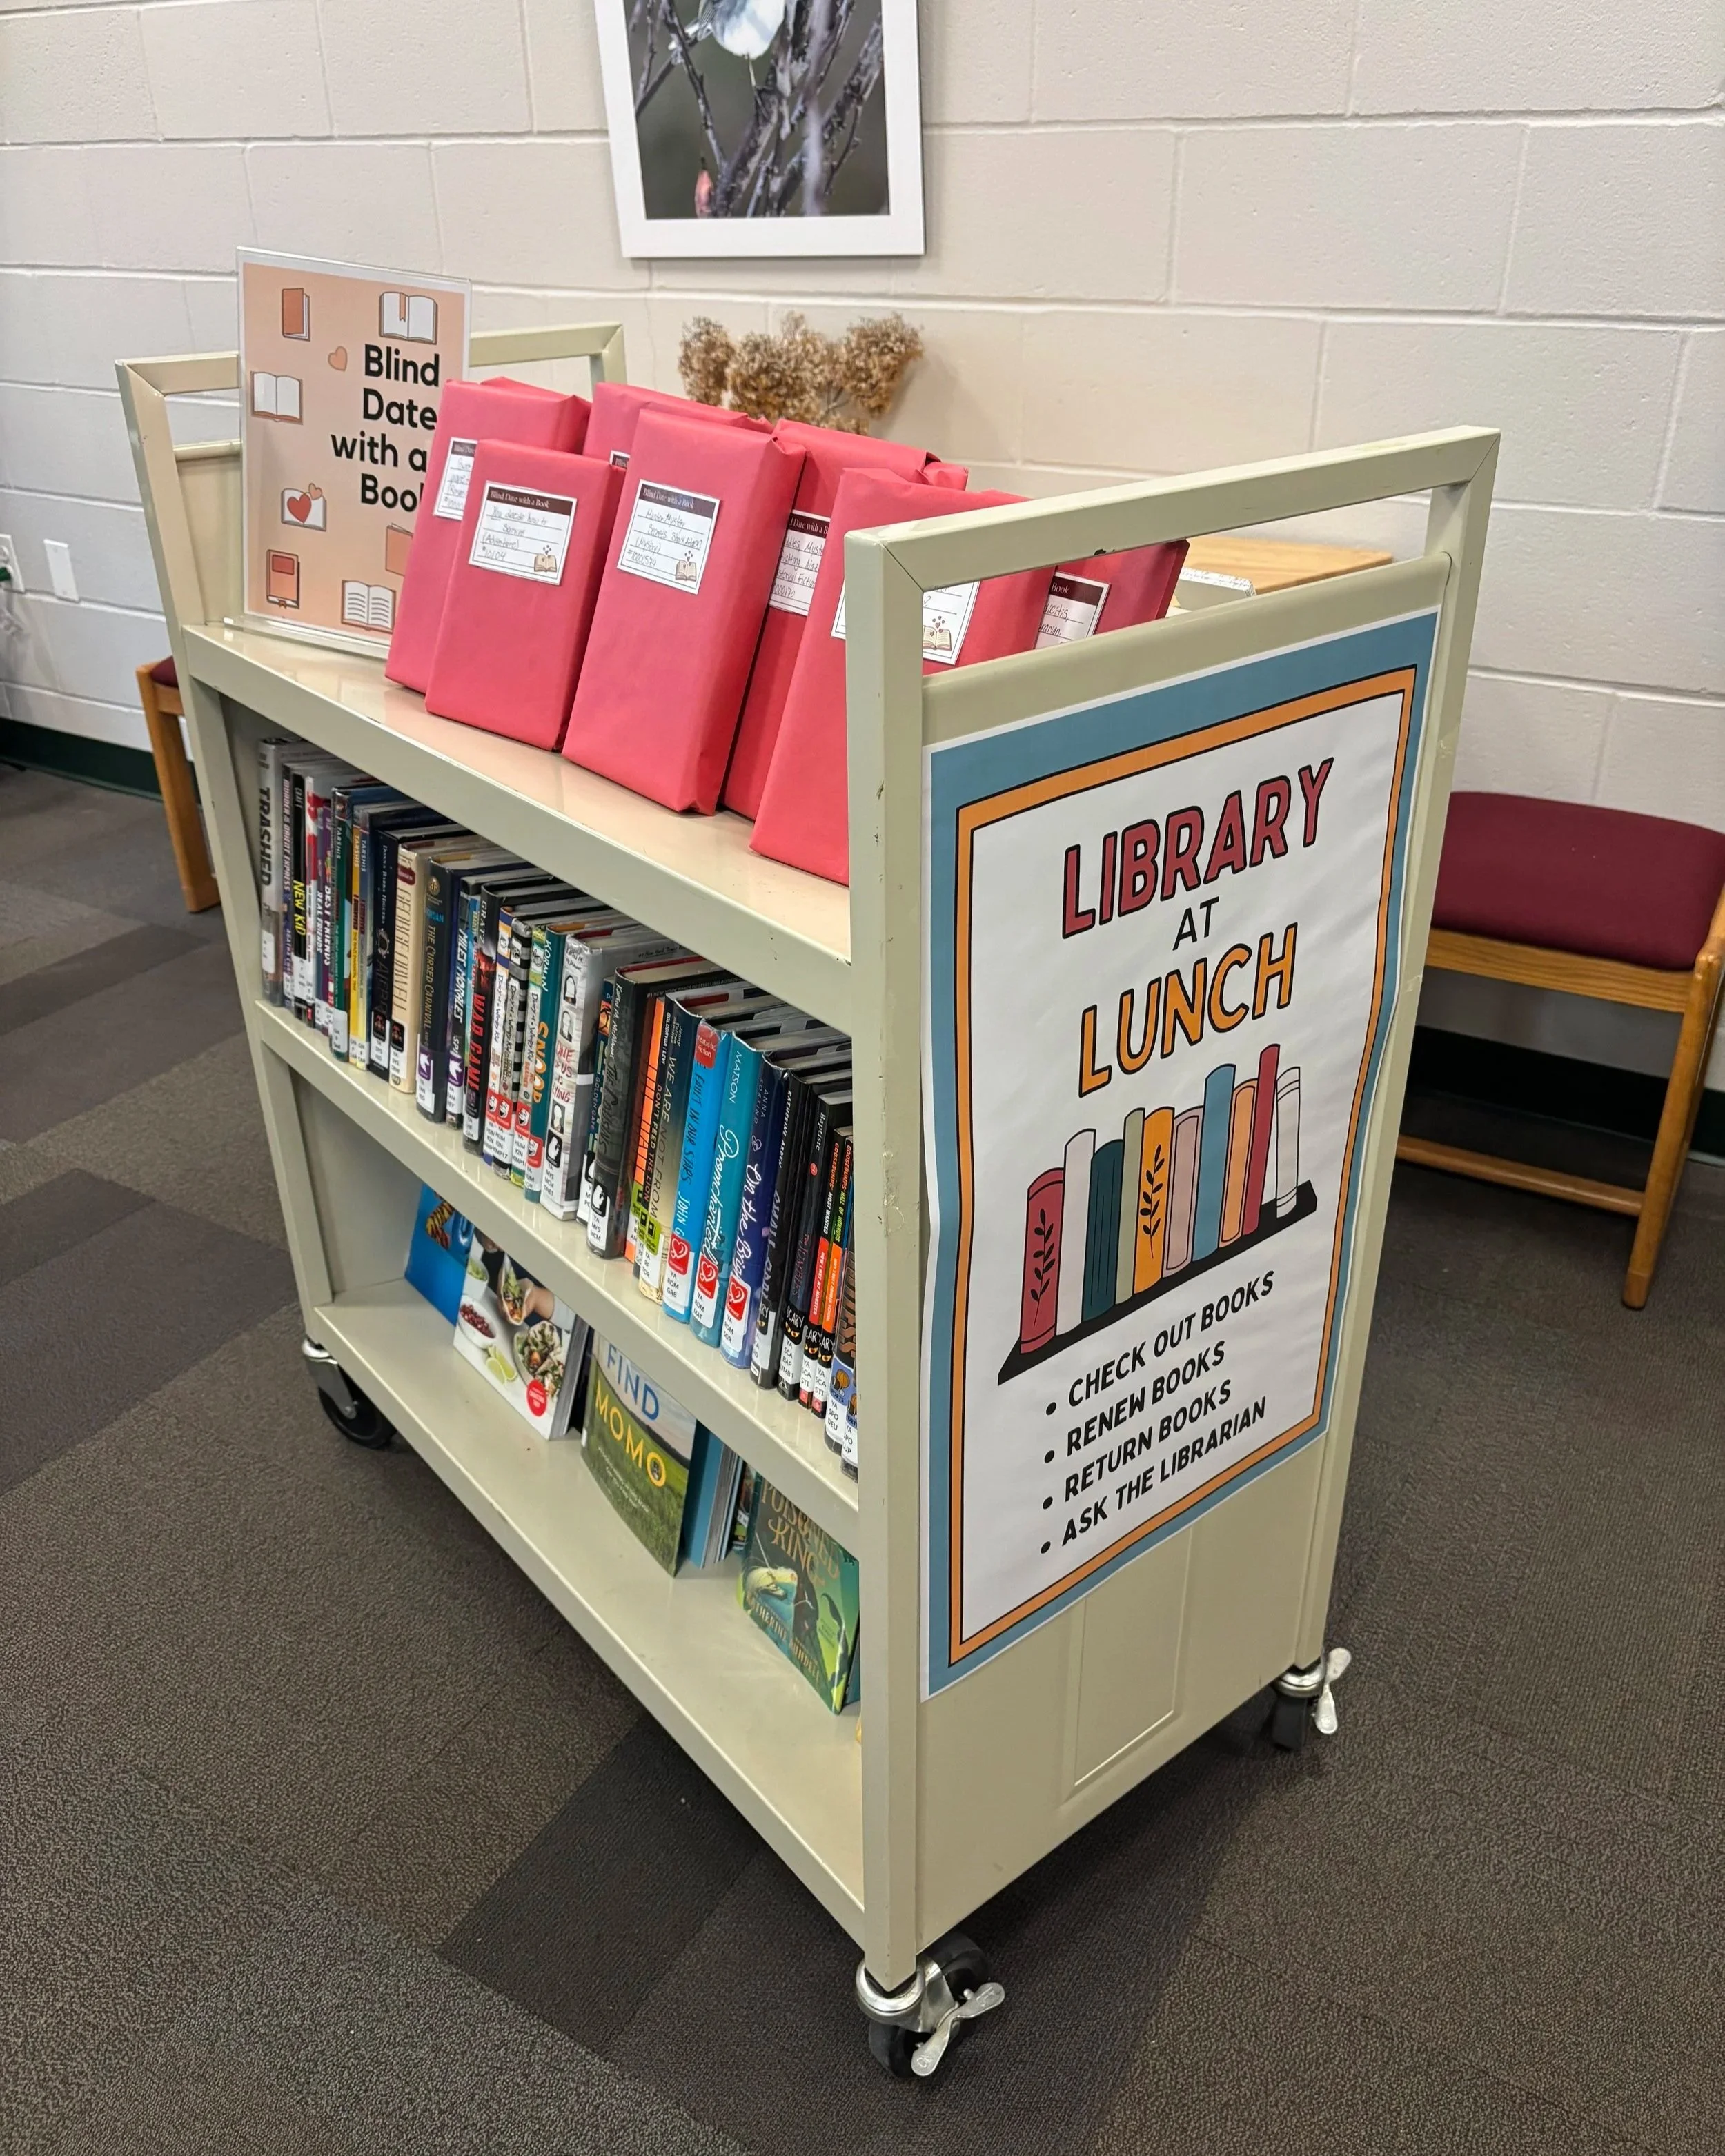
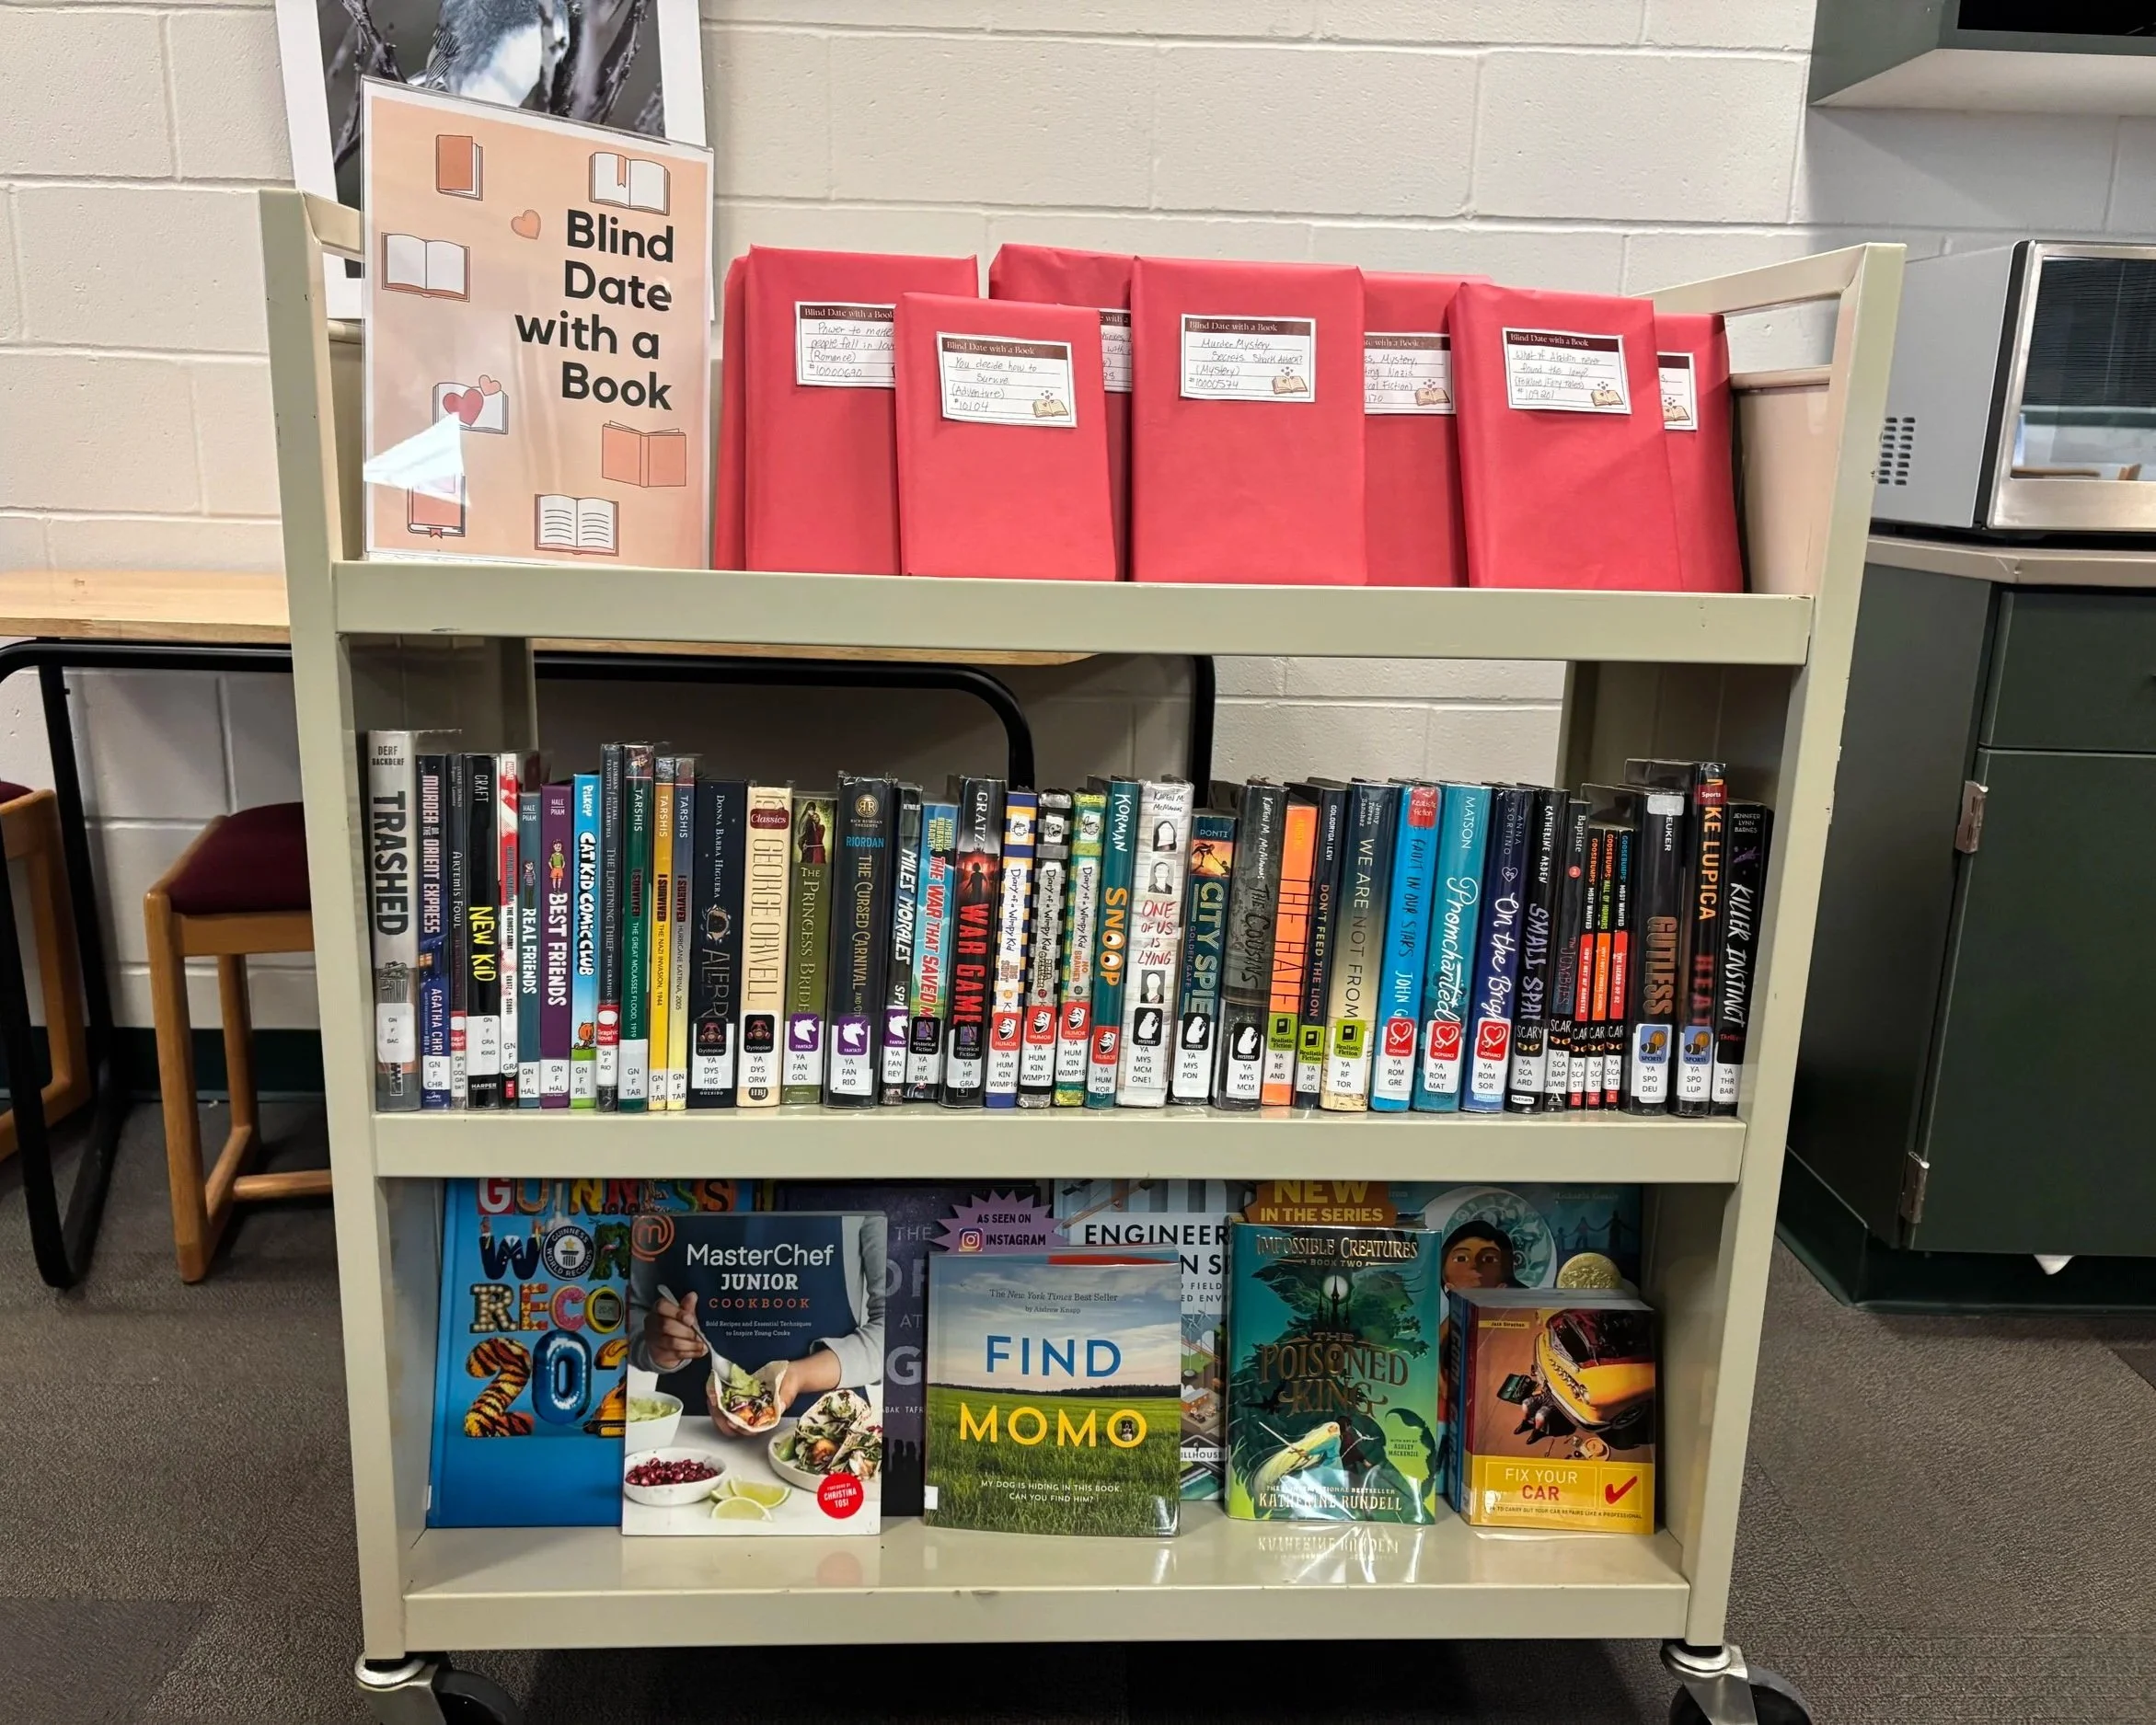
My idea was to bring a cart of high-interest books, magazines, and “blind books” to the students during lunch. I made sure to represent different genres and choose titles that are popular or had a catchy title, as well as some new books and interesting nonfiction and coffee table-type books. I made sure not overwhelm with choices and only filled one side of the cart. I think sometimes students come into the library and feel overwhelmed… there’s just too many choices - but this made it easier with a smaller selection of fun items to choose from.
Since it was the week of Valentine’s Day I leaned into that with some “Blind Date with a Book” blind books. I picked 8 books that I think most kids wouldn’t mind reading, each from different genre. I wrapped them in bulletin board paper and wrote out little tags (made in Canva) with some very vague information about each book - I wrote just a few words describing the book, the genre, and the barcode number so I could check it out to students.
When I got to lunch I stood behind the cart with my laptop on the back top shelf like it was a checkout counter, then started going around visiting tables. I felt a little like an airline stewardess (drinks? pretzels?) as I went around asking students if they would like to check anything out from the cart. I made sure it was no-pressure and if they weren’t interested I thanked them for looking and moved on to the next table.
The kids LOVED the “Blind Date with a Book” books and those got checked out quickly! They were excited to open them and see what book they got. Kids that never come to the library checked out books or magazines that day. I’m happy to say “Library at Lunch” was a huge success!
Going forward I’d like to do this for each grade every-other-month… I think it’s important to spread it out a little so the novelty doesn’t wear off. I think if we did this too-frequently it wouldn’t get as much excitement. Also spreading it out a bit allows for more new books to be included when I bring the cart.
Overall, I’m very excited with how it went and I’m excited to continue this library program going forward!
All posters, signs, and book tags I created using Canva.
More Posts About Library Media:


Teaching Curated Picks:
Scroll sideways to see more —>
KEEP UP WITH BIRCH LANDING HOME
| Etsy | Facebook | Instagram | Pinterest | Bloglovin' | Hometalk |