I'm a wife, stay-at-home mom, crafter, and blogger living in rural New England. As seen in Martha Stewart Living, Food Network Magazine, and more! | Tutorials, DIY, crafts, parenting tips, recipes, money saving tips, product reviews, local product features, New England living, intentional living, and more! |
My parents-in-law gave us an awesome old milk can and it took me a little while to decide what I could do with it. After some thought I decided to use it as a country-inspired house number display. | This post contains affiliate links |
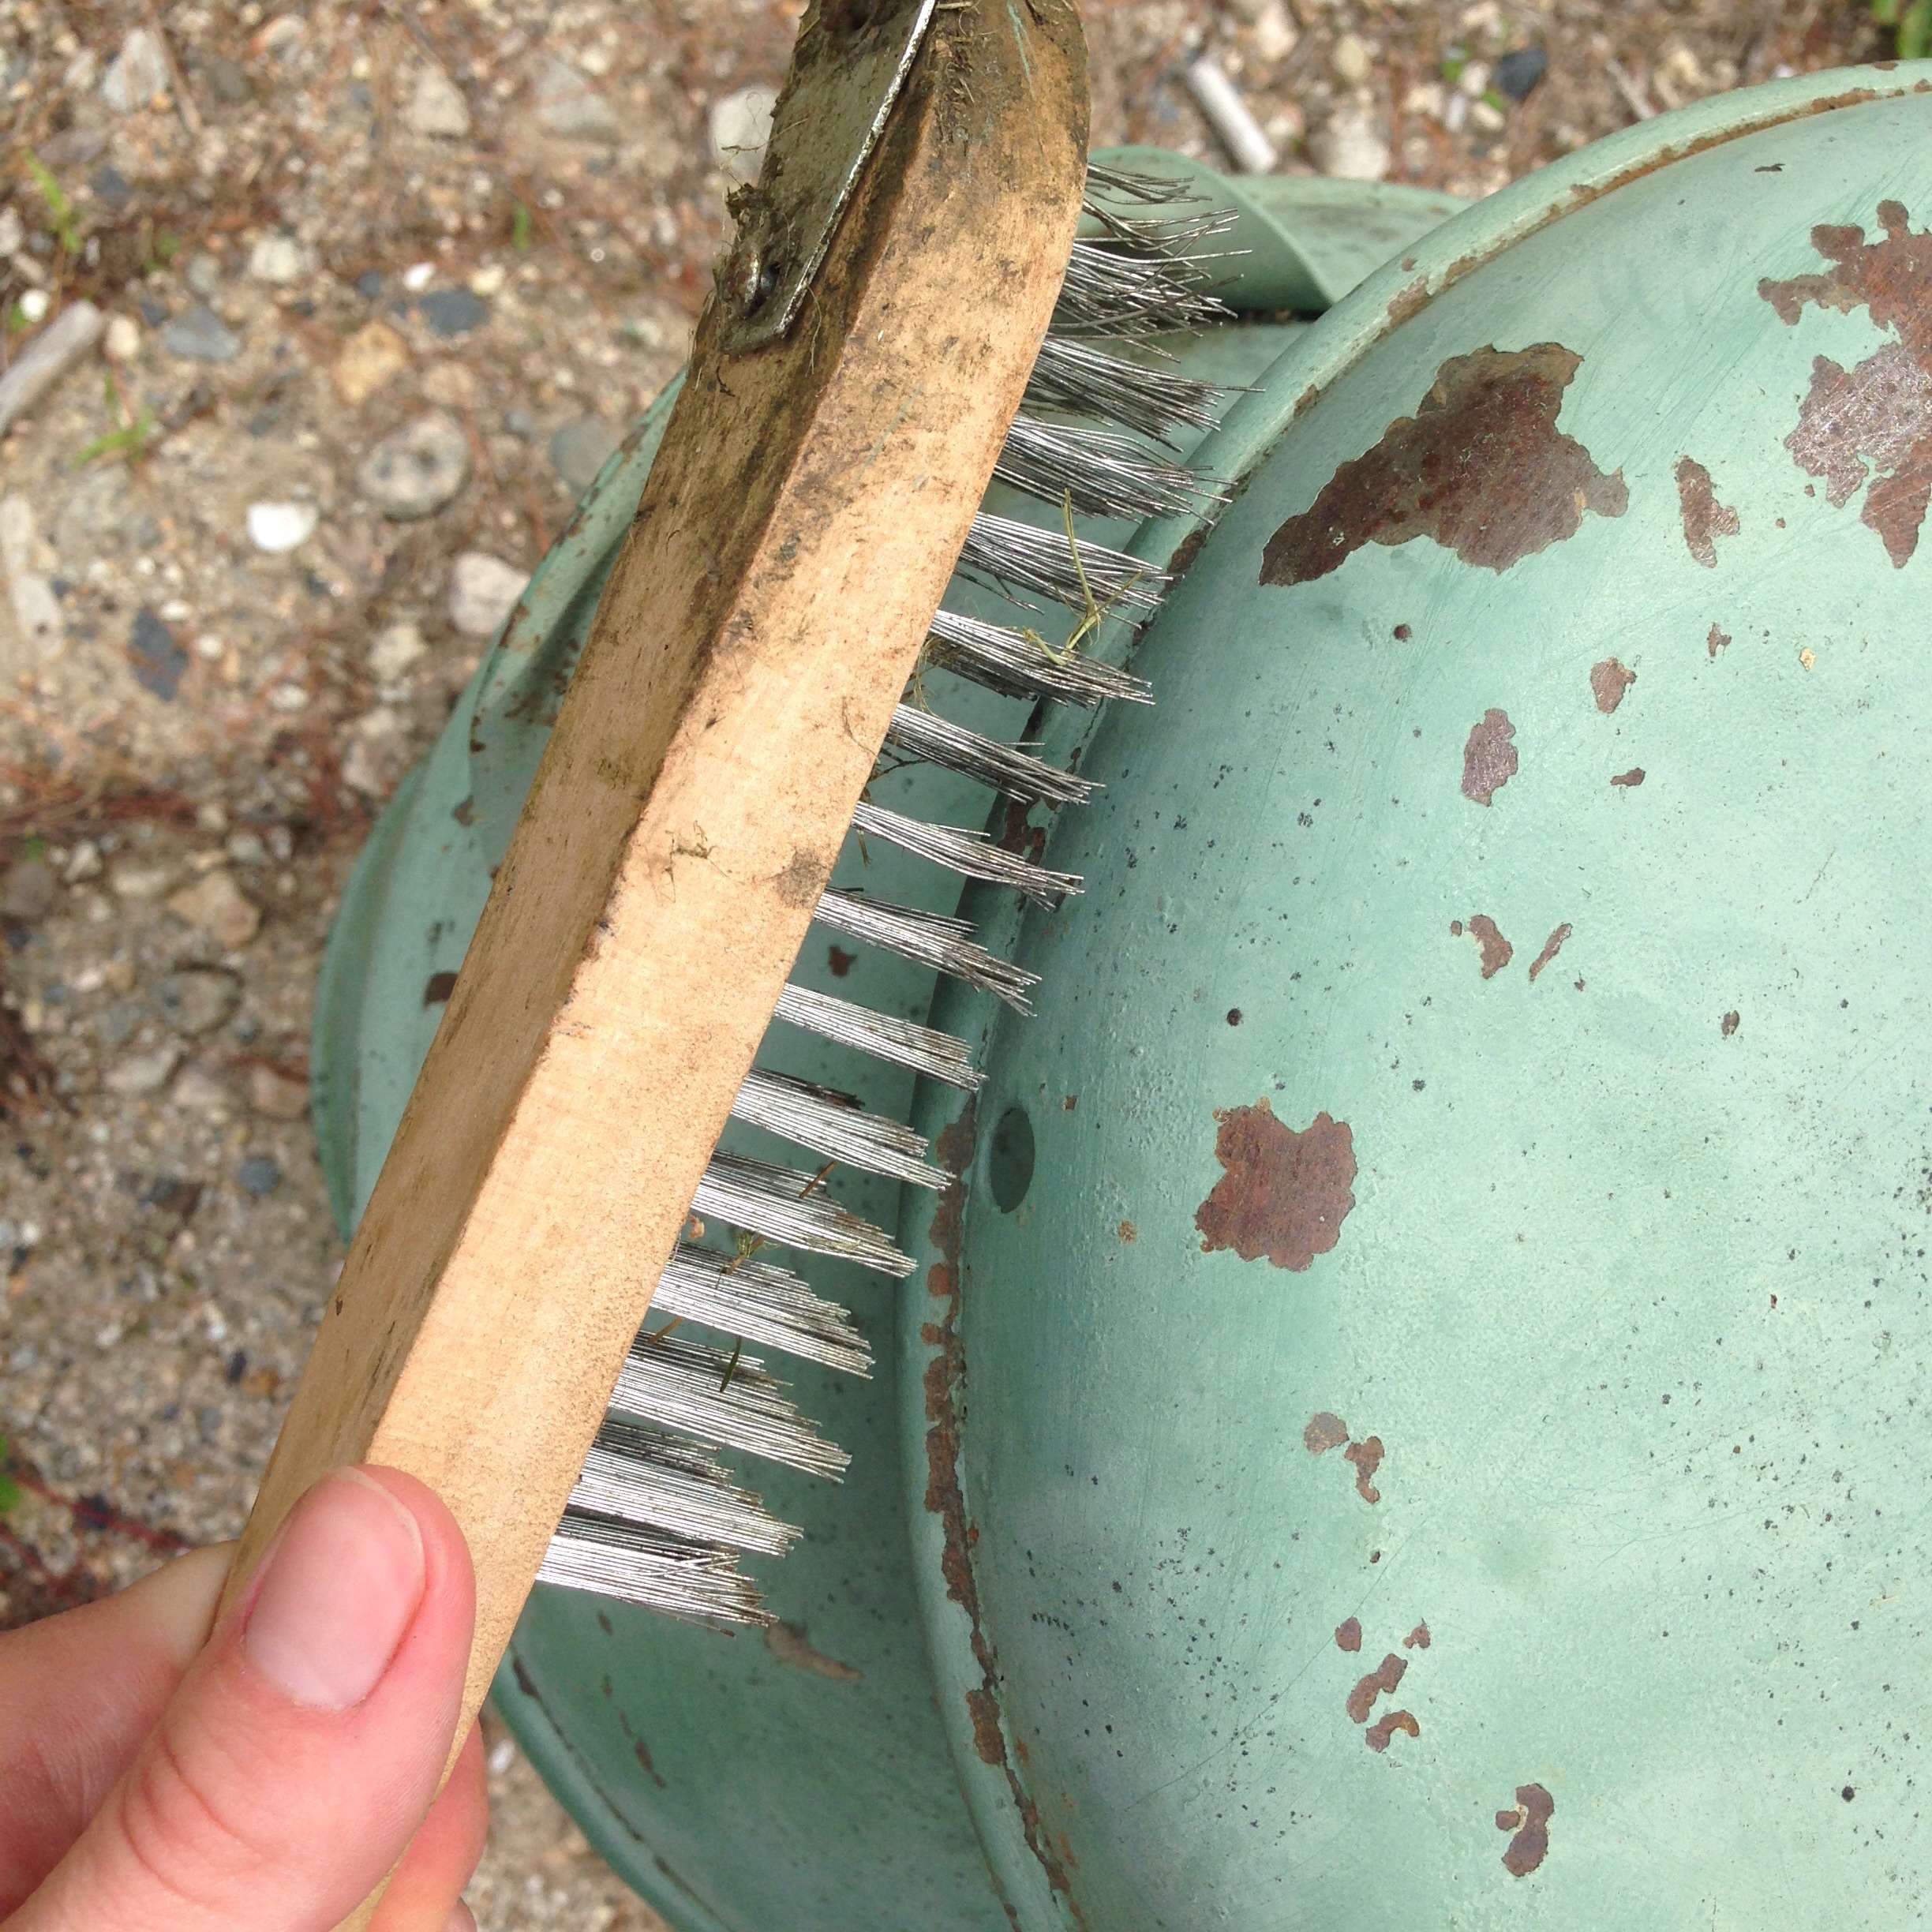
The milk can had already been re-painted at one point and while the green paint and the rust spots definitely gave it a nice patina, I decided to clean it up and repaint it to make it a little cleaner and kid-friendly.
First step was to clean up all the loose paint. I used a wire brush, metal scraper, and rough-grit sandpaper to clean it up and make a good base for the new paint.
Once it was ready I used Rust-Oleum Professional High Performance Protective Enamel in matte black and gave it two coats, letting dry about 24 hours between coats. For the stencil I made a point to choose a font and size that looked like it belonged there - that maybe the farmer numbered all his milk cans and this was just one in the lineup. The stencils I used were from the Martha Stewart Monogram Serif Stencil Set, trimming the letters down and taping them together with painters tape. I had used the "o" previously for another project.. hence why it's brown.
I used white acrylic paint to stencil it and filled the gaps in the stencil with a small brush after. I think the milk can came out pretty cute and adds the perfect country touch!
This past week we grew our family by six! Six little baby chicks, that is. I've always wanted chickens and goats for as long as I can remember and while goats are a no-go in our neighborhood, chickens are something we can do! Our little one LOVES animals so we figured now would be a great time to introduce some chickens to our family.
It's. So. FLUFFY!
As far as breed goes, we were hoping to get New Hampshire Reds but chickens are getting to be a hot commodity around here and were selling out fast at all the local farm & garden stores. Therefore we decided to settle for Rhode Island Reds instead, a very similar breed.
| Keeping Chickens by Ashley English |
My husband has grown up with chickens so we already have an experienced chicken farmer in the house, but since I don't know too much about keeping chickens I've been doing my homework ;)
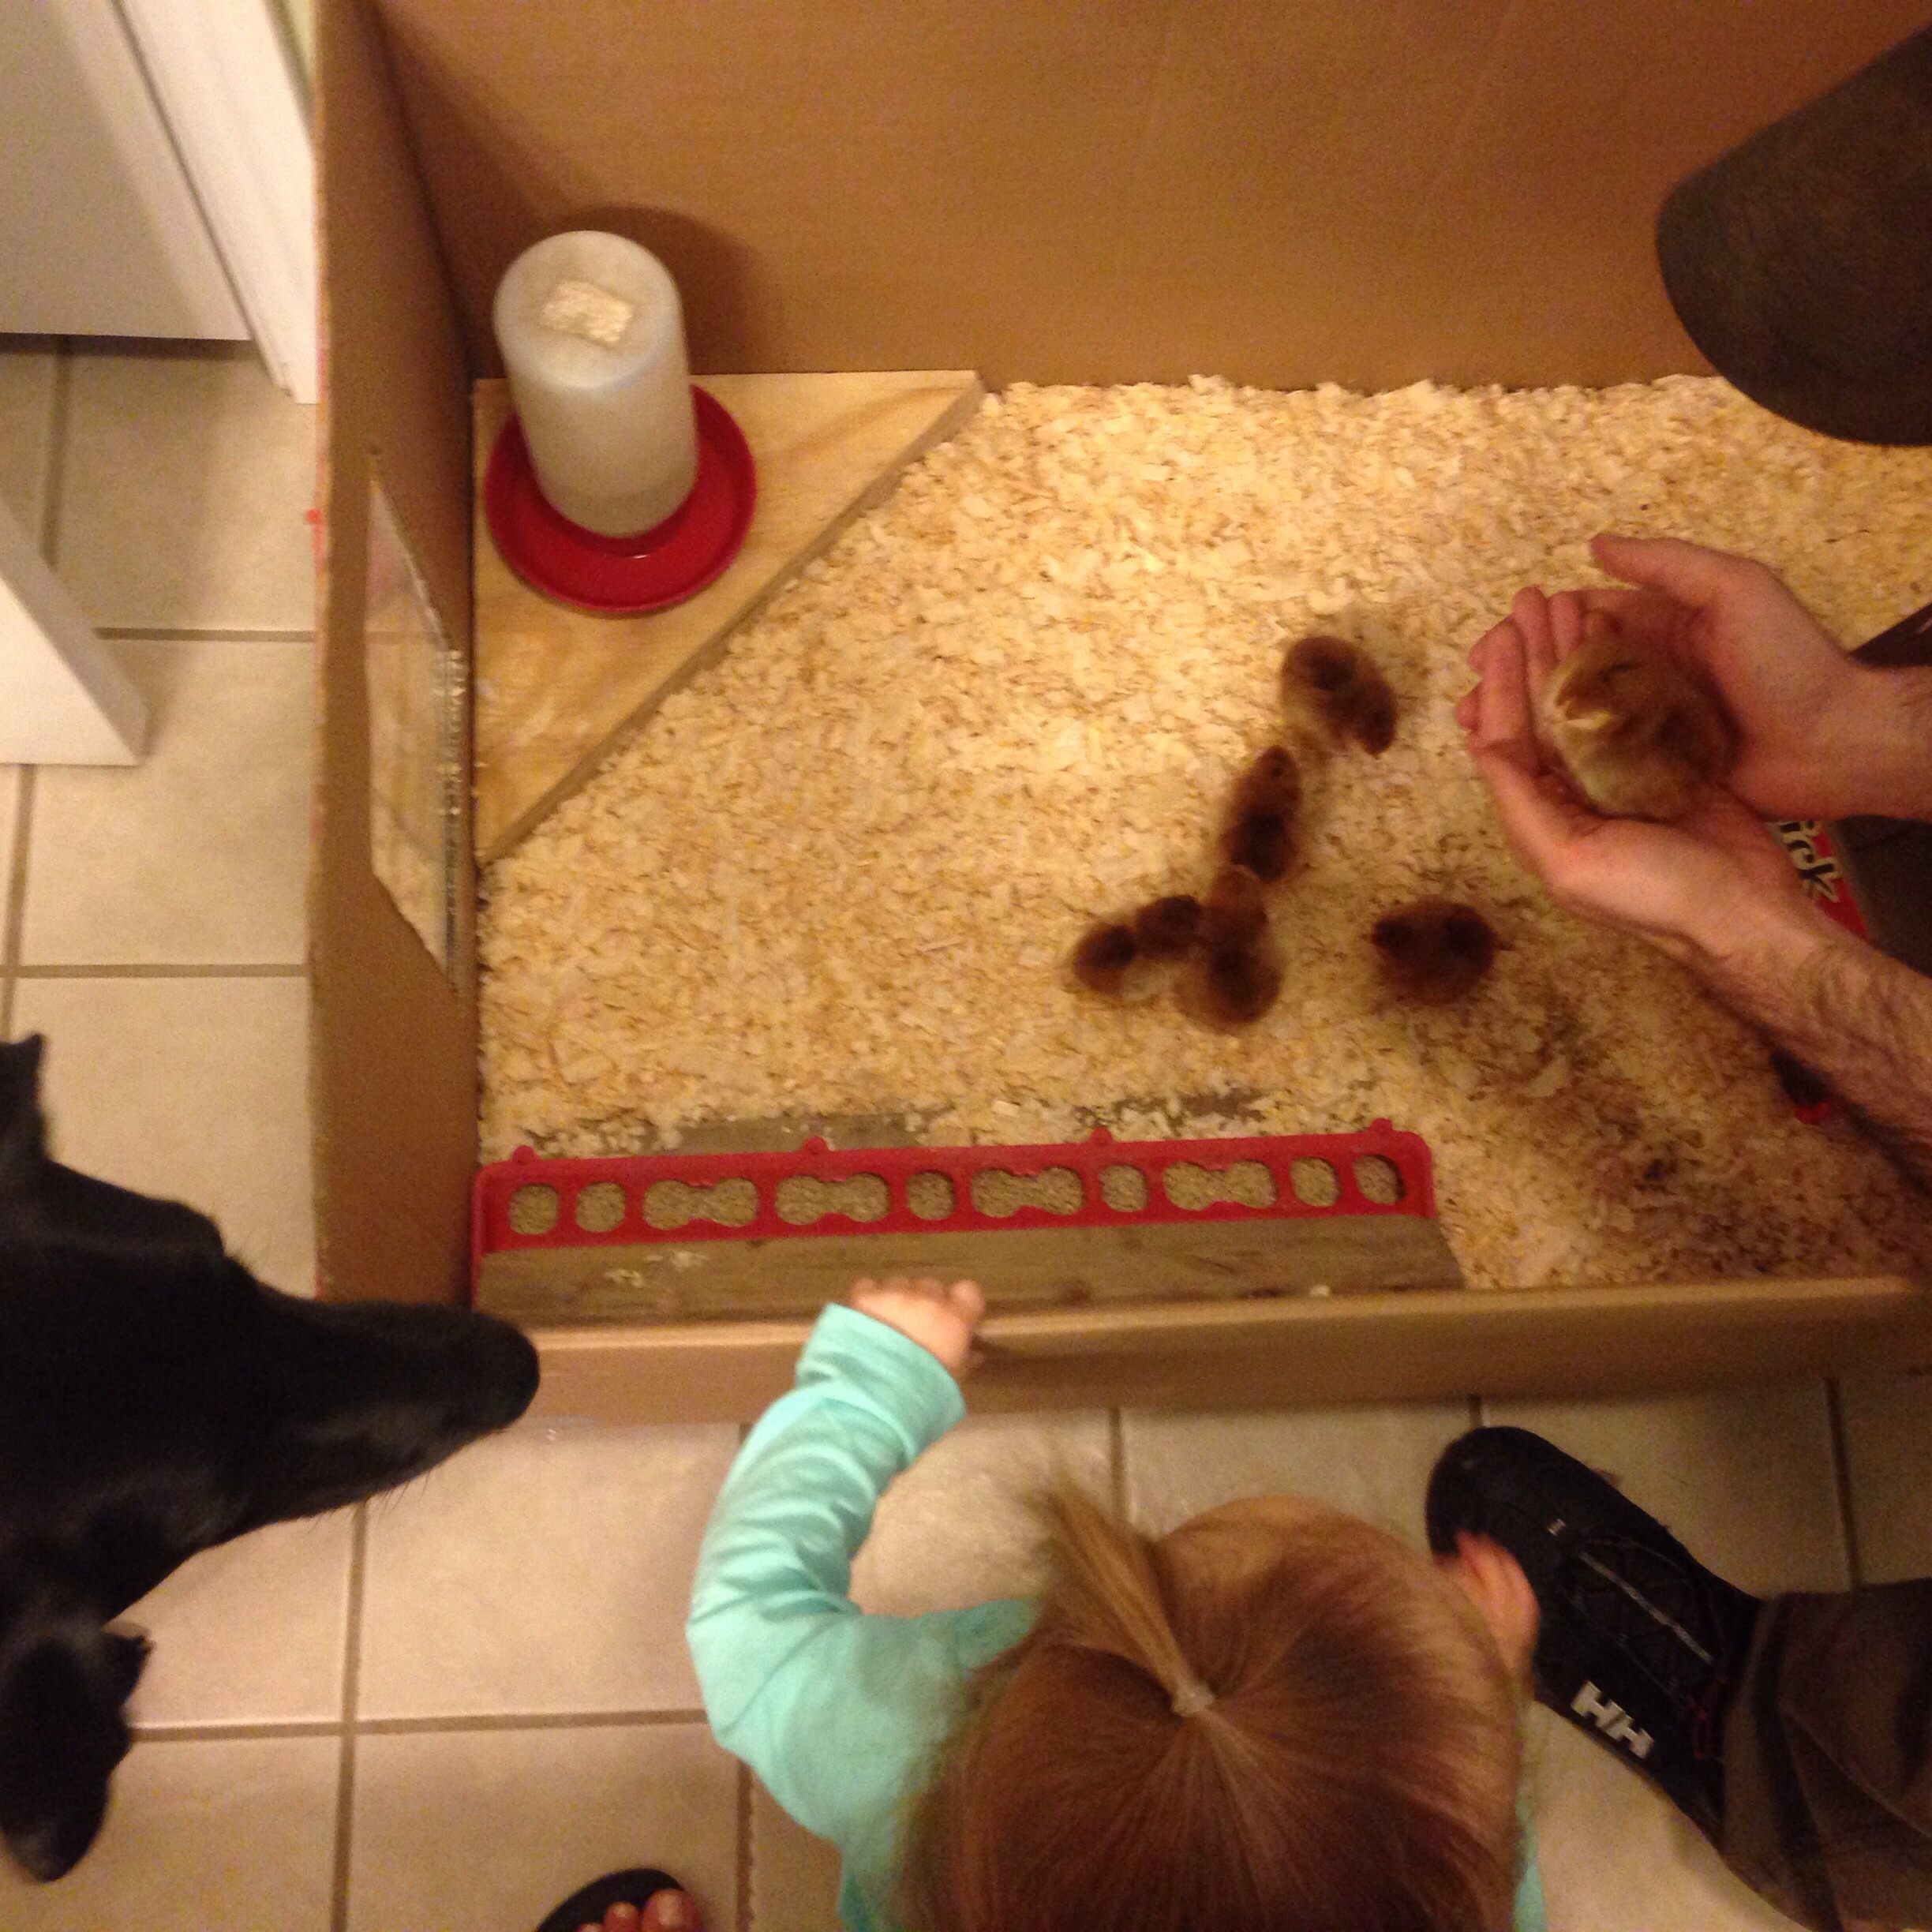
Meeting the girls! Miss M loved the chicks and kept laughing and pointing at them while Harley didn't really care much about them at all. That's pretty funny because if Harley sees a robin in the lawn she will charge it and chase it out of the yard in a heartbeat.
Sorry this bathroom is occupied!
Our guest bathroom will be home to these ladies for the next month or so until they get big enough to move to the coop. In this box they have shavings, water, chick starter feed, and a heat lamp above. Hubby made a window out of Plexiglas so Miss M and Harley can keep an eye on the chickies (we put a baby gate across the doorway so they can't get too close though).
It's just incredible how fast they grow! In less than a week they went from sweet, tiny little balls of fluff to much more wary, bigger little chickens - complete with wings and tail feathers coming in. It won't be too much longer until we can move them out into the coop!
This week I was hoping to bring you a post on making pickles. I've never made them before and wanted to give them a try with all the cucumbers we've been getting out of our garden. Unfortunately I let the cucumbers get too big and they were all seeds - no good for pickles. Such a bummer, but I've learned my lesson. So, without the pickle post I decided to share the easy brick upgrade we did on our concrete walkway after we moved in our home.
When we first moved into our home there was nothing in front of it.. no bushes or anything substantial, just a plain white concrete walkway and a bark mulch bed with a few sad daffodils that had already gone by. It was so boring and even the walkway looked really unfinished.
The obvious solution to dressing up the existing "flower" (I use that term loosely here) bed was to get plants and bushes in there - but what about the concrete walkway? Luckily for us the previous homeowners had left behind a lot of bricks... A LOT. Some were stacked under the back deck, but there was also a small random brick patio that we had plans to disassemble anyways. There were sooo many bricks.. it was actually becoming a problem on where to store them and what to do with them.
While trying to figure out what to do I came up with the idea of inlaying them along the walkway to dress it up a bit - and though it was a little time-consuming, the whole process was actually really easy!
Materials:
lots of bricks (enough to line both sides of the walkway, plus a few extra)
edger
wheelbarrow
spade
rubber mallet
How to:
First I started hauling all the bricks to the front yard and laying them along the walkway to make sure I had enough (though we had so many I probably could have done this project twice!). I started laying them out at the front steps and put them end-to-end along the whole length of the walkway, along both sides. This way I was able to get a sense of how they fit and where I would need to do cuts (we were very lucky to have a pretty straight walkway, so the cuts needed were minimal). If you're thinking of starting this project from scratch, I would recommend measuring the length along both sides of the walkway, then head to your local home improvement center to see what they have for bricks, their sizes, and how much they cost. Once you decide on a brick you like, you can calculate how many bricks you will need.
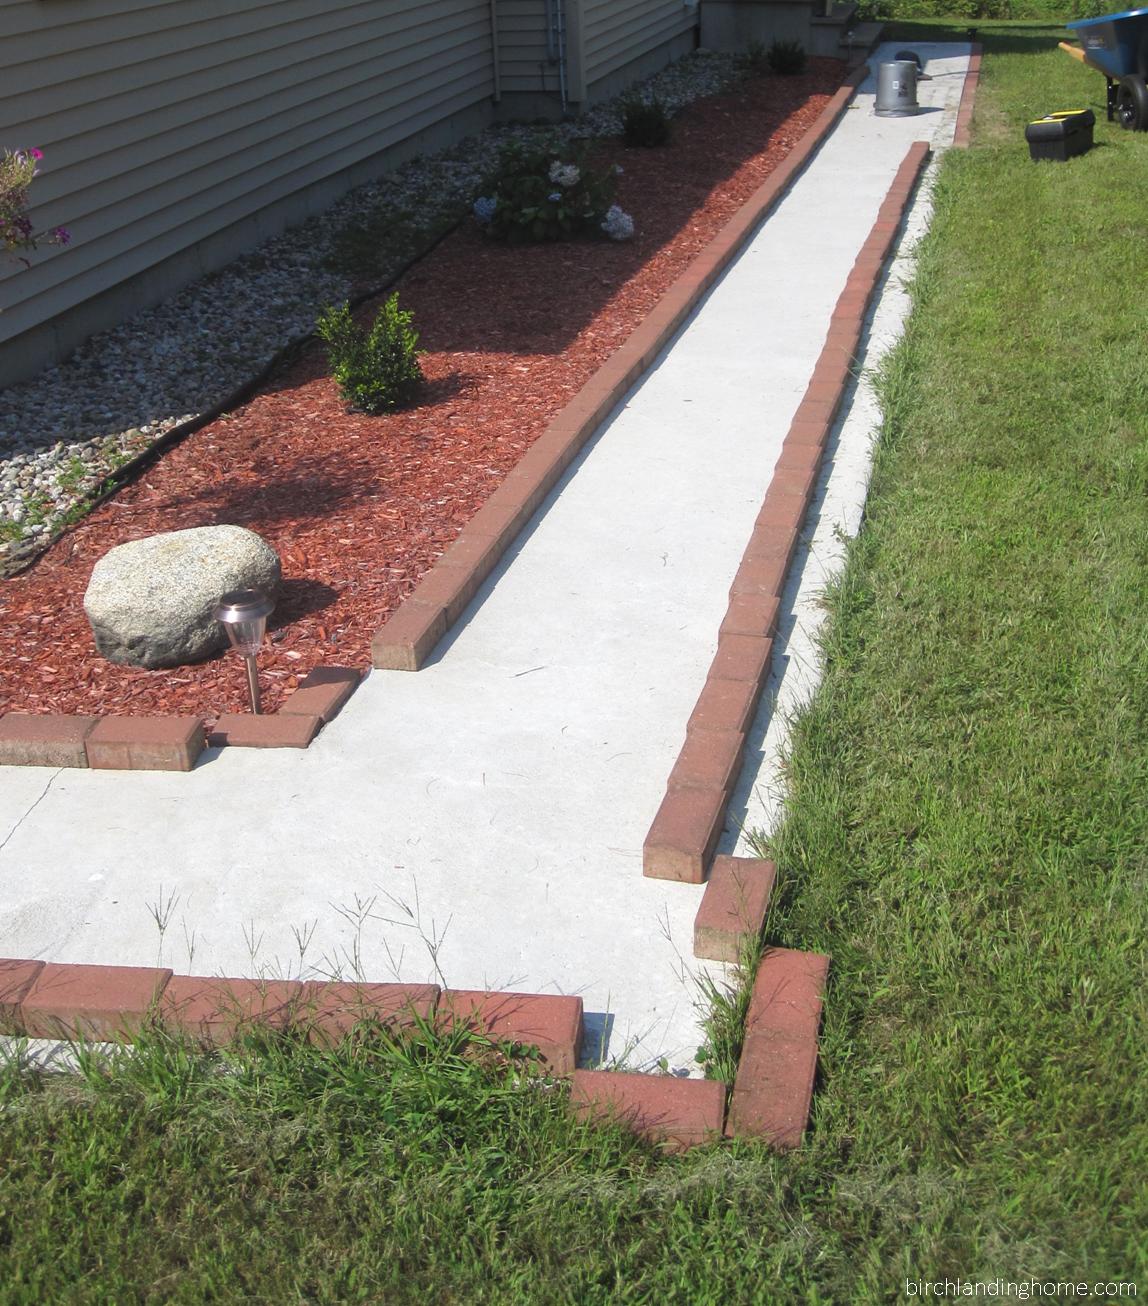
Laying out all the bricks. You can also see our first additions to the flower bed - some tiny boxwoods and hydrangea bushes. It's amazing how much they've grown!
After everything was all laid out, I started by using the edger along the side of the bricks to cut the edge of the "trench" they would be set in. I made sure not to get carried away and would only prep about two feet ahead of where I was. I would cut as I went along to compensate for how the bricks were sitting against the walkway.
Once the outside edge was cut, I would use the spade to dig out enough soil for a brick. Then I'd set the brick in and pound on it with the rubber mallet until it was even with the grass. Sometimes I would need to take the brick out and add or remove soil until it sat where I wanted it too.
I continued this process along the line, brick-by-brick until I got to corners or areas where the bricks needed to be cut. After tracing on the bricks where cuts would need to be and a quick trip to a local mason, they were cut and ready to be inlaid as well.
We have a really long walkway and I worked on this project at my leisure over the course of a week or two but probably could have gotten it done over a weekend if I had really set my mind to it. It's definitely made a huge difference to the curb appeal of our home.
The now-full flower beds look great next to the brick lined walkway.
Last week I brought you my epic battle against Japanese beetles and webworms... to update in short: Me: 0, Japanese beetles: 1.
So as you probably remember, I've been waging a war against some of the most annoying (in my opinion) garden pests around. For today's update I have some good news and bad news... Good news: there are no more signs of webworm and no further damage to our lilac bush! Hooray!!
Bad news: the Japanese beetles are back and hungrier than before. First I tried brushing and picking them off my plants and dropping them in a bucket of soapy water. The results were instantaneous and I would have been hard pressed to find any beetles left on my plants by the time I was done; I also set up a Japanese beetle trap away from the garden and caught many bugs right away. I thought I was in the clear but decided to wait several days to see how things went.
Nearly a week later I'm back to report on my progress - I haven't touched the bean plants at all because I wanted to see if my efforts had any lasting effect. And folks, I'm here now to tell you.. it didn't. The trap has in fact caught more beetles, but it's not an outrageous amount (there's maybe 1-2 inches of beetles in the bottom of the trap, we caught about 1 inch of beetles within the first day) and my bean plants are suffering more damage by the day! There are less beetles on them than there were a week ago, but they certainly found their way back and seem to be doing even more damage than before.
In conclusion, next time I'll save my money and skip buying the Japanese beetle trap. I'll stick to taking the beetles off the plants dropping them in a bucket of soapy water, though this process will have to become a daily one at our home until those pesky beetles are gone for good.
For the past week at Birch Landing Home, we've been under attack - first by an absurd amount of Japanese beetles, and then by webworms! Yuck. Read on for tips on how to combat these awful garden pests...
Japanese Beetles
Earlier in the week, I went in the garden to check how everything was doing. I was greeted with THIS:
Japanese beetles were all over my beans, eating the leaves until there was nothing left. They were doing so much damage and I was not happy!
Unfortunately with Japanese beetles, when there's one he'll tell all his friends (via pheromones) and more and more will come. Obviously these beetles told everyone in the tri-state area to come and bring a friend.
The best way to get rid of them is to pluck them off by hand and throw them in a bucket of soapy water to kill them. The quicker they're gone and not releasing pheromones, the less beetles will find your yard. Plucking beetles was not something I wanted to do, but you gotta do what you gotta do.
Another popular solution is to put a beetle trap in your yard.. though some people argue that they can actually make the situation worse since they lure beetles to the trap (and therefore your yard). I was desperate though and figured I might as well give the trap a shot too. I made sure to put it away from the garden and away from where we usually spend time (the lure is poisonous, keep that in mind). Right away we caught quite a few beetles! I'm sure these first ones were in the yard anyways and not ones that we lured in.
We'll see if there's improvement.. I'll post an update on the Japanese beetles in a few days.
Webworms (aka Tent Caterpillars)
Then just when I thought I was getting a grasp on the Japanese beetle plague, I noticed webworm (also known as tent caterpillars) nests in one of our lilac bushes. These little baby caterpillars were already doing a number on the lilac bush, eating the leaves and smaller stems down to nothing. These buggers had to go too.
Webworm (aka tent caterpillar) nest. The web keeps them safe from predators so they're free to make quick work of your foliage.
A close up of the damage.. as you can see it's on multiple branches.
The best way to get rid of these is to cut out the nest if possible, and then destroy it. Luckily these nests were towards the ends of branches, so they were relatively easy to cut out. (If you have a nest that can't be cut out, you can tear the nest open using a stick and hope that some birds or other bugs find the little caterpillar snacks.)
Hard to believe these teeny-tiny caterpillars can do so much damage!
Once the nest is out you can put it in a sealed container and throw it away. I didn't have any Tupperware or large jars I was willing to toss so I put the nest in a zip-lock, triple-bagged it, and threw it in the trash. Some people recommend burning the nest, which might be a good option if you have a lot of nests to destroy.
Another solution some people use is spraying the affected area with Neem. It kills the caterpillars and is considered an all-natural insecticide. I'm hoping that just cutting out the nests and staying on top of it will do the trick though.
The damage to the lilac bush has been done, but I'm optimistic it will bounce back. And in the meantime I'll keep a close eye on it in case any other webworm nests pop up.