I'm a wife, stay-at-home mom, crafter, and blogger living in rural New England. As seen in Martha Stewart Living, Food Network Magazine, and more! | Tutorials, DIY, crafts, parenting tips, recipes, money saving tips, product reviews, local product features, New England living, intentional living, and more! |
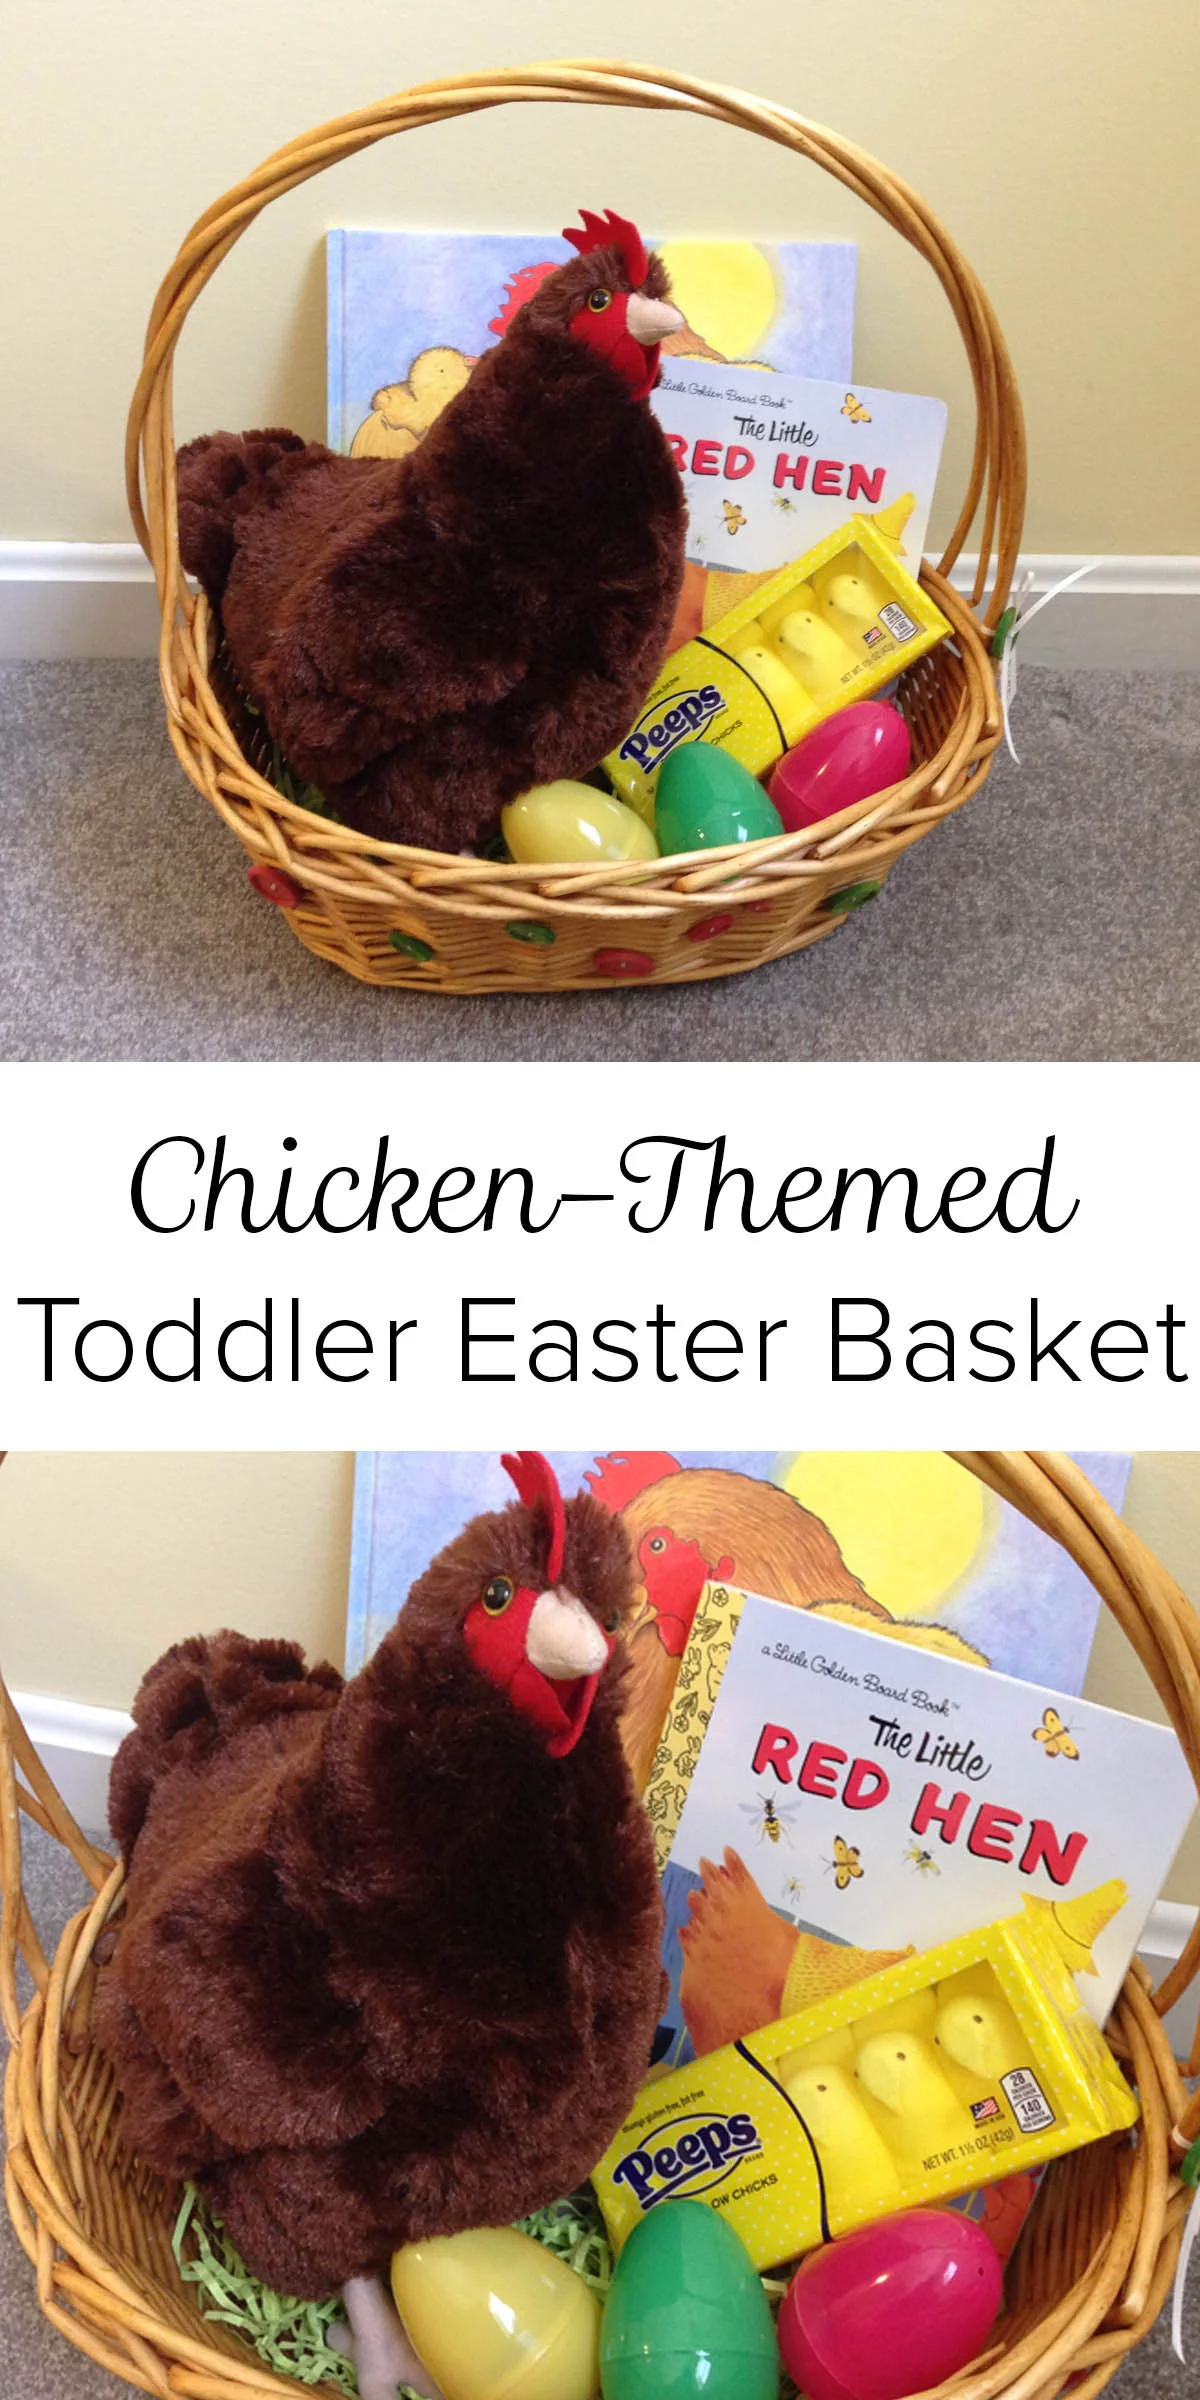
Last year we started keeping backyard chickens and they've become a really fun and important addition to our family. We love the fresh eggs we get everyday and our toddler thinks the chickens are super fun. Since she's become so fond of our six Rhode Island Red hens, I thought we'd make her Easter basket chicken-themed this year! Now to just wait until Easter.. | This post contains affiliate links |
Two of "the girls."
We have six Rhode Island Red hens (two of them pictured here), so I tried to find chicken-related items that looked like our girls. Most of the items I found can be purchased through Amazon, but you may also have luck finding similar things at your local store. (Amazon also had other chicken breeds too in case you were looking to find something that looked more like ones you have at home.)
I think creating an animal-themed Easter basket can be a really fun and engaging idea, and could easily be done to reflect whatever animal(s) you might have at home - dogs, cats, horses, fish, etc.
Here are the items I chose for our Chicken-Themed Easter Basket:
Chicken Stuffed Animal - Our little one is going to LOVE this stuffed chicken! It's about the same size and color as our Rhode Island Red hens. Amazon also has stuffed animals of several other breeds of chickens as well.
Easter Eggsfilled with mini M&Ms - Plastic Easter eggs is a given, just simply fill with your little one's favorite candy.
Marshmallow Peeps - Baby chicks for the mama hen! (I included these Marshmallow Peeps in this post as an example, but I actually won't be giving them to our daughter - I don't feel as though she's old enough to eat them just yet.)
St. Patricks's Day is coming up and you need a to have a good Irish meal to celebrate - everybody is Irish on St. Patrick's Day afterall! "Bangers and Mash" (sausage and mashed potatoes) is one of my favorite Irish-inspired meals to make because it's easy and quicker than making corned beef and cabbage. And really - you just can't go wrong with sausage and potatoes!
Bangers + Mash
Total time 50 mins | Serves the whole clan!
Ingredients
sausages, at least 2 per person (I believe it's traditionally supposed to be a sage-y sausage, but our local grocery store doesn't carry those - so I went with Sweet Italian)
potatoes for mashing, my rule of thumb is at least 1.5 potatoes per person when figuring out how many to buy
sweet onion
butter
milk
head of cabbage
sage
salt + pepper to taste
Directions
Wash, peel, and chop potatoes. Set them aside in a pot of salted water to boil.
Pan fry sausages and onion until cooked through. Season with salt, pepper, and sage to taste towards the end of it's cooking.
Chop some fresh cabbage and gently boil until wilted (just a few minutes).
Once the potatoes are soft, drain them and mash with butter and milk until it's to your liking (feel free to also season with salt and pepper to taste).
Serve! We like the sausages and onions on top of our mashed potatoes and the cabbage on the side.
Every so often someone will contact me and ask if they can order a completely custom ornament. I'm always game to give it a try and see if I can use my wood burner to translate what they want onto a little wooden disc.
Custom Methodist Cross ornament in the making.
Recently a very nice lady contacted me on Etsy to see about ordering a set of Methodist Cross ornaments for her Church. I loved the idea of having my ornaments hanging in a Church and I was excited to give it a try. I'm really happy with how they came out and I especially love the texture of the flame on them.
Even though it's not Christmas-time, if you have an idea for a completely custom ornament please don't hesitate to send me an e-mail or a custom order request on Etsy. I'm always happy to see what I can do for you.
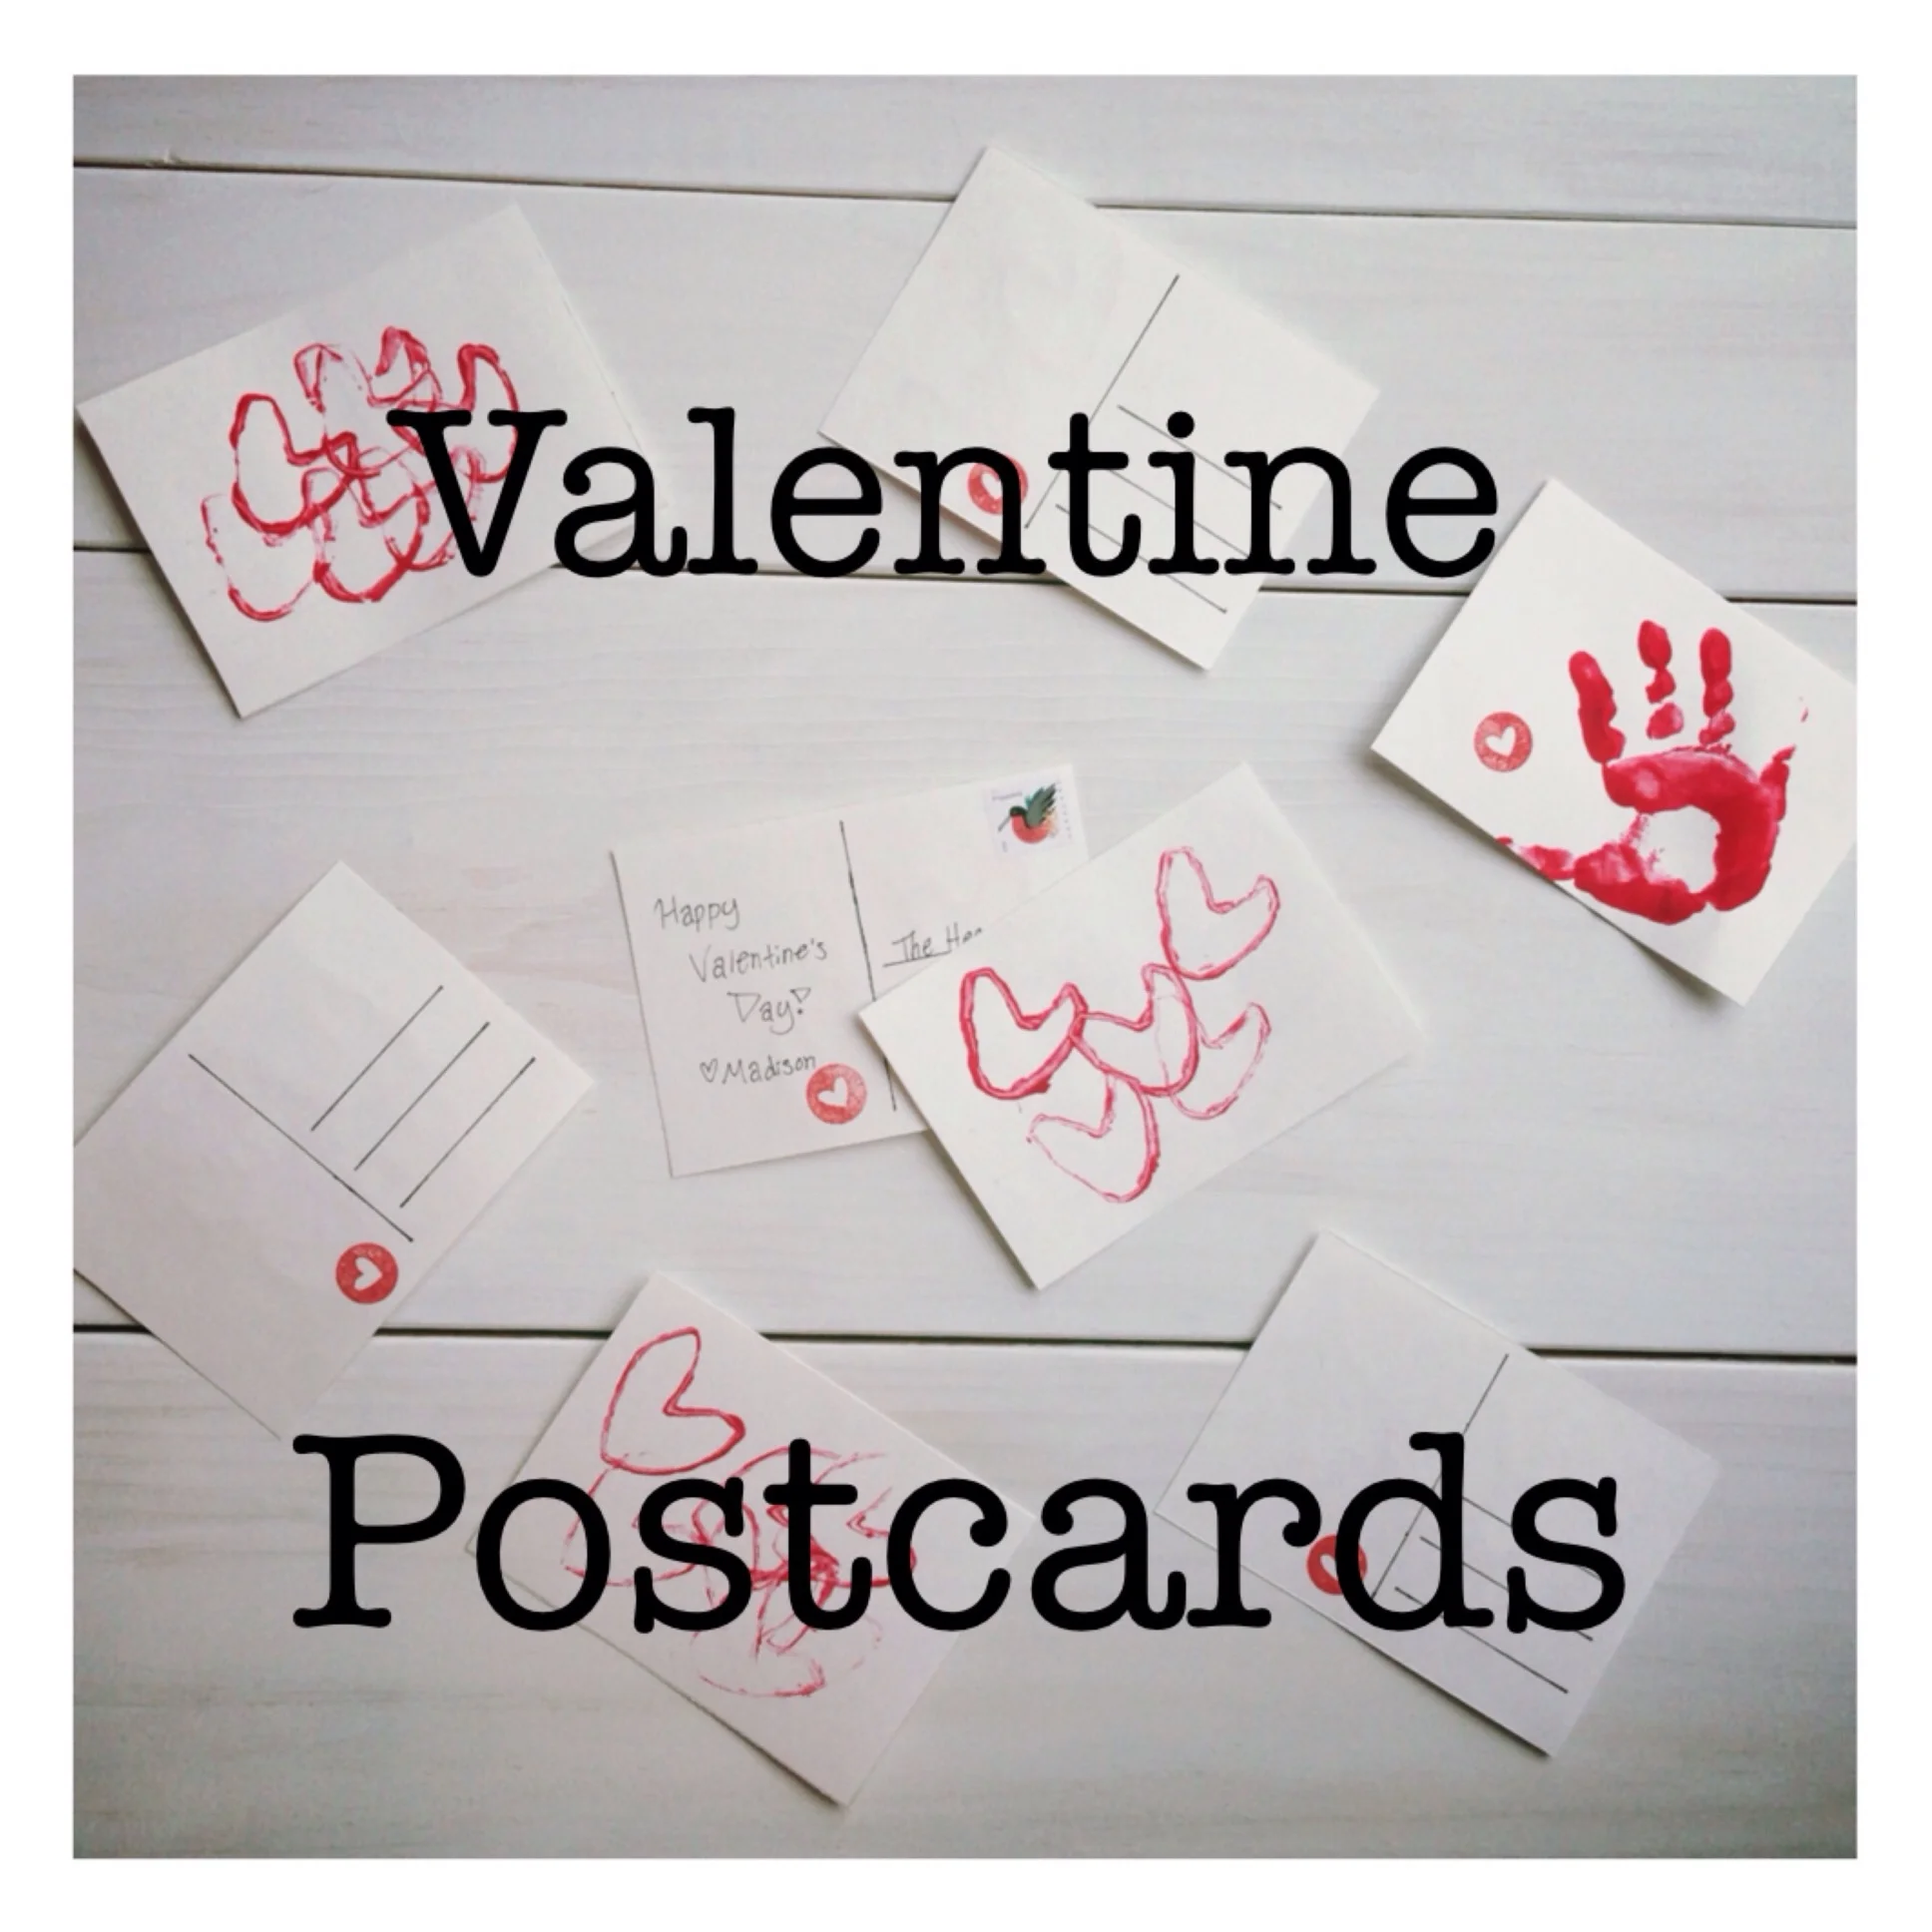
Last year I started the tradition of having our little one make Valentines for close family and friends. This year I wanted to continue the tradition but find a way to make them as inexpensive as possible, and so I settled on the idea of DIY Valentine Postcards. | This post contains affiliate links |
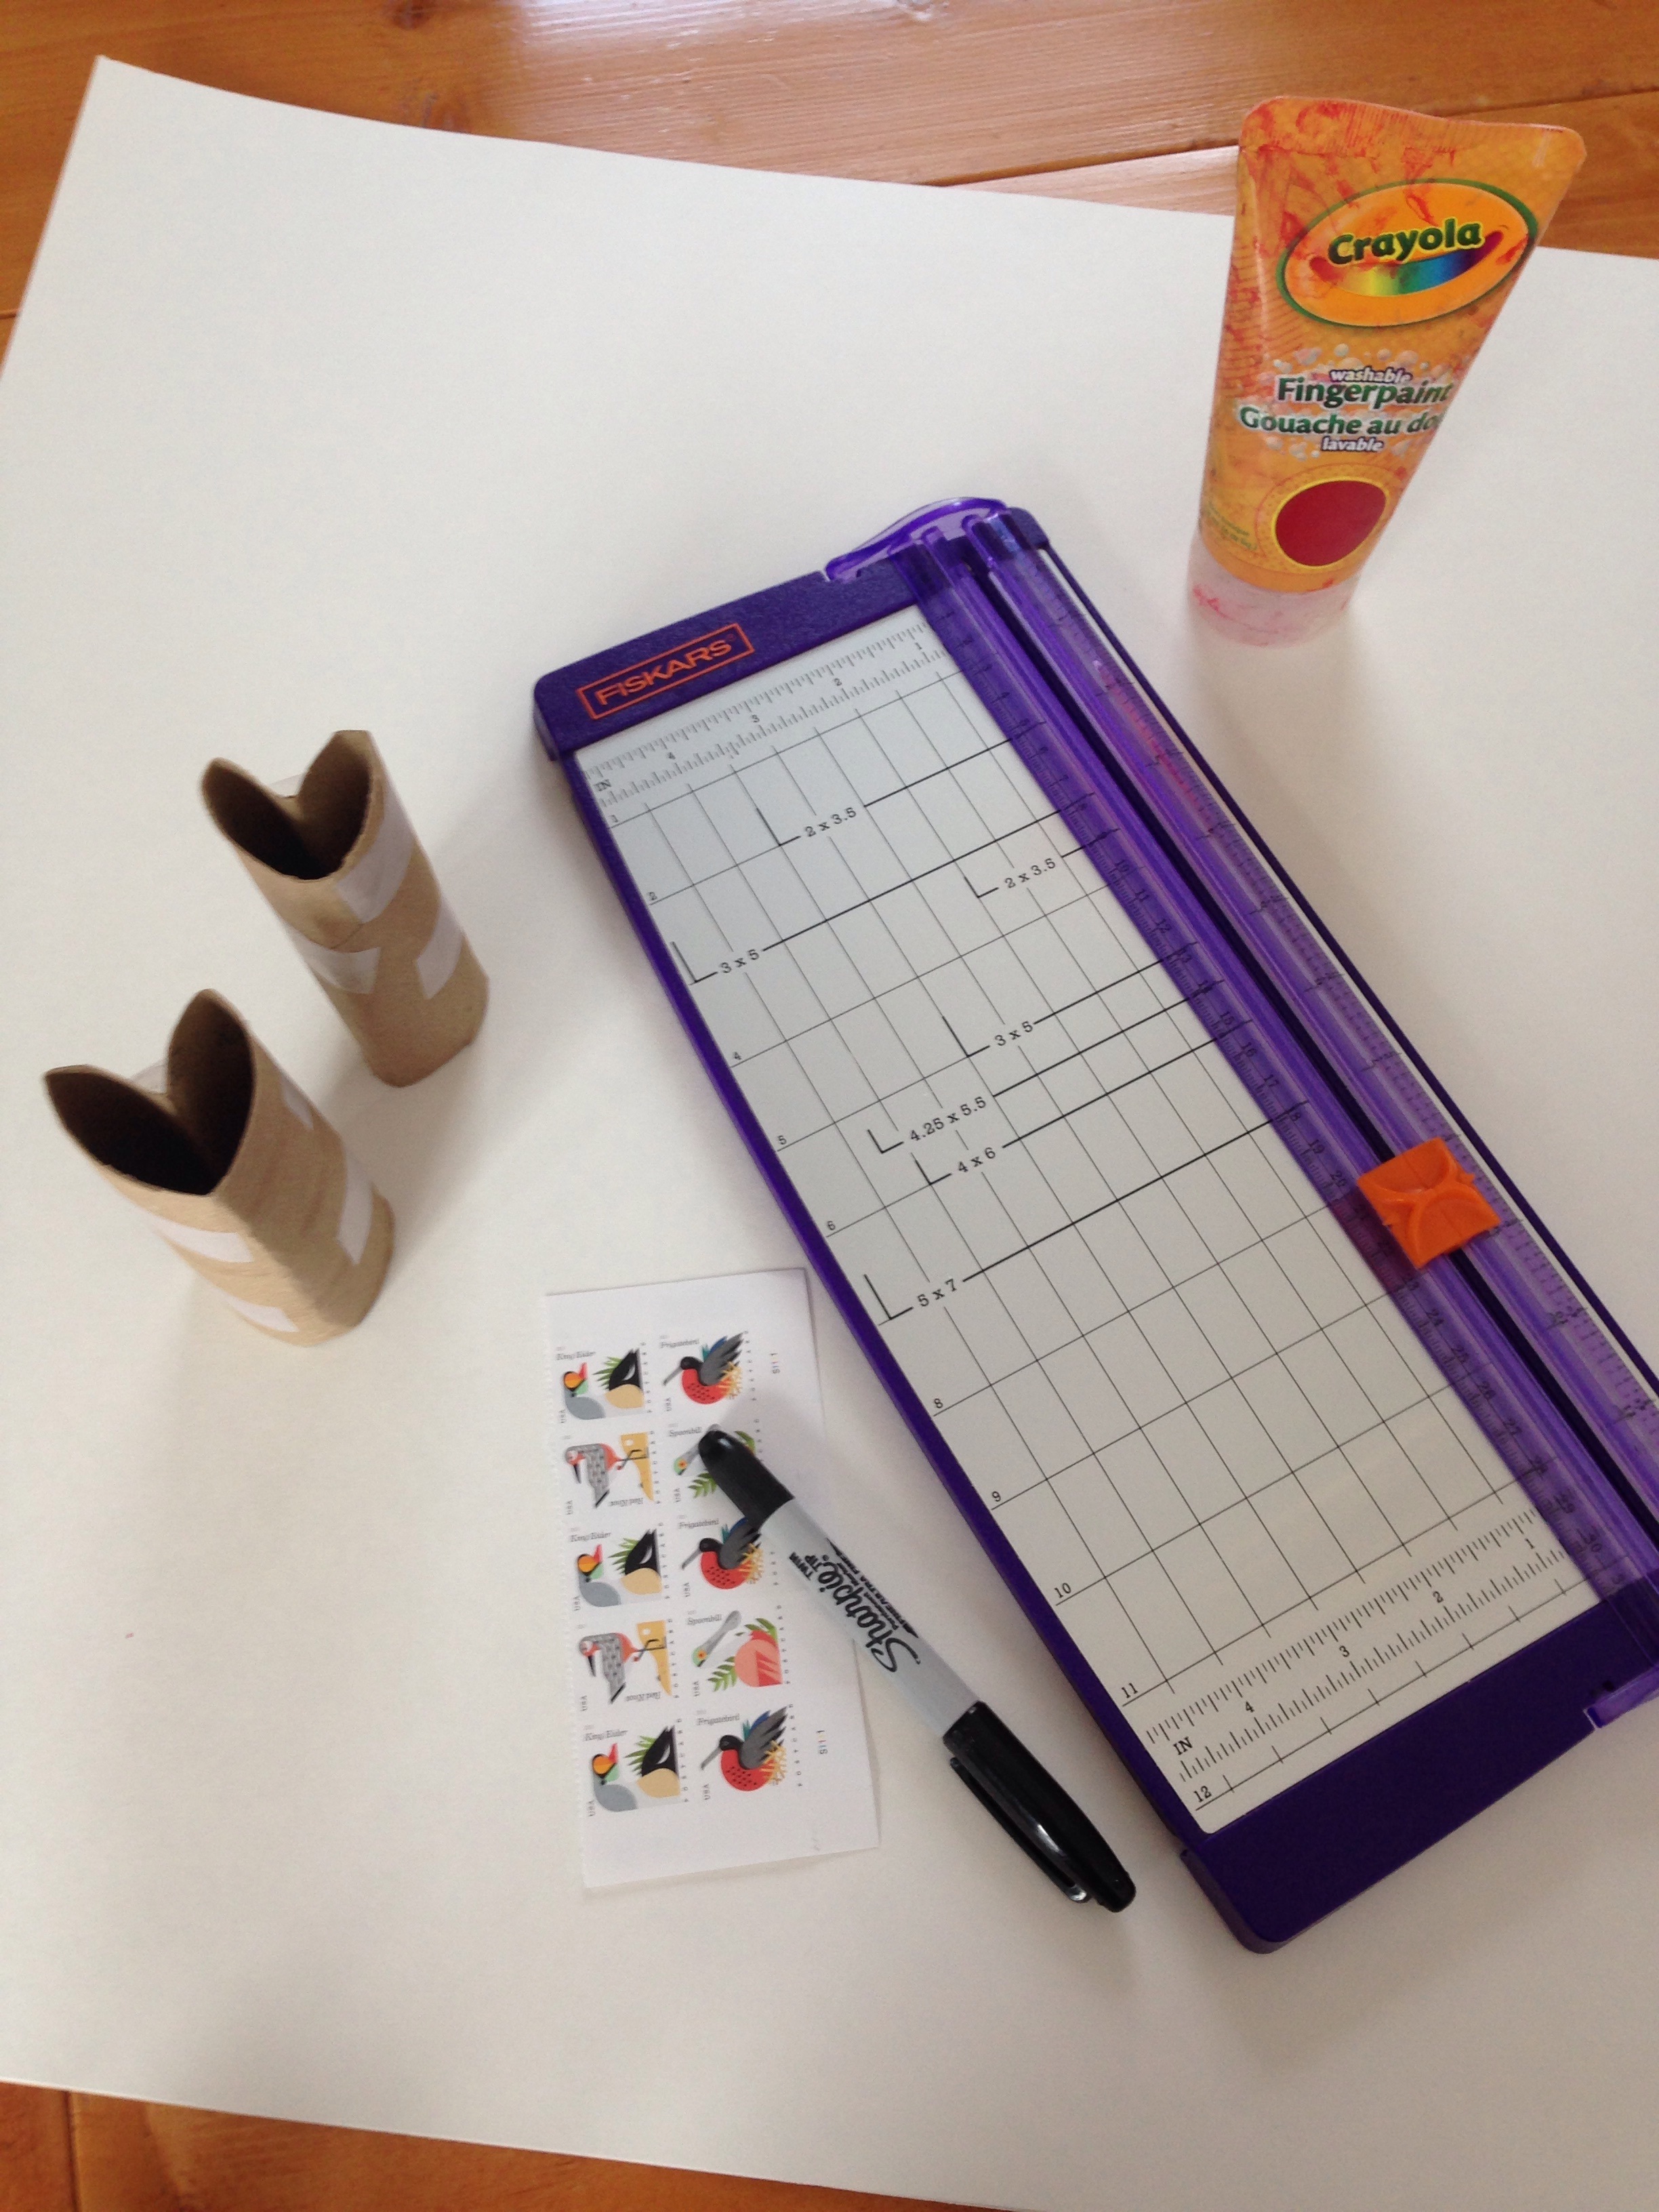
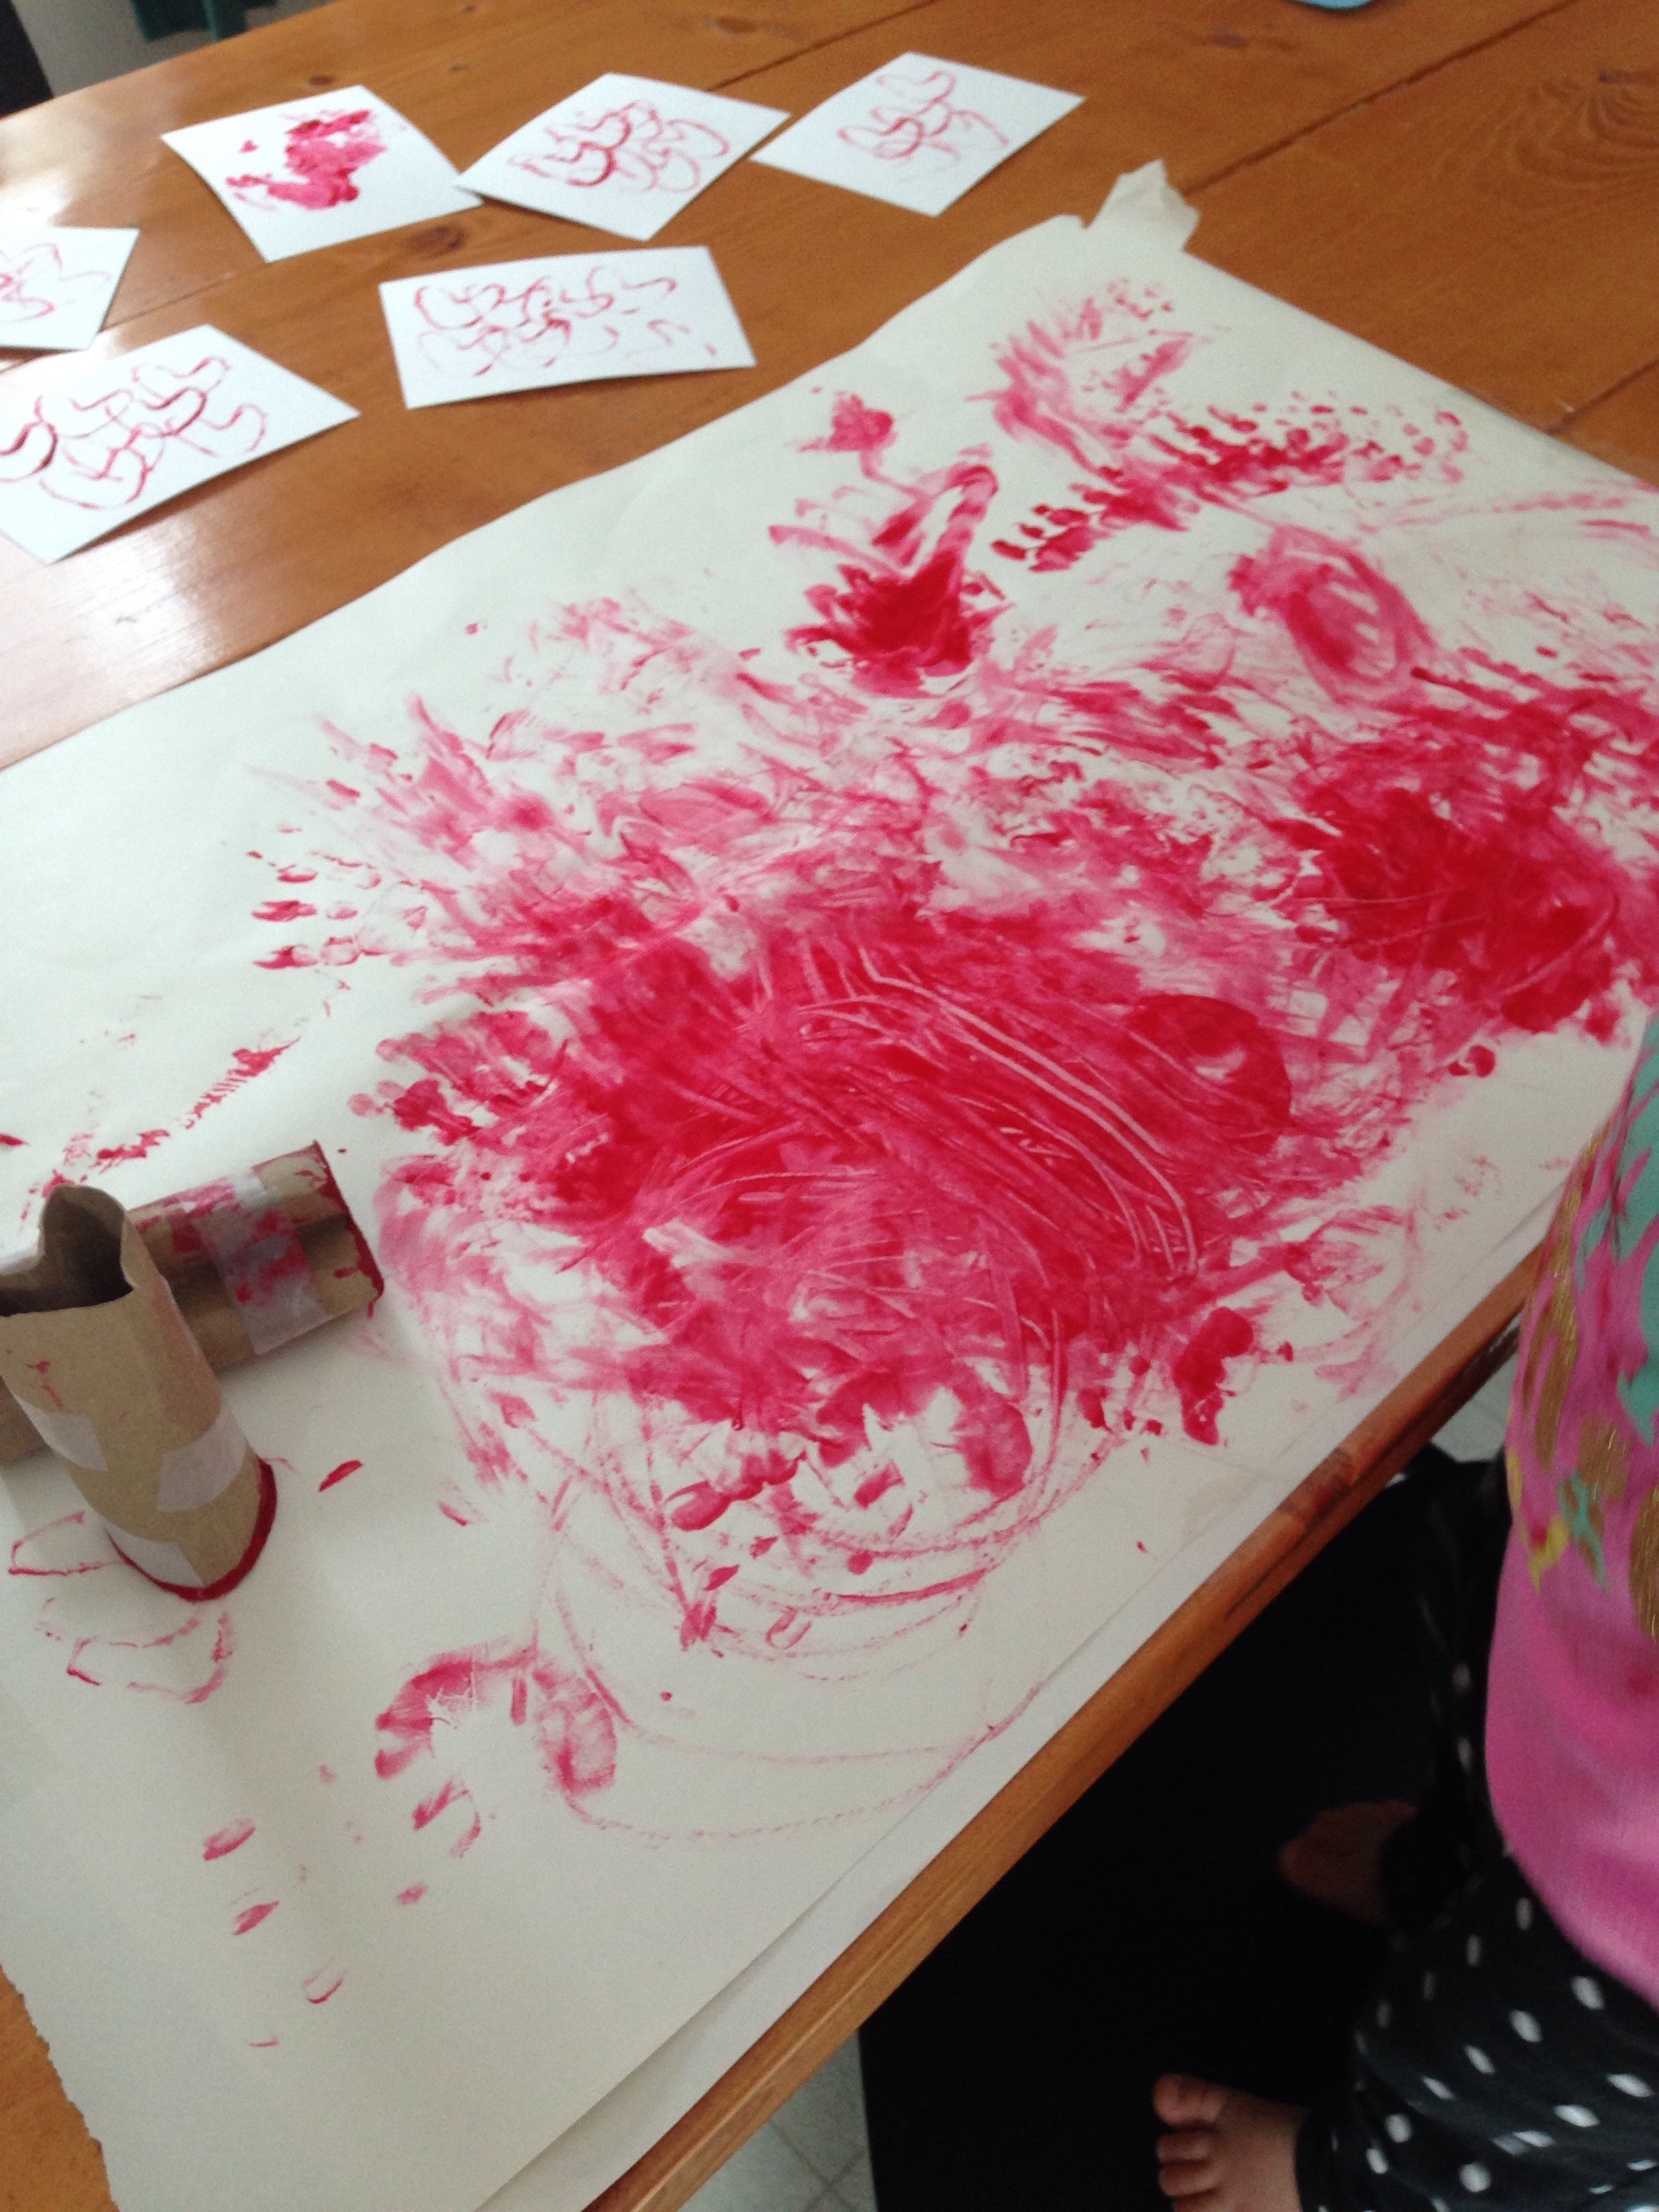
One of the reasons I decided to make postcards this year instead of traditional cards was, not only are postcards cuter, they cost almost 30% less to mail than a traditional card - these postage savings add up! As a result, this project cost next to nothing to do. I already had the paint, toilet paper rolls, rulers, etc. - I just had to run down to the local store and pick up a piece of poster board which cost a whopping 99 cents.
The simple supplies
The how-to is pretty straight forward: use a ruler to measure and cut out your postcards (I made mine 4x5.5", but you can check here for more details on postcard requirements). If you have a paper cutter that can come in quite handy to make quick work of cutting them out.
Next use a ruler and a sharpie to create the back of the postcard, one line down the middle and then three lines on the right hand side for the address.
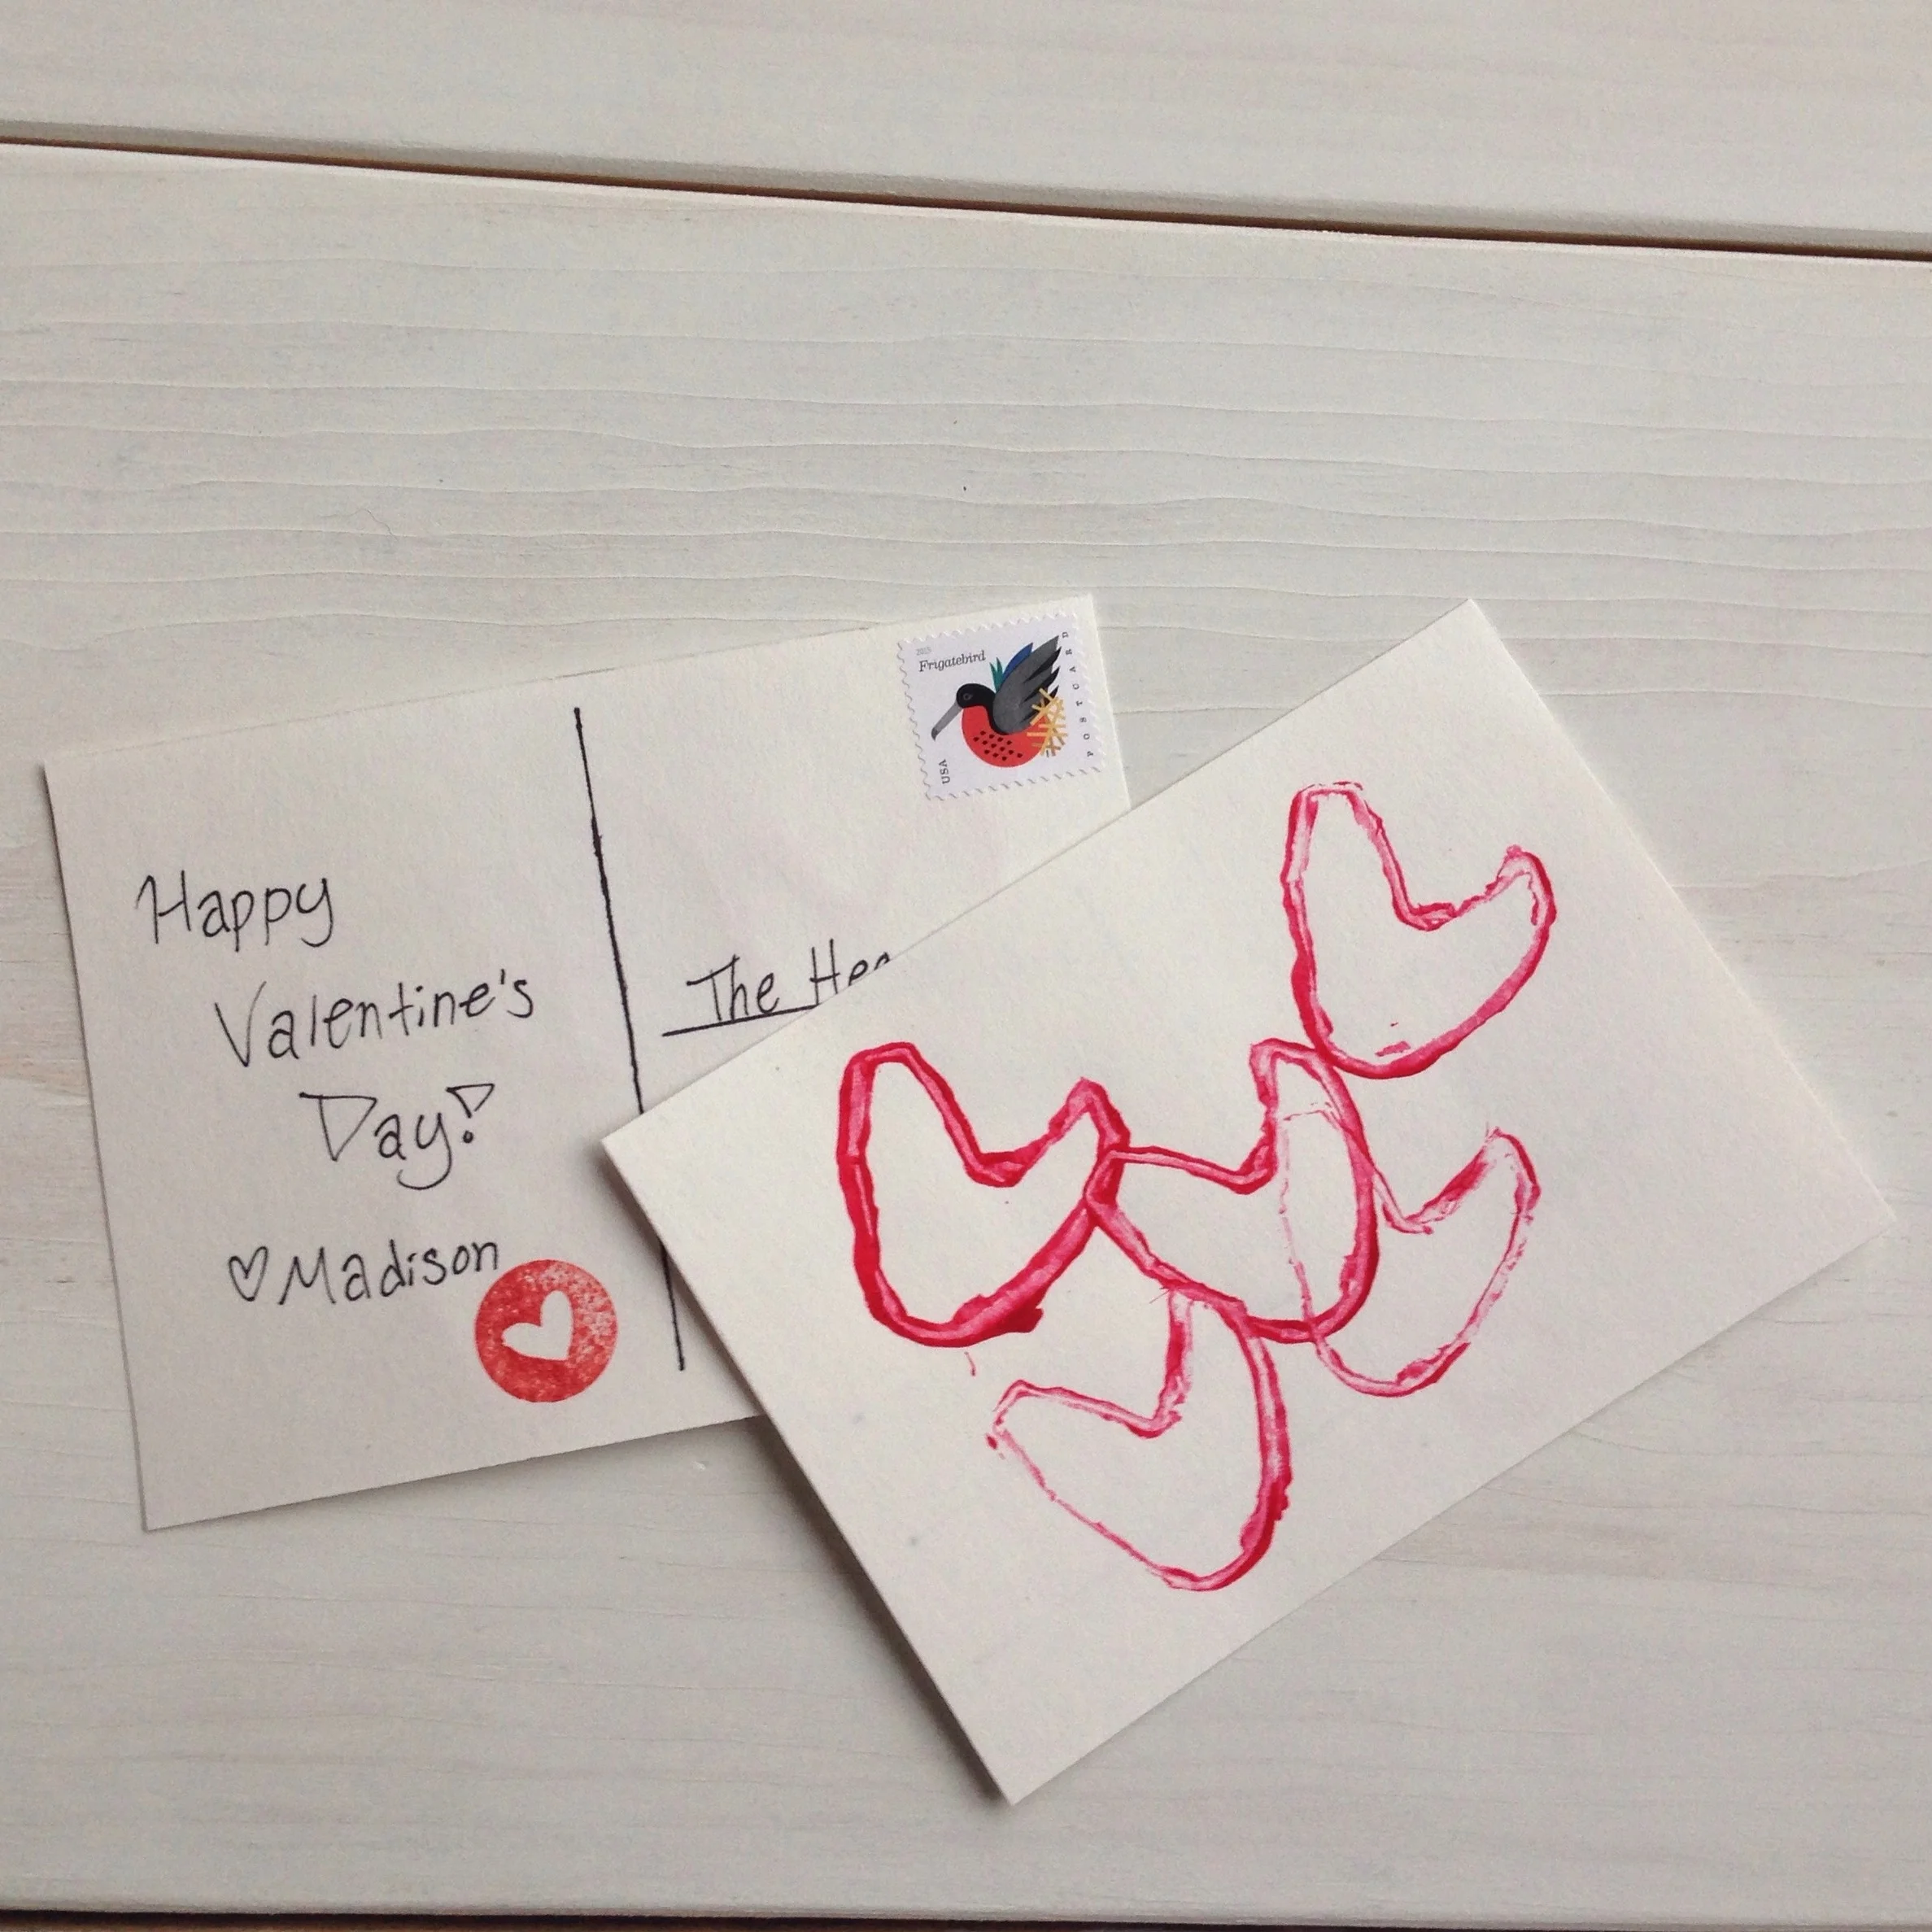
Next let your toddler go to town! I put down one card at a time to keep the backs clean from paint as well as to keep them from getting over-saturated. To make the heart "stamp" I used toilet paper tubes bent into a heart shape and held together with tape.
Once the cards were done I let our little one go crazy on the table covering.
The cards drying - they came out pretty great!!
I kept the backs very basic with a simple handwritten message and a little heart stamp.
I hope you enjoyed this little Valentine DIY! It was very quick and easy and the possibilities are endless when it comes to how you want to paint, color, or draw the front of the postcard.
Hope everyone had a very Merry Christmas with family and friends!
It felt more like spring than December here in New England today, but it was still a wonderful Christmas.
I'll be taking a little break from the Etsy shop until the end of January and am hoping to get some projects finished around the house in the meantime (like my annual New Years Resolution closet purge). I'm also hoping to expand the Etsy shop in the New Year with more New England-inspired home decor items like painted signs and handmade boxes.
Being in the Christmas spirit, we've got giveaways on giveaways going on over the next few days including this one with Life on the Shady Grove that ends tonight! Winner will receive a personalized cutting board, a handmade sign, and a set of our hand-etched maple snowflake ornaments. Please check out this post on @lifeontheshadygrove for details and to enter.
Good luck!
Photo by @lifeontheshadygrove. Giveaway ends 12/11/15 at 10PM EST.
I had to take a little break from etching and came up with these gold beauties! New to the Etsy shop, Gold-Painted Mini Birch Ornaments! These come as a set of 3, each one with a different design - polka-dot, stripes, and "gold-dipped." Add a luxe touch to your rustic decor!
Rebecca from Mainely Mama is featuring our ornaments today and hosting a giveaway for a set just the ones pictured here. Please check out her post for details and to enter. Good luck!