I'm a wife, stay-at-home mom, crafter, and blogger living in rural New England. As seen in Martha Stewart Living, Food Network Magazine, and more! | Tutorials, DIY, crafts, parenting tips, recipes, money saving tips, product reviews, local product features, New England living, intentional living, and more! |
My parents-in-law gave us an awesome old milk can and it took me a little while to decide what I could do with it. After some thought I decided to use it as a country-inspired house number display. | This post contains affiliate links |
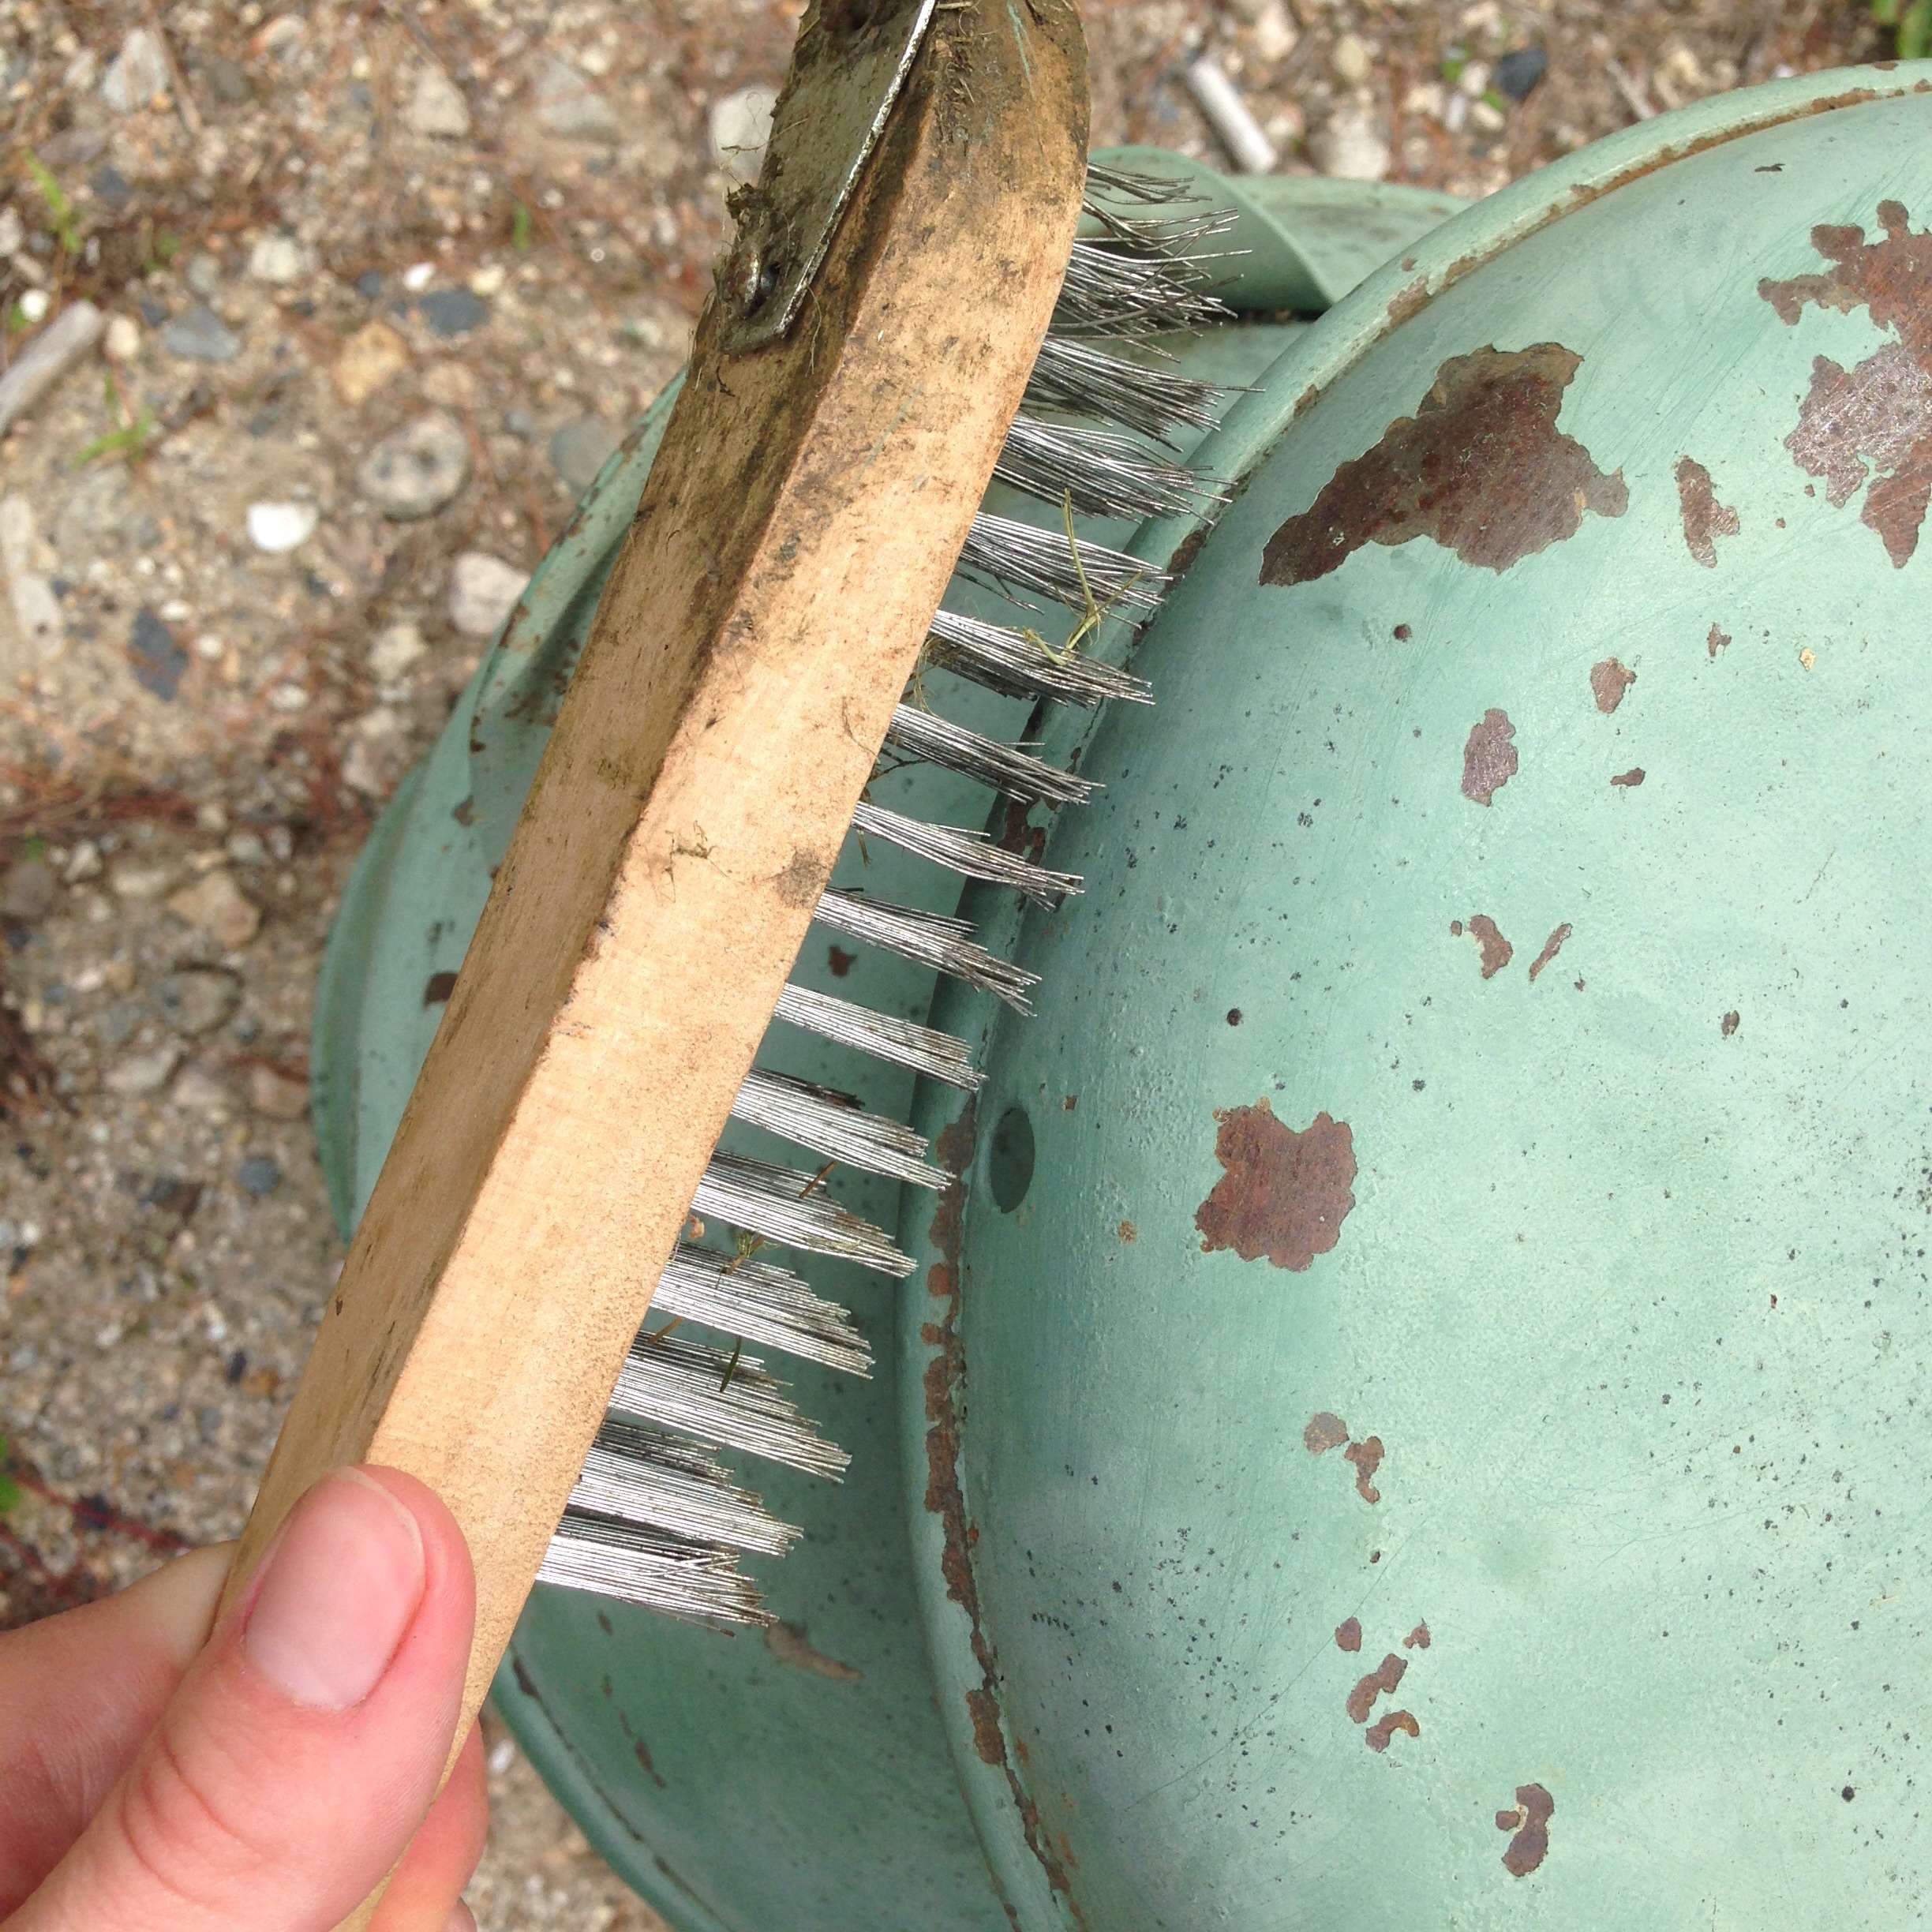
The milk can had already been re-painted at one point and while the green paint and the rust spots definitely gave it a nice patina, I decided to clean it up and repaint it to make it a little cleaner and kid-friendly.
First step was to clean up all the loose paint. I used a wire brush, metal scraper, and rough-grit sandpaper to clean it up and make a good base for the new paint.
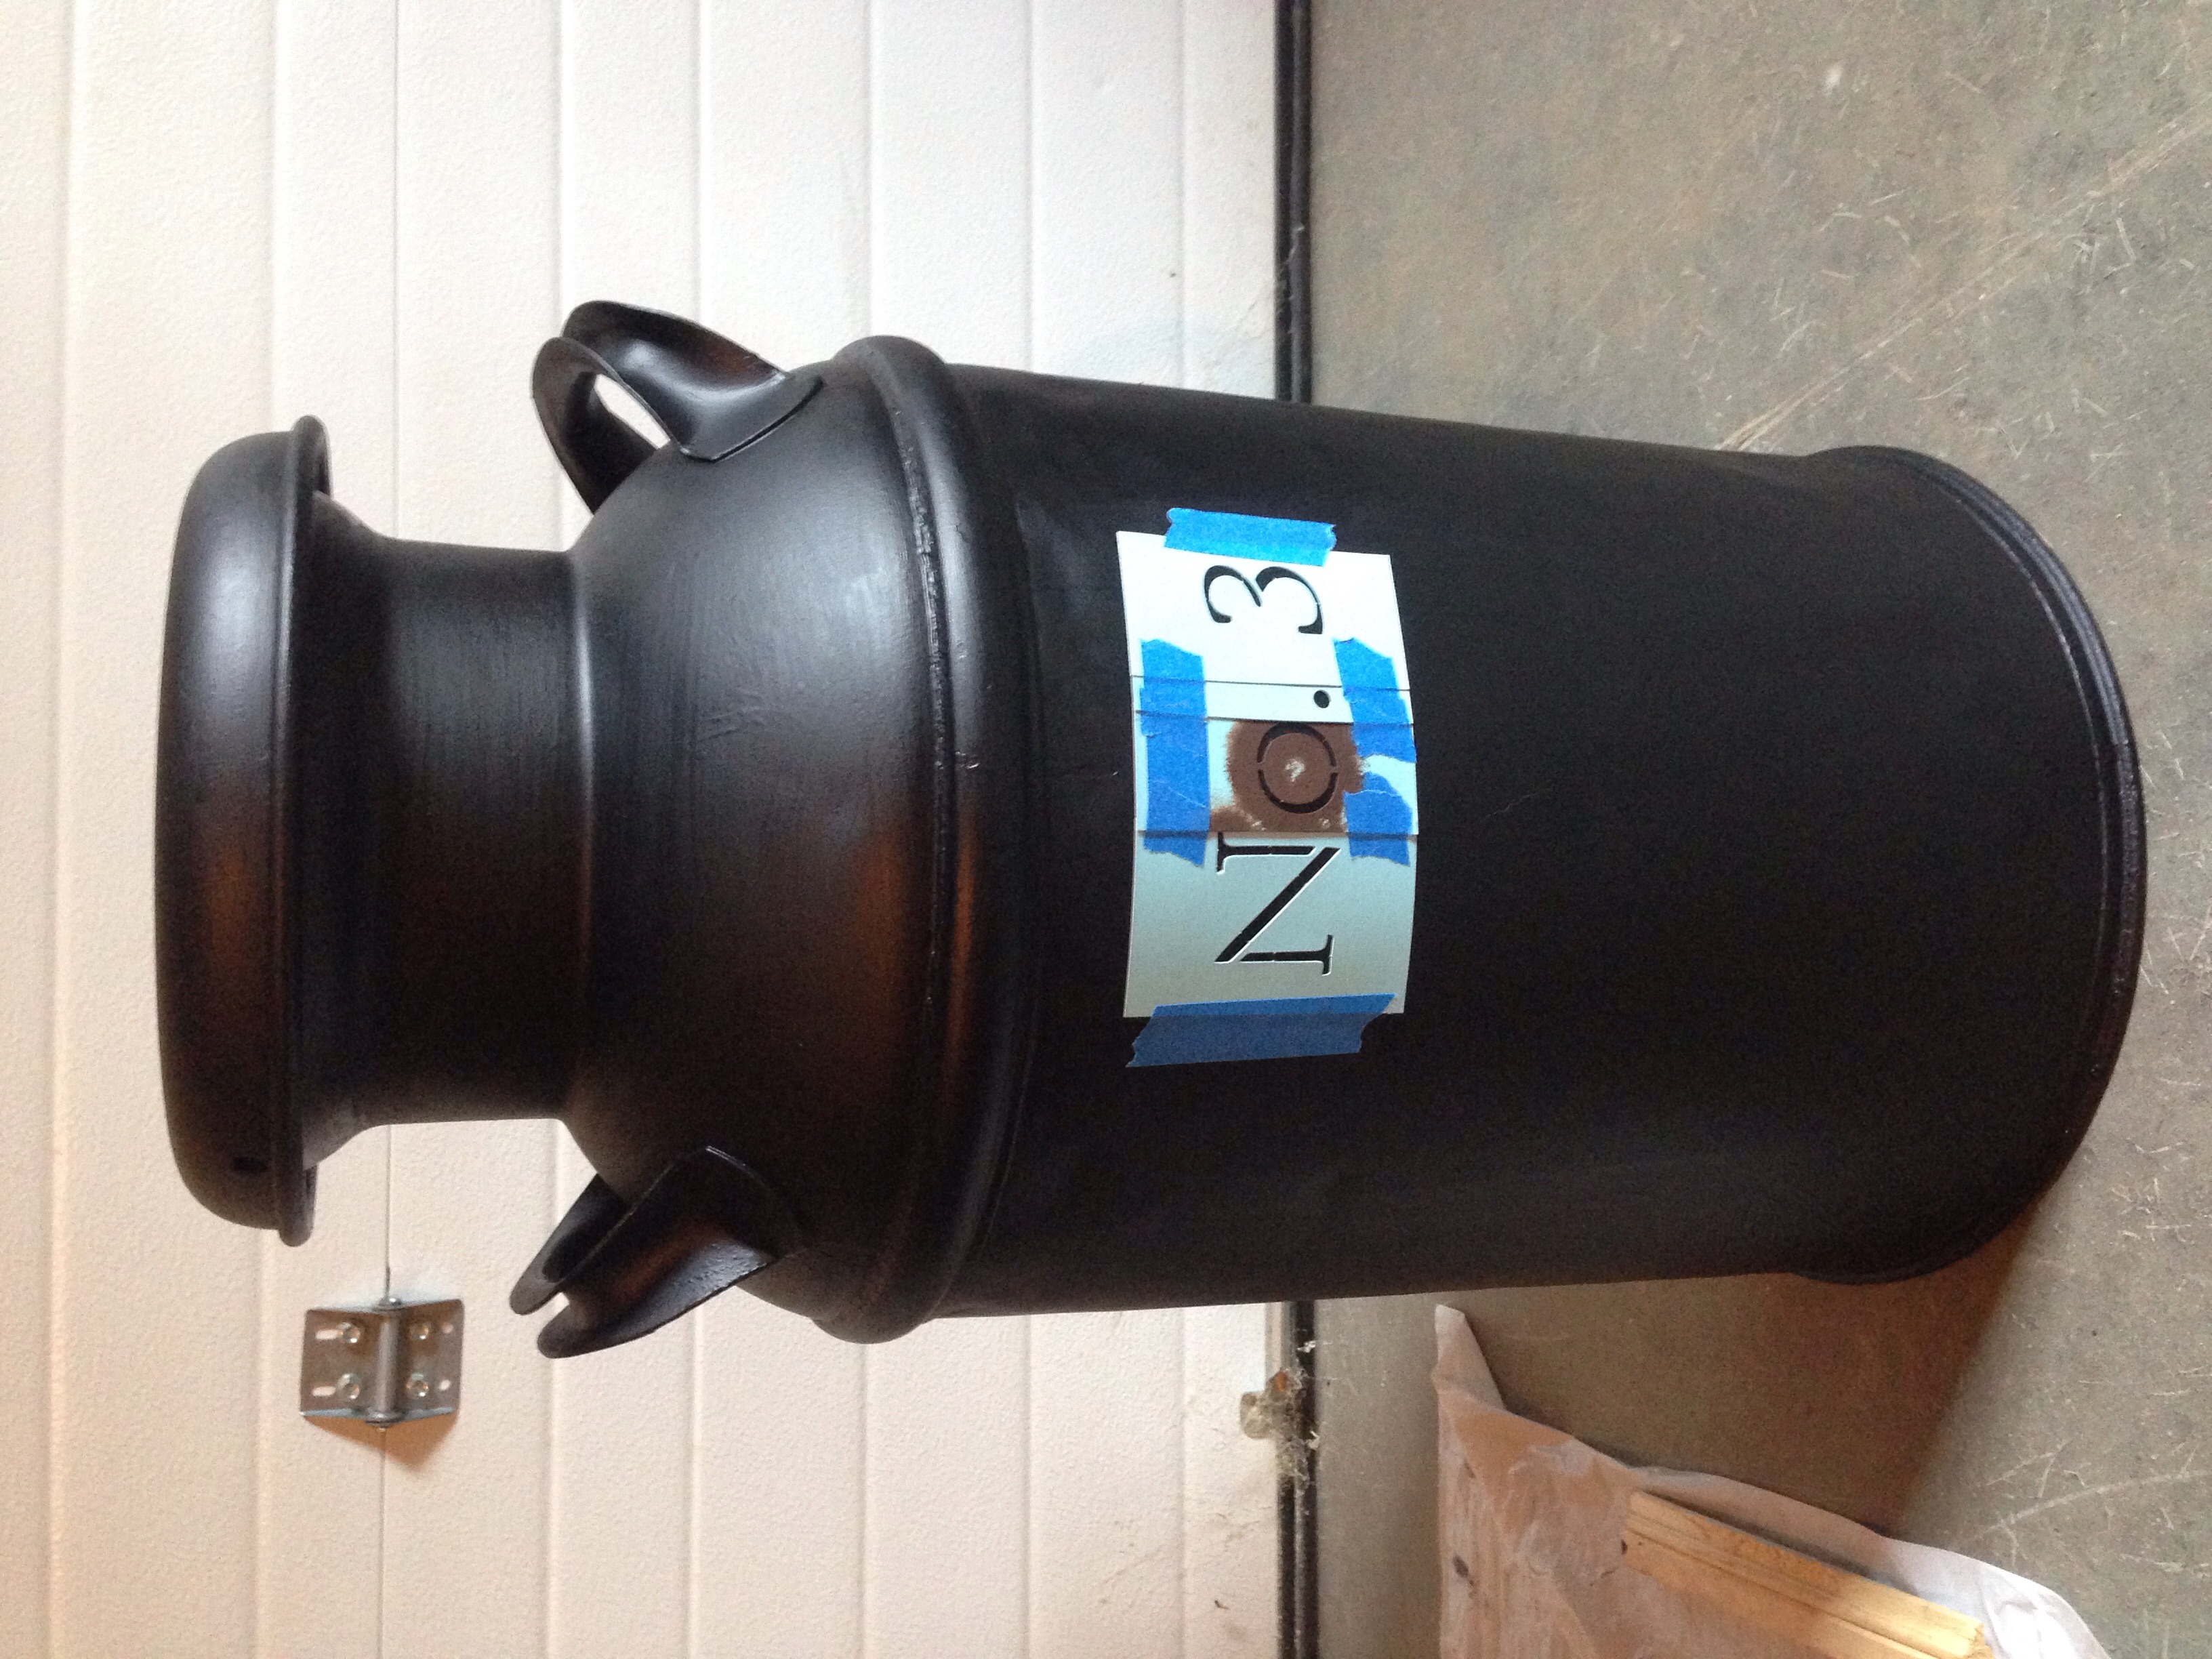
Once it was ready I used Rust-Oleum Professional High Performance Protective Enamel in matte black and gave it two coats, letting dry about 24 hours between coats. For the stencil I made a point to choose a font and size that looked like it belonged there - that maybe the farmer numbered all his milk cans and this was just one in the lineup. The stencils I used were from the Martha Stewart Monogram Serif Stencil Set, trimming the letters down and taping them together with painters tape. I had used the "o" previously for another project.. hence why it's brown.
I used white acrylic paint to stencil it and filled the gaps in the stencil with a small brush after. I think the milk can came out pretty cute and adds the perfect country touch!
Baby legwarmers are huge right now, and with good reason - they're just too cute on those chubby little legs!
Today I have the easiest no-sew DIY on how to make your own baby legwarmers from something you already have in the house. In fact it's so easy that I made these this morning before I even finished my first cup of coffee - now that's saying something!
Materials:
Tall socks (preferably knee socks)
scissors
How-to:
Take an old pair of tall socks (I used a pair of tall dress socks that I never wear), and cut off the feet... that's it! (See? I told you it was easy!) Then use the tube portion of the socks for baby's little legwarmers.
These would be especially cute made with tall, slouchy tube socks in fun colors or patterns. Target always has fun socks for a dollar or two and I know I'll be picking some up next time I go to make more of these for our little one.
You most likely won't have to hem these legwarmers but depending on the material and weave of the socks, you may want to.
These little legwarmers would look especially cute paired with a wrap headband like those from Andy Sachs or Rascal & Roo. I tried to put one on Miss M this morning for these pictures, but she wasn't having it.. typical toddler ;)
(Excuse the frosty toddler handprints and puppy noseprints on the glass.. it's a never-ending battle.)
We decided to try our hand at making our own toddler art Valentine cards to send to family and friends - it was so easy and a lot of fun! | This post contains affiliate links |
heart-shaped stencil (I just used a cookie cutter from the kitchen)
glue
How-to:
For our little one to make her art, I taped some big sheets of finger painting paper to our kitchen floor and let her go to town! This was also her first painting experience, and it's safe to say that she really enjoyed it... though I think she may have been just as interested in trying to pull the tape off the floor.
Even though I was an art education major, I'd never used special paper for finger painting and I was a bit skeptical at first. The paper touts being "glossy and non-absorbent" and I wasn't sure how the paint would stay on the paper or if it would dry well. Nevertheless, it worked great! The non-absorbency and glossiness is perfect for finger painting - a little paint goes a long way since it isn't absorbed into the paper and the smooth glossy surface makes it easy for little fingers to move the paint around. Drying time was pretty fast too and the paint stayed well on the paper, no flaking or peeling.
Once the paintings were dry, I used a heart-shaped cookie cutter to trace out the hearts and cut them out.
I glued the hearts onto a folded piece of white stationery from C.R. Gibson, then added a little handwritten note inside and they were done. Now to mail them off to family and friends!
This year was the first year my husband and I have been able to get a real live Christmas tree. Before, we were in an apartment, then we got a puppy, then we had a baby... so this year we were finally able to get a real tree!
To commemorate this special event I had my husband cut a slice off the end of our Christmas tree and I turned it into a special hand-etched snowflake ornament for us. It's a little big and a little lopsided, but it'll be a special keepsake of our first real tree. On the back I wrote "Our First Christmas Tree - 2014."
Maybe I'm cheap, but it always hurts buying Christmas wreaths every year. It's so easy to drop $40-50 just to buy two wreaths for the front and back doors, only to throw them out not long after New Year's. Starting last year I got tired of throwing that money away and decided to make my own super-simple swag for our doors.
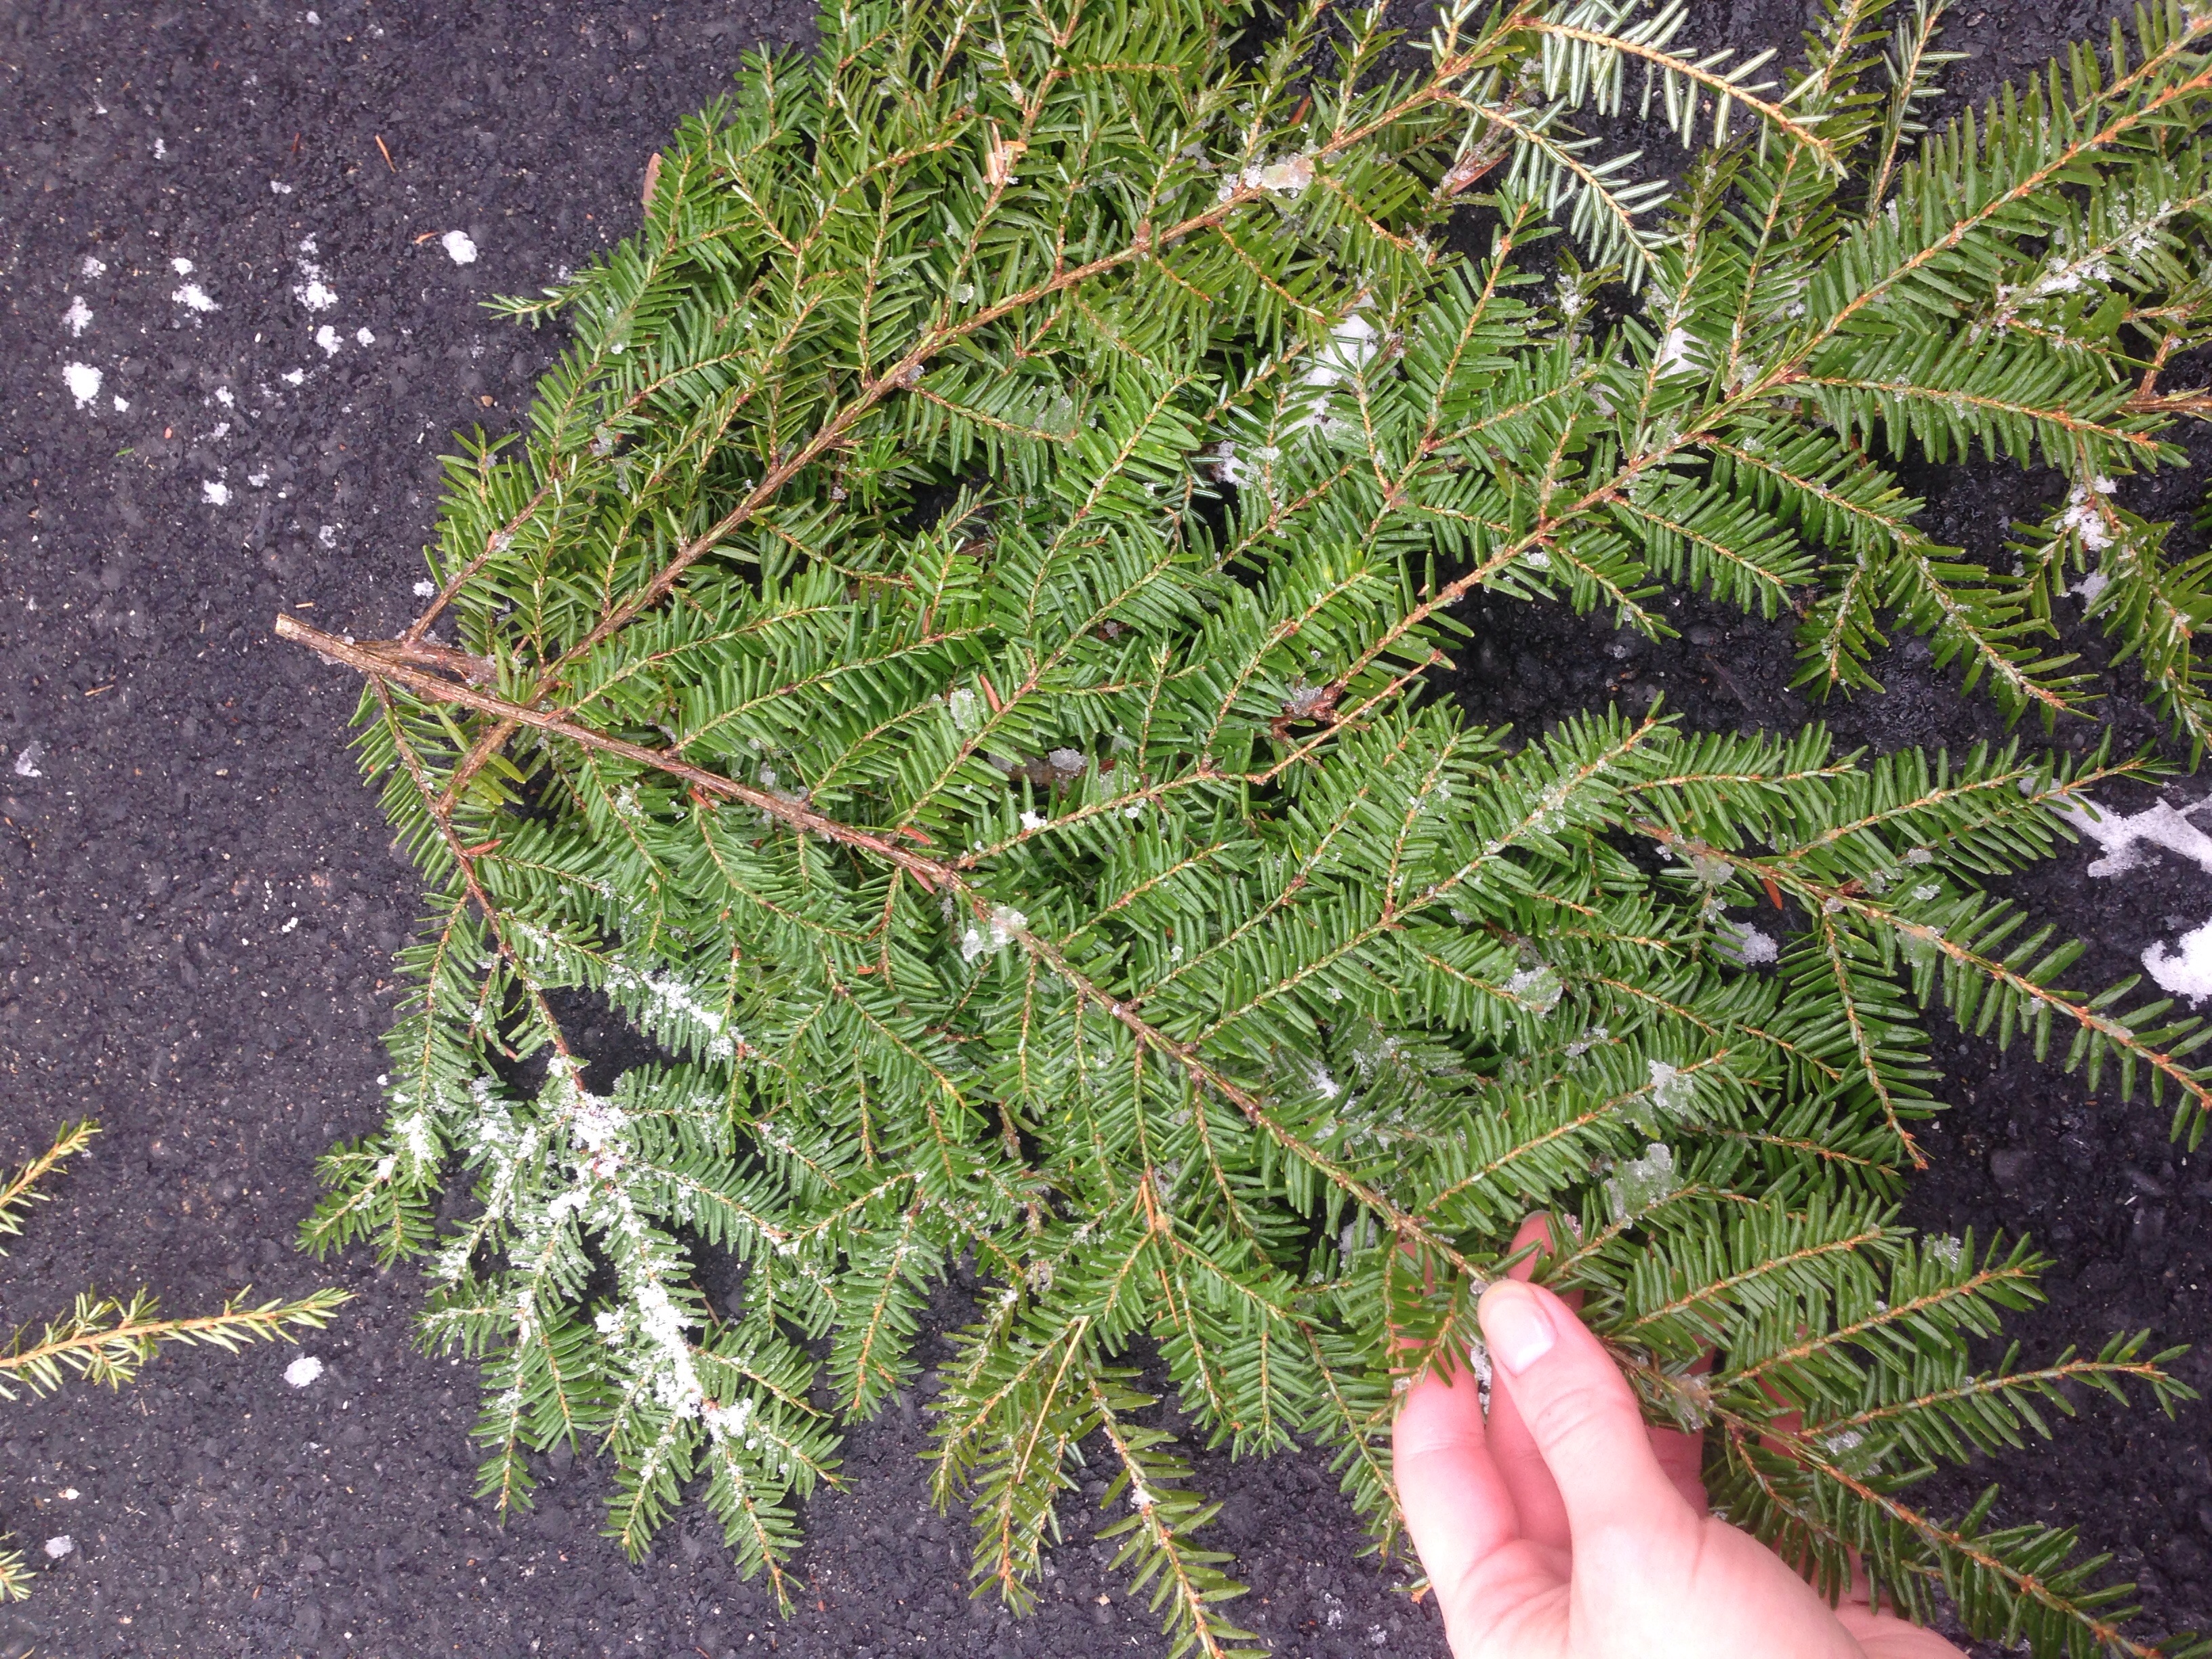
We're lucky enough to have a lot of hemlock trees behind our house, so I took some clippers and headed out to trim back some branches that needed to be cut anyways. Our dog followed me out to "help" - and by help I mean run around with a branch I cut. If you don't have suitable trees in your yard you may be able to get away with using the trimmings off your Christmas tree or you can buy bundles of hemlock or fir tree at the grocery or craft store for pretty cheap.
I made some smaller cuttings and started fanning them out, making a rough diamond shape.
Once it was getting close to what I wanted, I used some hand clippers to trim long pieces back into shape. If you have holly or other greenery you want to add, now would be when to do it.
Once I was pretty happy with it, I used some craft wire to bundle it together. You want to make it pretty tight so none of your branches slide out over time as you open and close the door. Use some extra wire to make a loop at the back for hanging.
Now add your bow. I had our bows made at the local garden center a few years ago. They had spools and spools of different fabric ribbon available, I picked the pattern I wanted and they made me up a couple of matching bows. I think they cost me $7 each, but I reuse them every year so it was definitely worth it! These bows have some wire in the back to attach it to the swag. After you add the bow, do any final trimming of the greenery.
This finished swag cost me nothing this year since I already had all the materials, and that's just fine by me ;)
Okay, we're taking it back to the very basics here this week - a simple, easy whitewash tutorial. I actually used the whitewash boards pictured here to make the backdrop for all my Etsy photos (and in the next week or two I'm planning on whitewashing more boards to use for a gallery wall in our kitchen - stay tuned for that project!).
Materials:
whatever you're planning to whitewash - unfinished furniture, wooden board to use for a sign, etc.
white paint (can be just about any kind of non-glossy paint)
plastic cup with water
brush (bristled brush if you want a dry, streaky affect; sponge brush for a more uniform look)
Leftover ceiling paint works great to make your whitewash mixture.
How to:
Dilute your paint with water - about one part paint to two parts water then simply brush the paint/water mixture on, letting it dry between coats. It will be pretty translucent at first, but keep building layers until you get the look you're going for. I did quite a few coats to get it nice and white, but still translucent enough that the wood grain shone through.
That's it! Like I said, we're taking it back to the basics this week.
A closeup of the whitewash boards as my Etsy backdrop - I love the subtle texture it has!
Ever notice that the silhouette of those Starbucks bottles are very much like an old-fashioned milk bottle? I'm sure the real reason is smart marketing, but an ever better reason is for you to turn that bottle into a milk bottle vase!
Materials:
Starbucks glass bottle, with lid (which means you have to drink one of those delicious coffee drinks.. darn)
white or cream acrylic paint
cardboard
How to:
First drink a Starbucks (most difficult part of the job right here). Then remove the labels and wash the bottle thoroughly, inside and out. You should be able to get the glue residue and expiration mark off the bottle with a scrubby sponge and dish soap. Rinse the cap and save.
After the bottle has completely dried, squirt a decent amount of acrylic paint into it and replace the cap. Swirl and shake the bottle until the paint has completely coated the inside of the bottle, adding more paint if necessary.
Remove the cap and pour the excess paint back into your paint bottle.
Next set bottle upside down on the cardboard for about 30 seconds then pick straight up, set back down in a different spot, and repeat several more times until you seem to have most of the excess paint out and a nice even coat on the inside of the bottle.
Put bottle back upright to dry so the paint doesn't drip and pull away from the bottom and also so that air can get inside. At this point I brought it inside the garage to dry - didn't want any curious grasshoppers falling in!
Let dry about 48 hours.. it can take a surprisingly long time to dry due to the small opening of the bottle.
Once completely dry, place on a sunny windowsill and admire. (Note: this vase is for decor purposes only. If you put water in it for cut flowers the acrylic paint may start to lift off the glass after a while.. just something to keep in mind. You may want to consider using fake flowers.)
You could even dress these up a bit with some gingham or burlap ribbon. They are so easy to make and could be used for all sorts of things such as small centerpieces or accents for a bridal or baby shower.
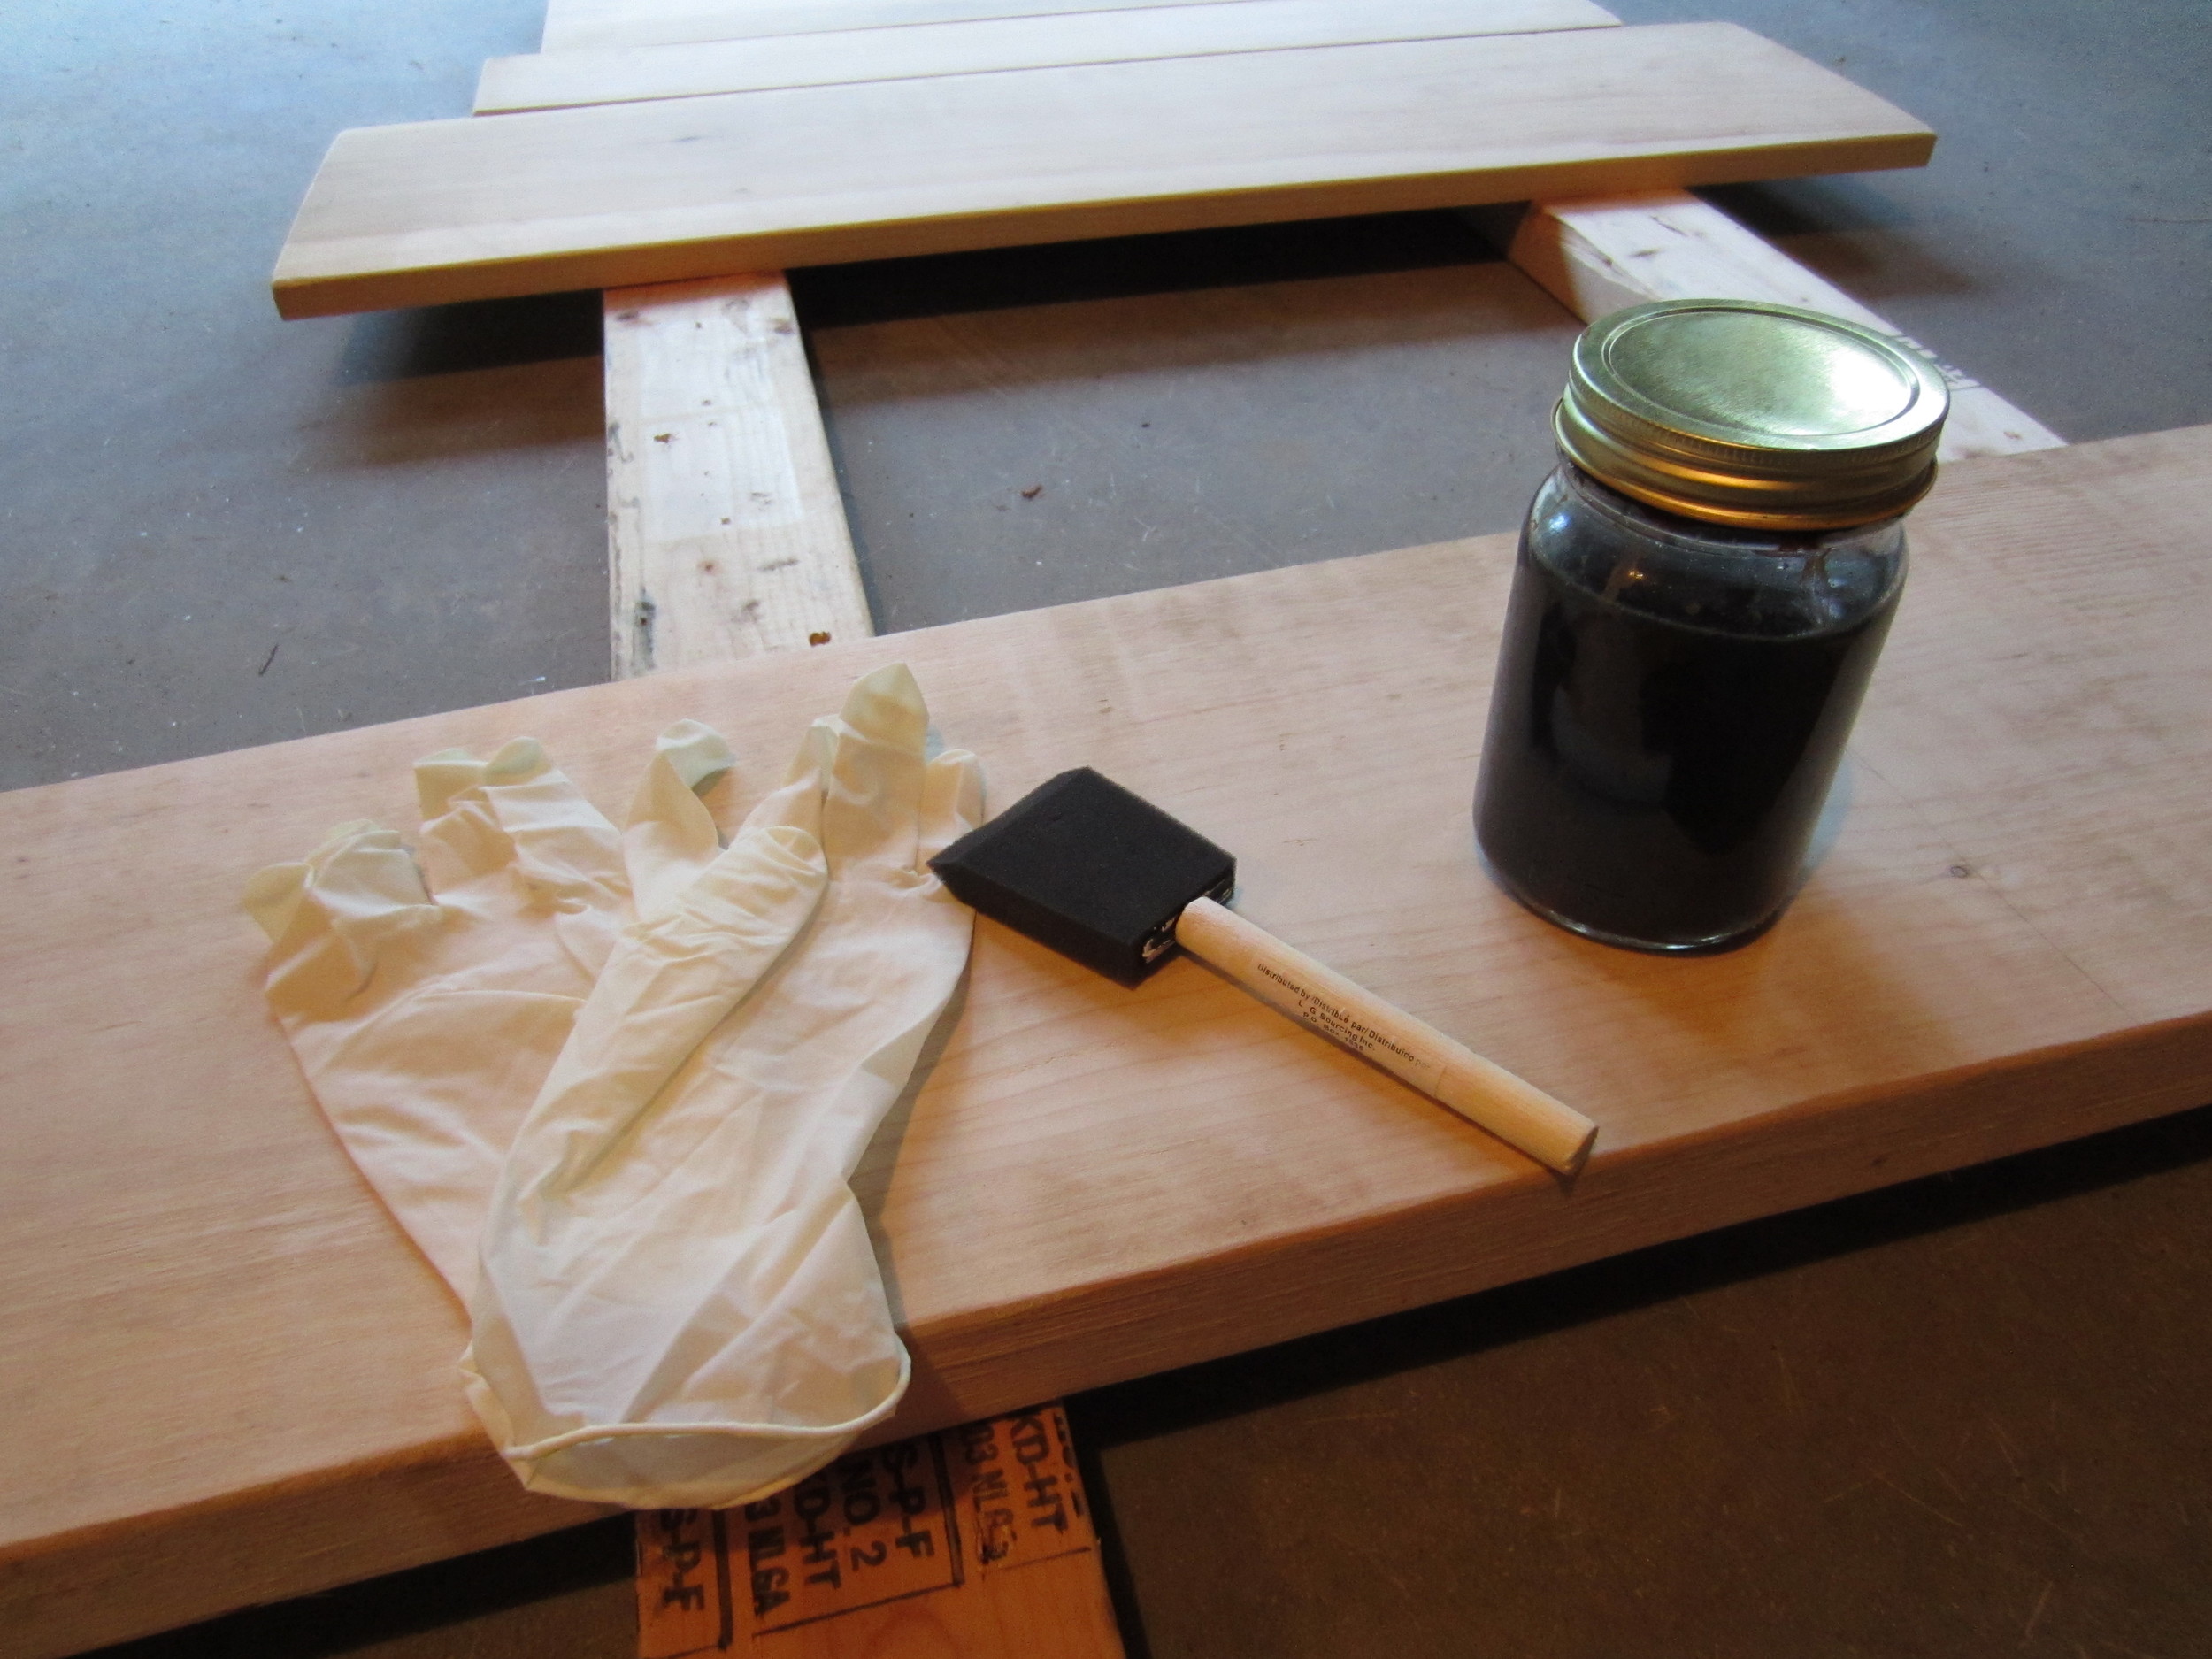
I'd heard that you can make your own stain using just steel wool and regular vinegar. I was intrigued and had to give it a try myself.
Materials:
glass jar
ball of fine steel wool
white vinegar
rubber gloves
sponge brush or rag
wood
How to:
Put a ball of fine steel wool in a glass jar and fill with white vinegar to about 1-2 inches from the top. Replace the lid and let sit for a few days until the steel wool has dissolved or nearly dissolved, giving the jar a shake once or twice a day.
Yep, that's it.* It's just that easy.
*I'd recommend leaving the jar on a paper towel and carefully opening and closing the jar before shaking it. We noticed that our jar built up quite a bit of pressure from the chemical reaction of the steel wool dissolving in vinegar and the pressure needed to be released a few times a day.
Two days later, after having been shaken up. Gross, huh?
Once the steel wool has dissolved, put on some rubber gloves, give the jar one last shake and start staining!
The stain is very deceiving at first.. when you initially put it on it just looks like you're putting dirty water on the wood - it doesn't look significantly changed. However, as it's exposed to the air and dries it rusts and gives the wood a beautifully rustic, warm color. Once it's completely dry, take a rag to rub the loose rust off - you're done!
After drying.
If you're using this process for a sign or something that won't be touched when finished I'd leave the wood raw like this. If you're thinking of using it for a table or something you will come in contact with, I'd strongly suggest sealing the wood to keep you from getting rust stains.
I didn't have a project in mind for this process, but I love how rich the color turned out! I think I'll be staining the edges of this board and turning it into something.