
DIY Stock Tank Garden Planter
Our house came with some old whiskey barrel planters that were used for tomatoes and herbs, however 15 years later they were literally falling apart and it was time for something new. Originally I was going to build a cedar raised garden planter but after pricing out the cost of cedar (yikes!) and the time it would take to make it I decided to look into other options. In the end I opted for repurposing a stock tank into a garden planter and it was such an easy and quick project to do. Read on for my tips and advice on how to prep and create your own. | This post contains affiliate links |
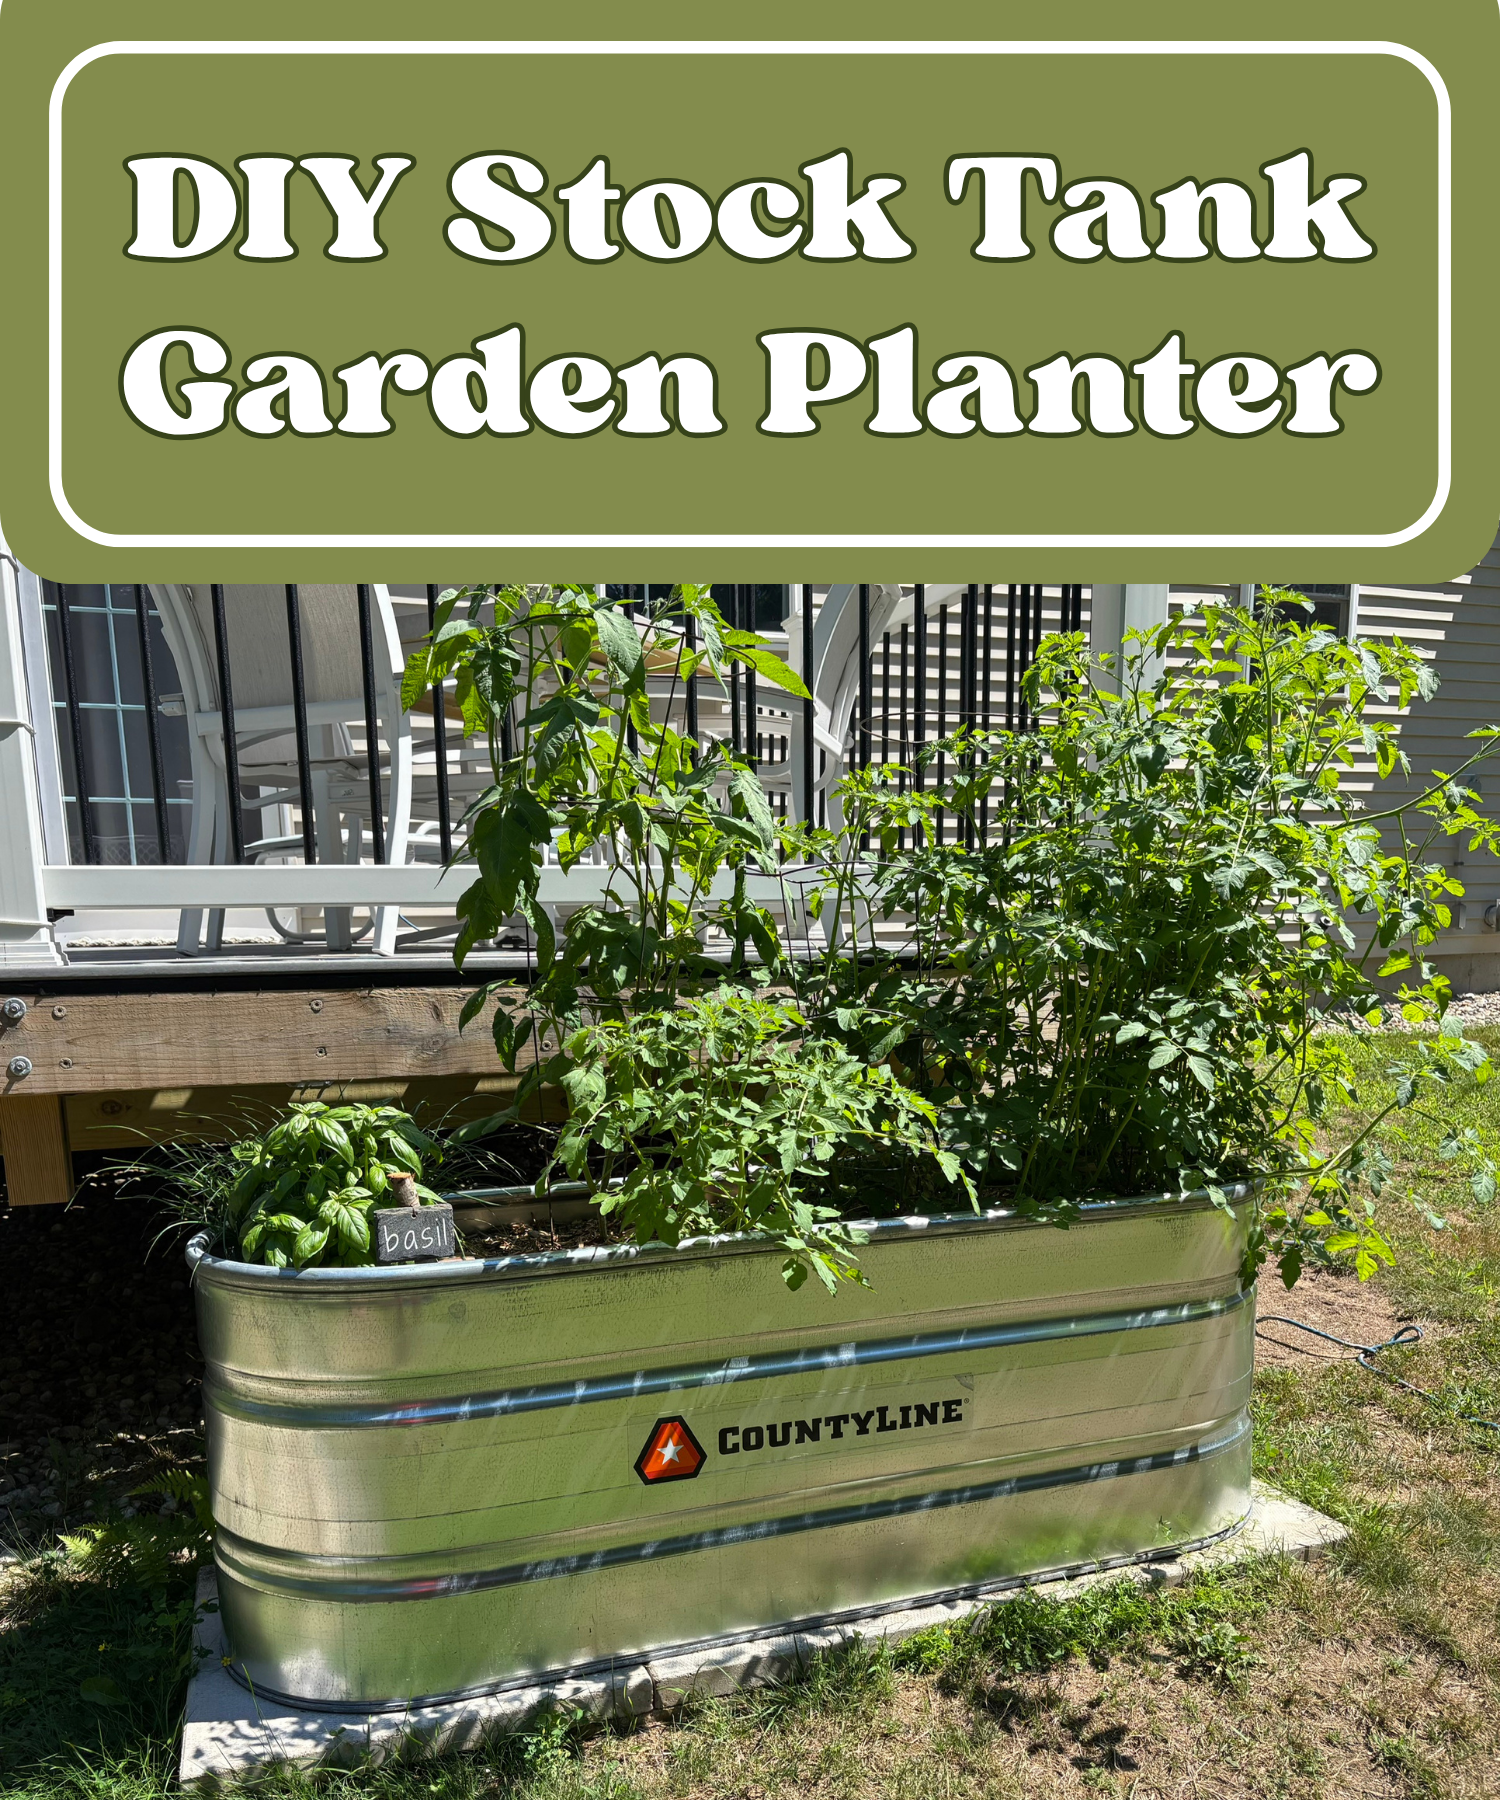
Materials:
- Paving stones for the base
- Stock Tank - we used a 2'x6'x2' tank here but they come in other sizes as well. (If your local store doesn't have the one you want, you can order it online and have it shipped to store or maybe even your house depending on where you're located.)
- Drill & drill bits
- Weed supressant fabric
- Gravel
- Dirt
- Good quality soil to top it off (this Coast of Maine Raised Bed Garden Soil is AMAZING!)
- Cedar wood chips (optional)
- Seedlings or seeds
How-To:
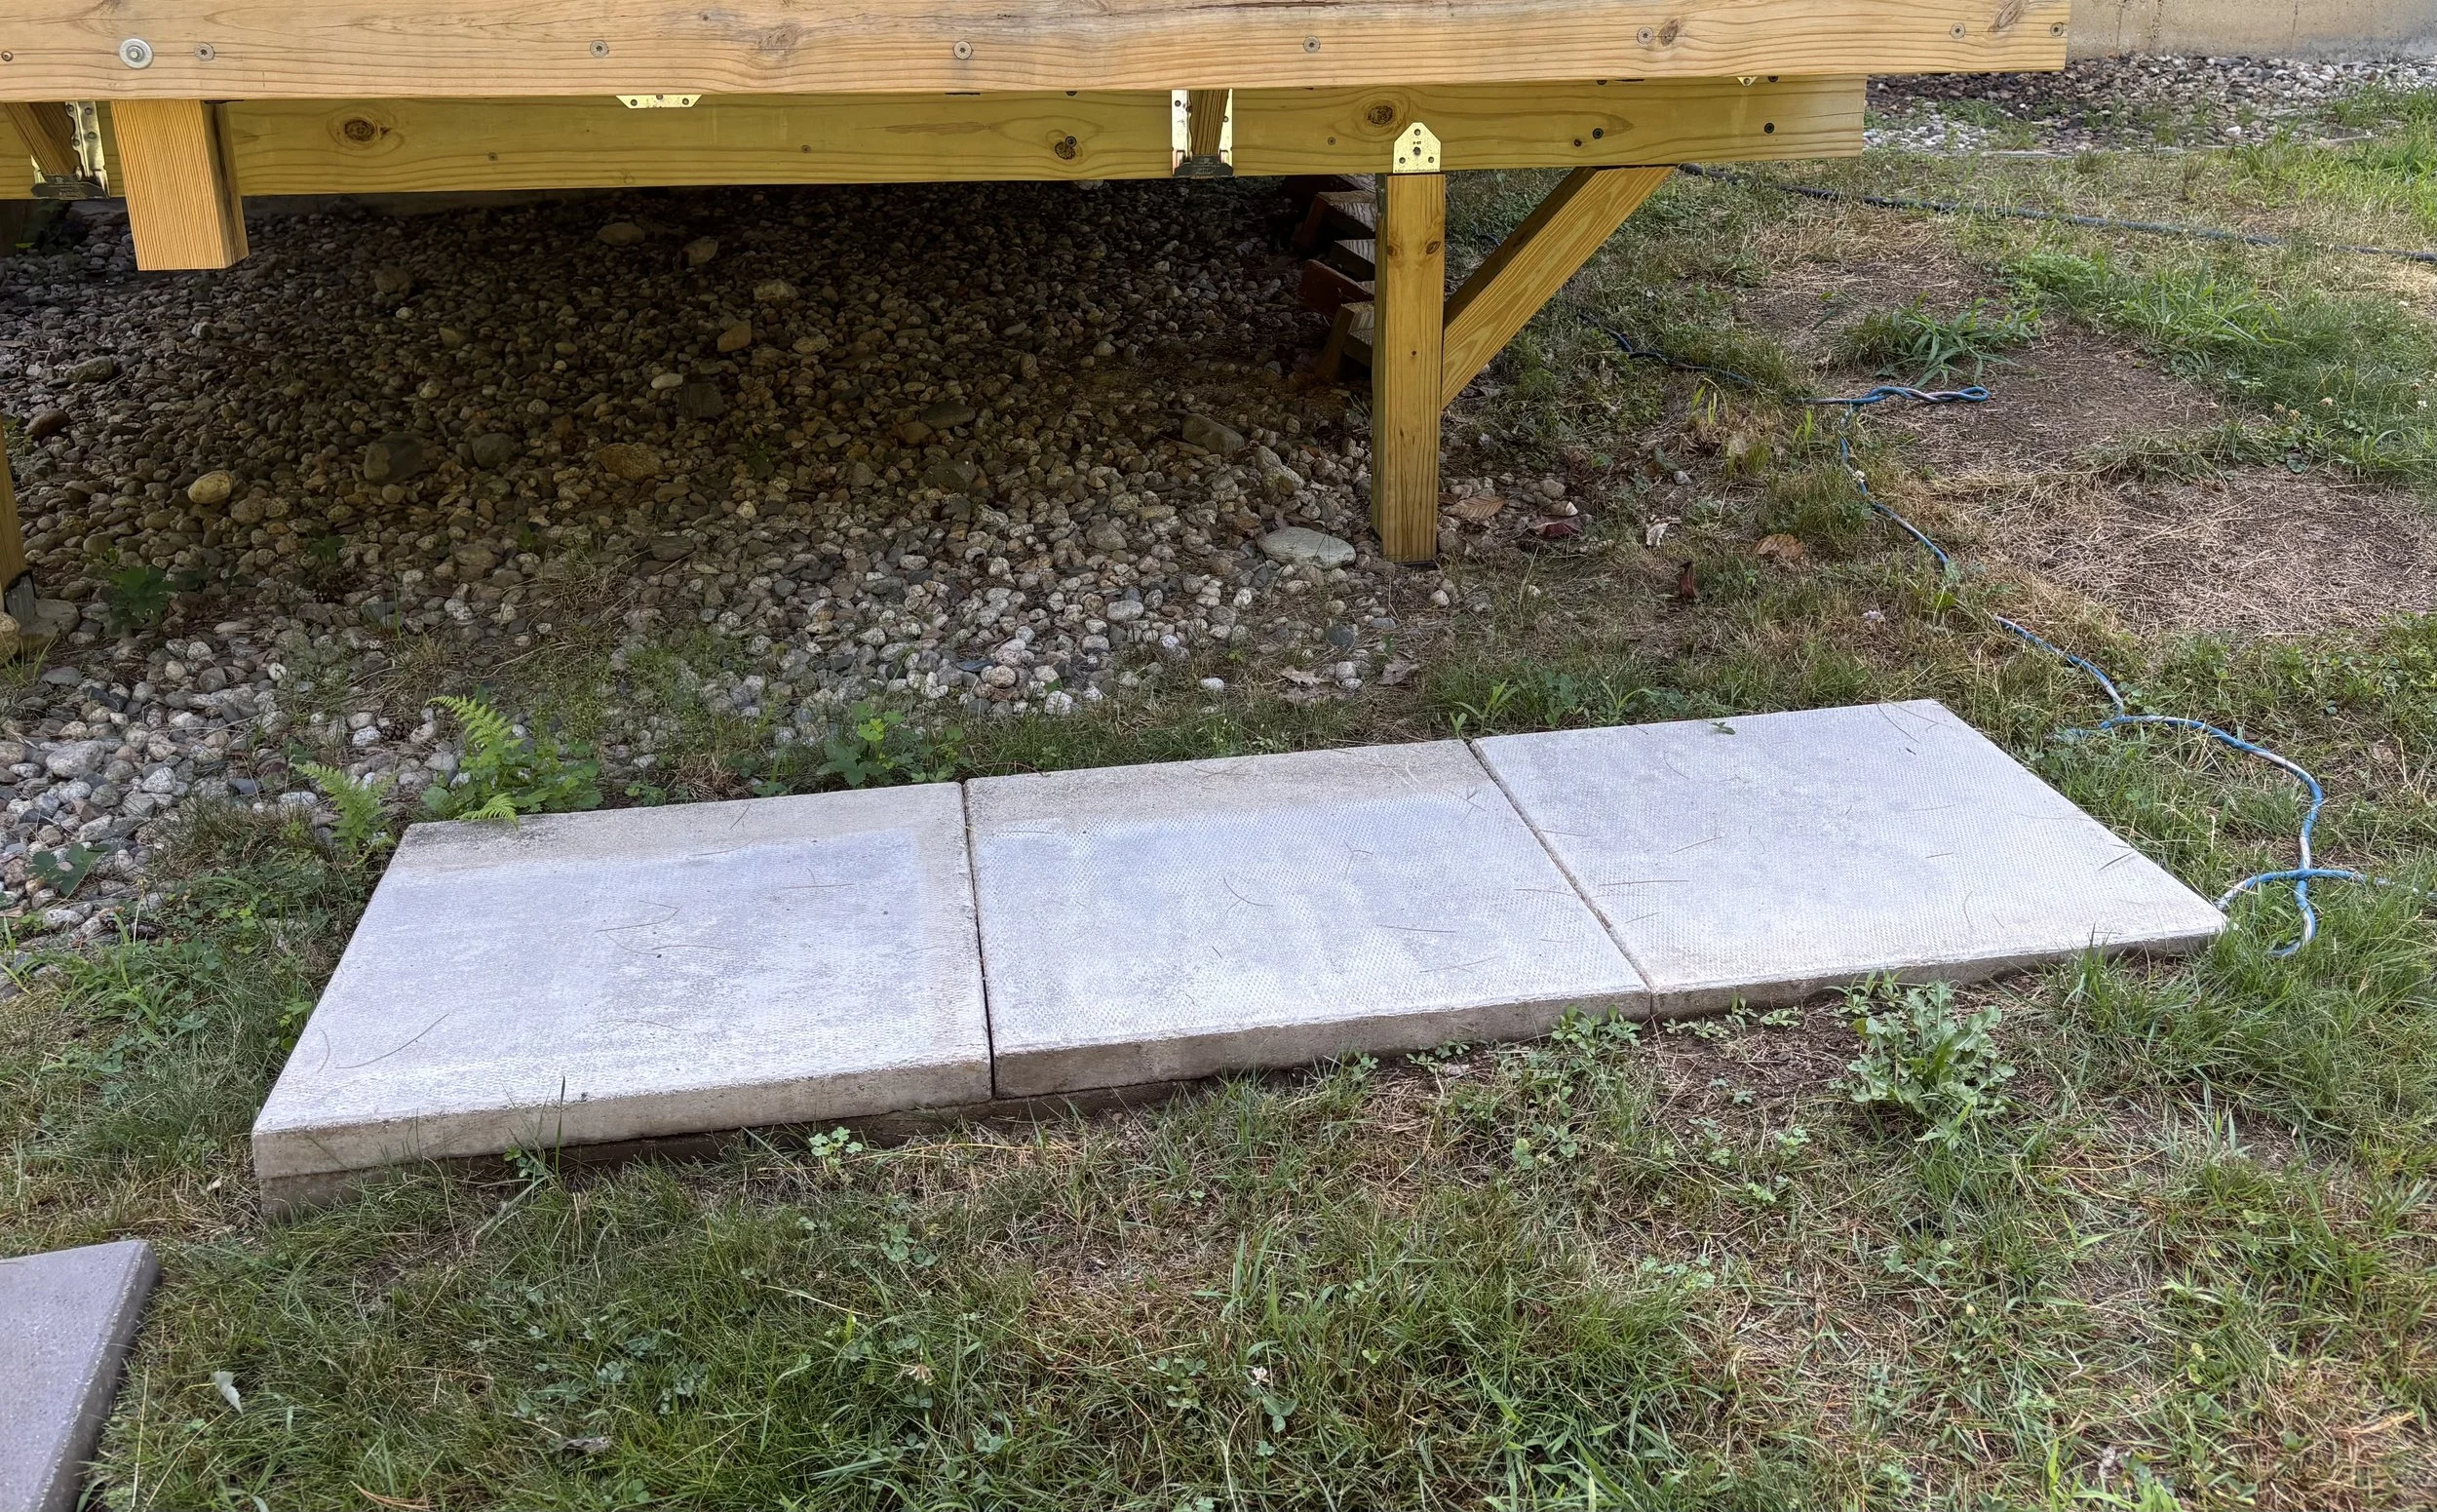
Even though this photo doesn’t look it, these pavers are perfectly level.
First, it’s a good idea to prep the base of where you are going to put your stock tank planter. You can use pavers or gravel, but you want something that will keep the base of the planter from sitting directly against the ground.
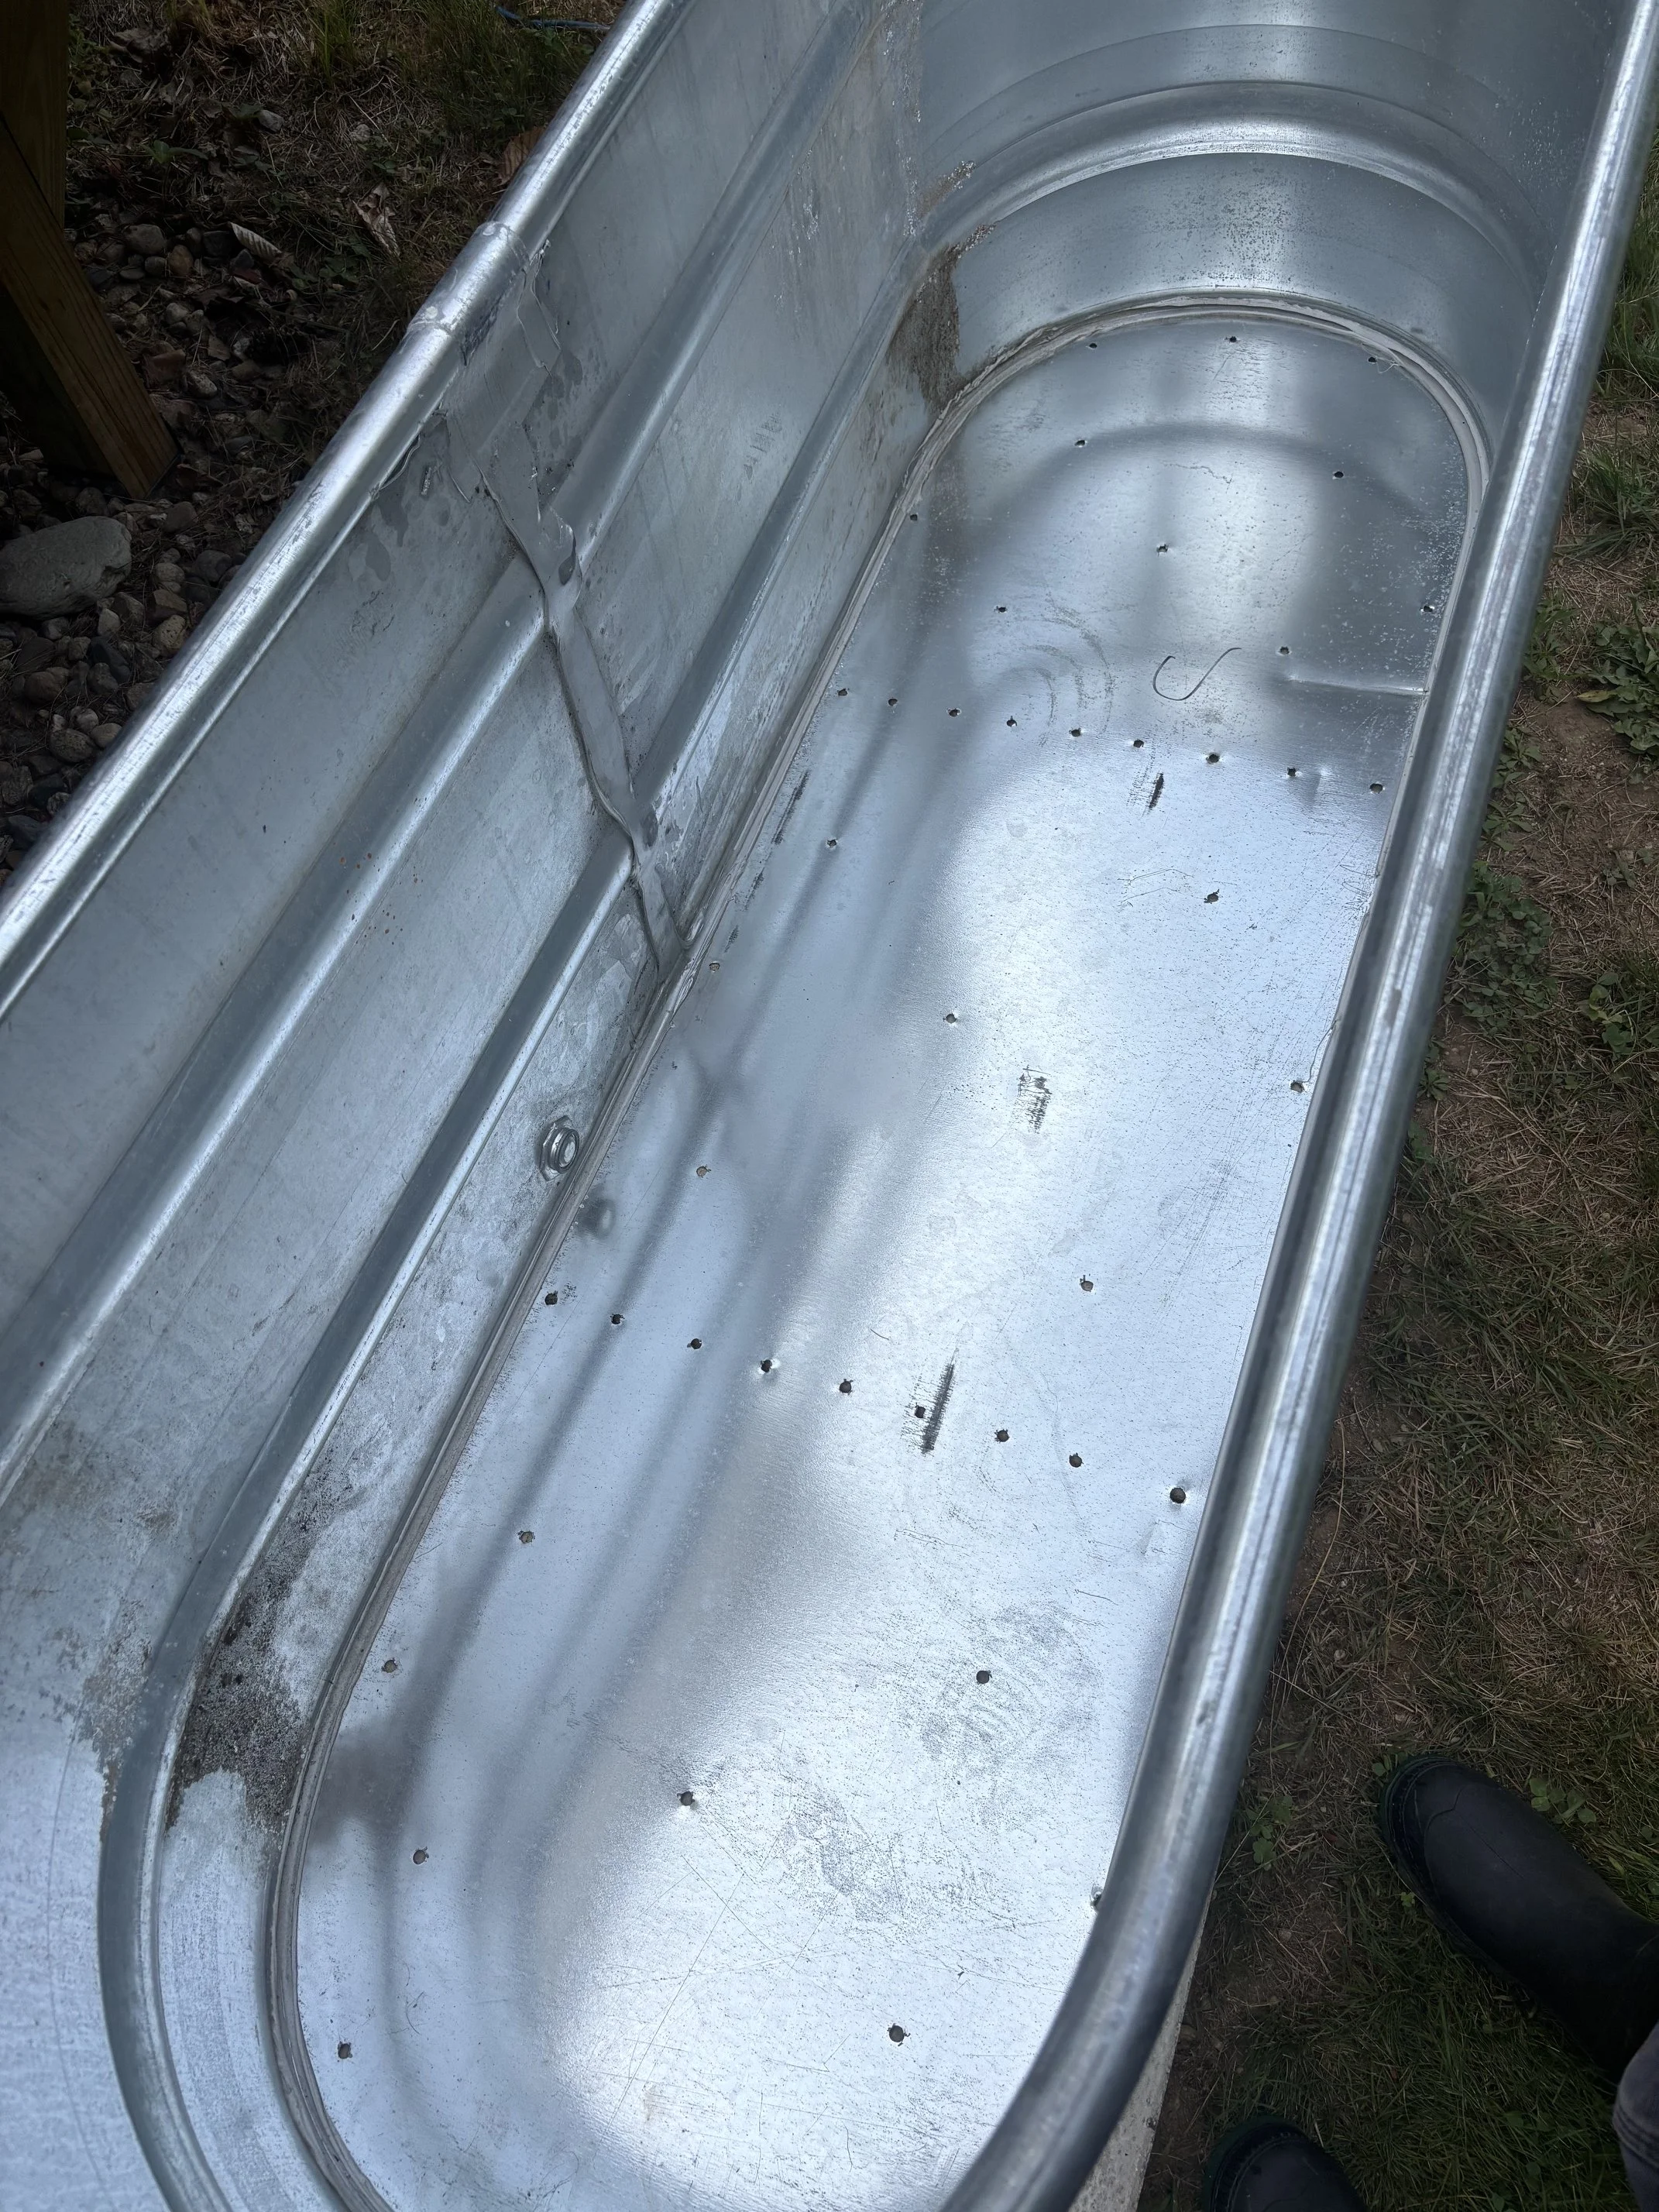
Next you want to flip the tank over and drill a considerable amount of drainage holes across the bottom of it because as a planter, you don’t want it to hold water. In order to keep the galvanized steel from tearing, start with a small diameter drill bit and work your way up in sizes. (I concentrated some of my drainage holes along where the joints of my paver base will be since I know the water will drain better in those areas.)
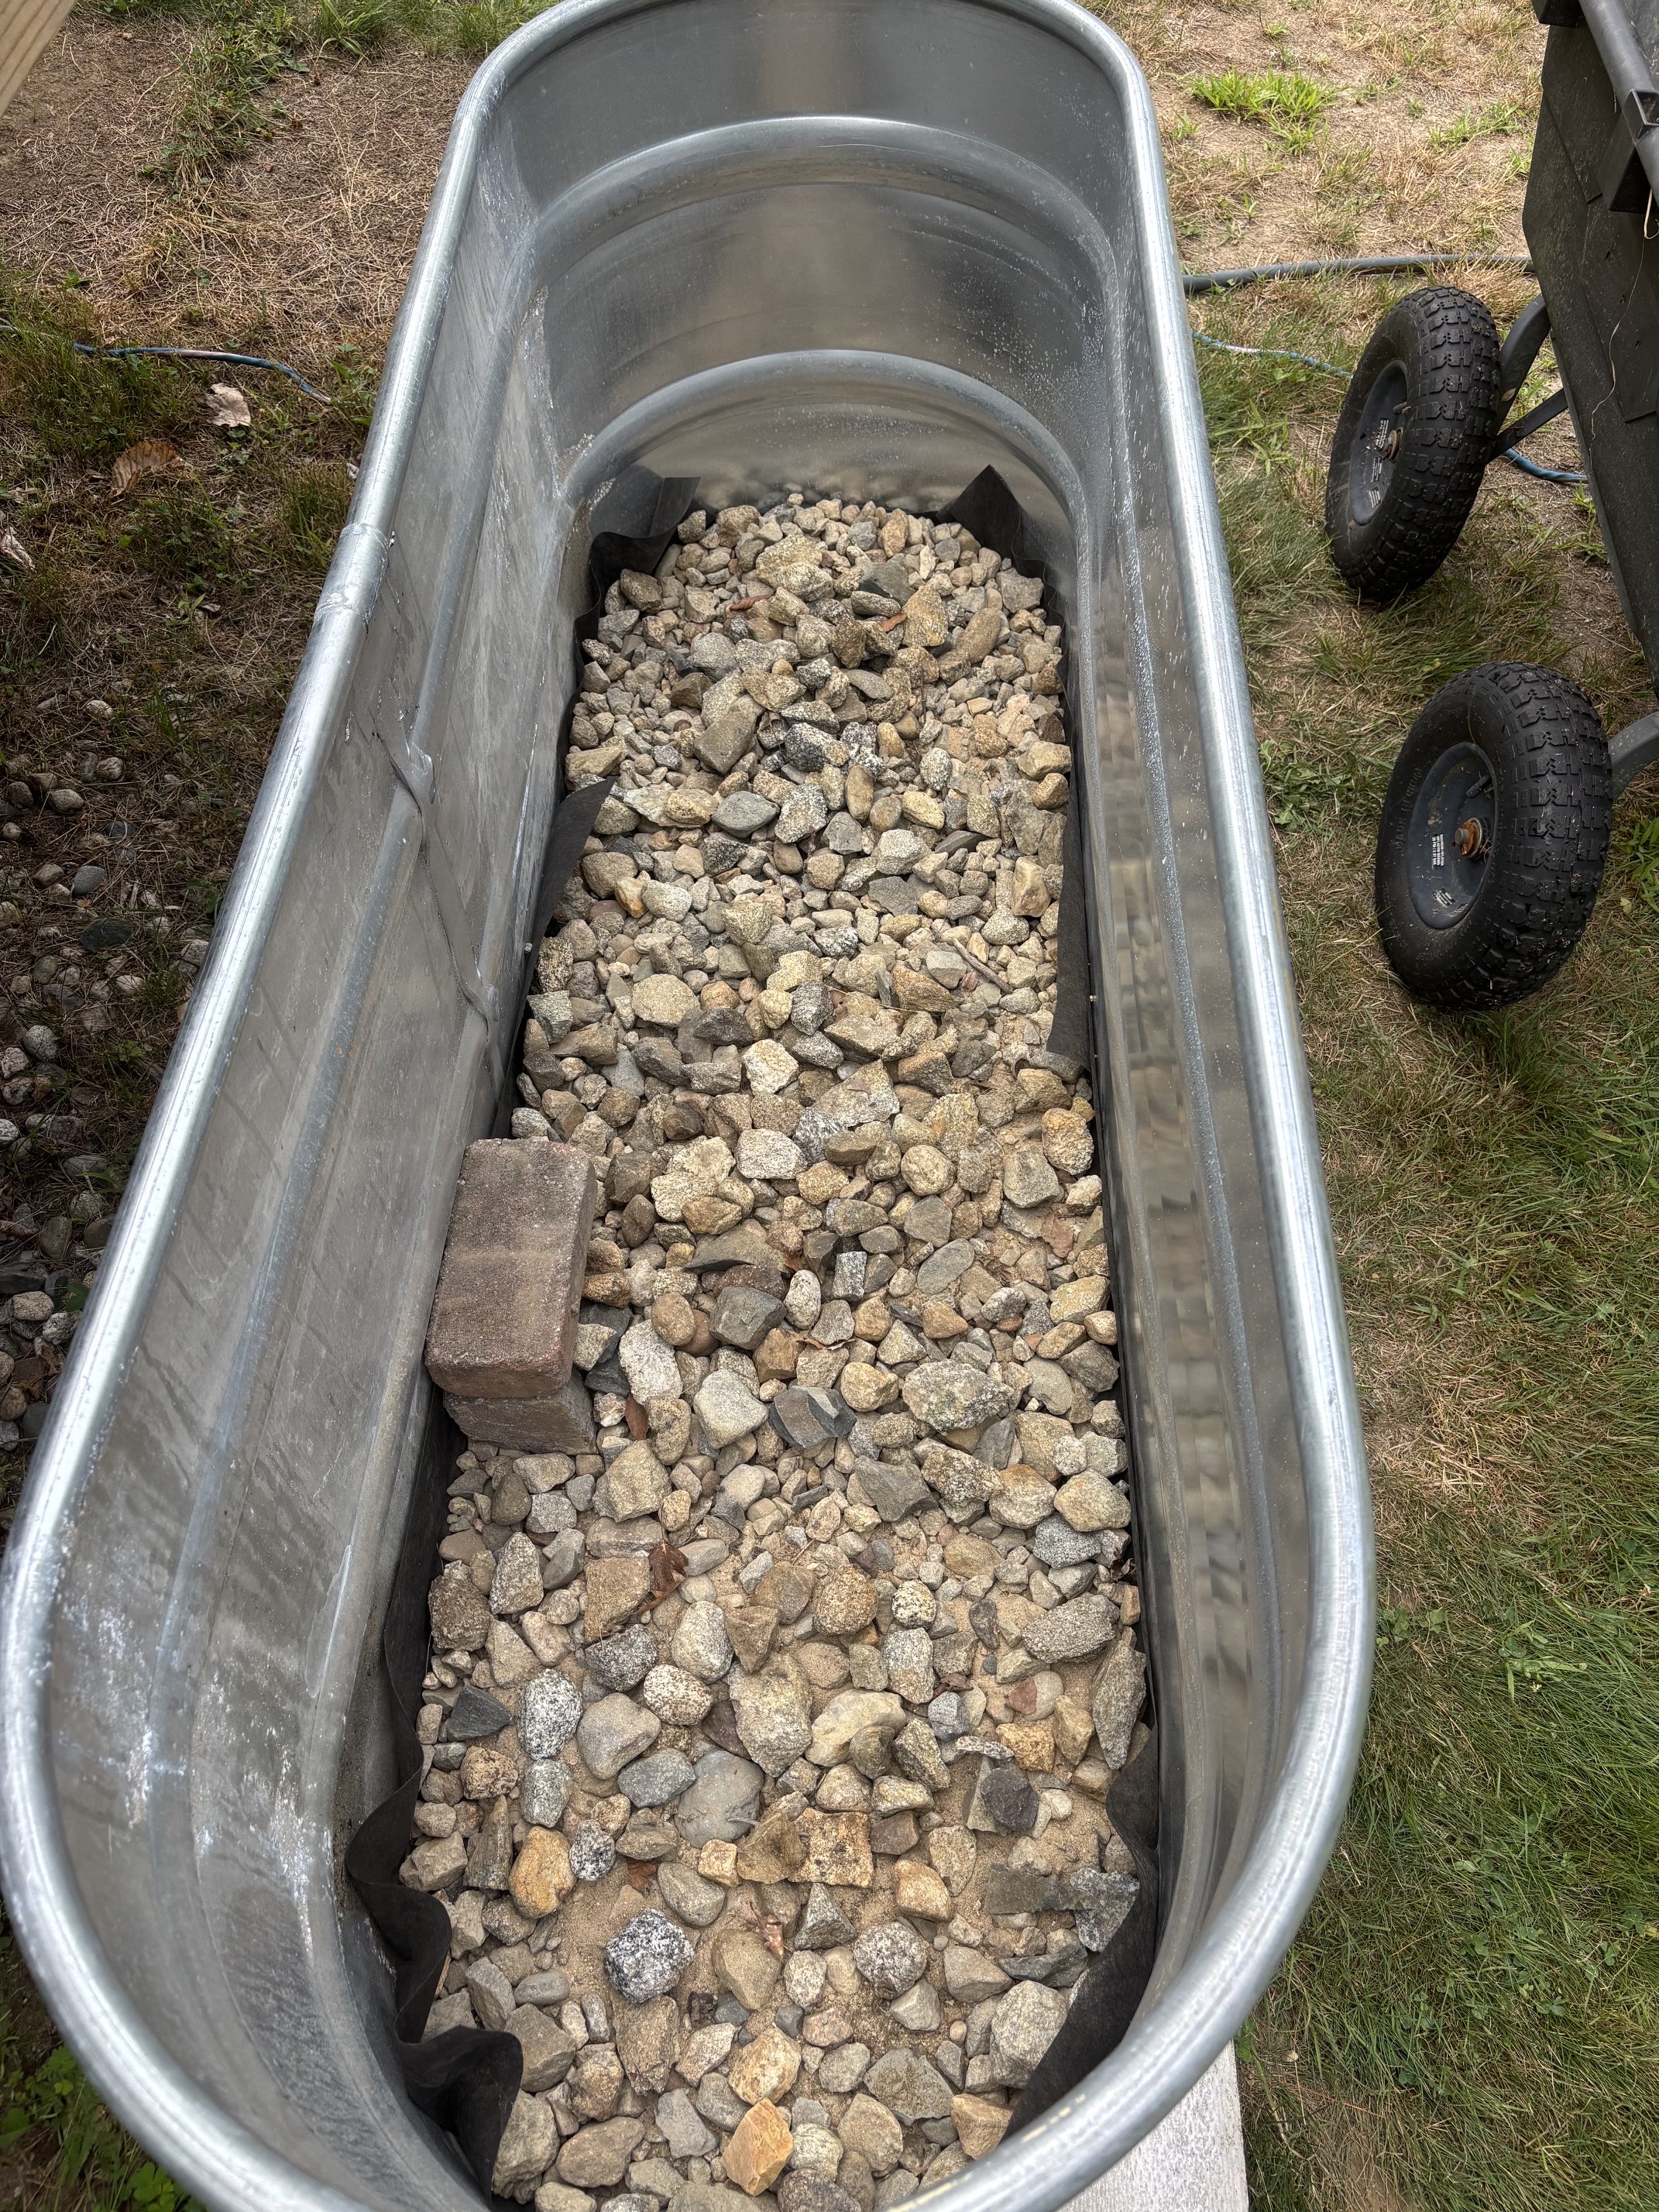
Then line the bottom of the stock tank with weed suppressant fabric to keep soil and sand from filling the holes, and lay down a layer of stones and gravel to help with drainage.
Optional: I also built a little “bridge” around the main drain of the tank and put gravel around it to help optimize drainage, just in case we ever need to use it.
Next, it’s time to fill the tank with dirt. We had a lot of old “exhausted” dirt from the previous planters and this was perfect to use to fill in the bulk of the planter.
Once we were about two thirds full, I topped it off with compost and great quality garden soil. (I LOVE this Coast of Maine Raised Bed Garden Soil. It's seriously amazing and my little seedlings got huge and produced so much in just a few weeks.)
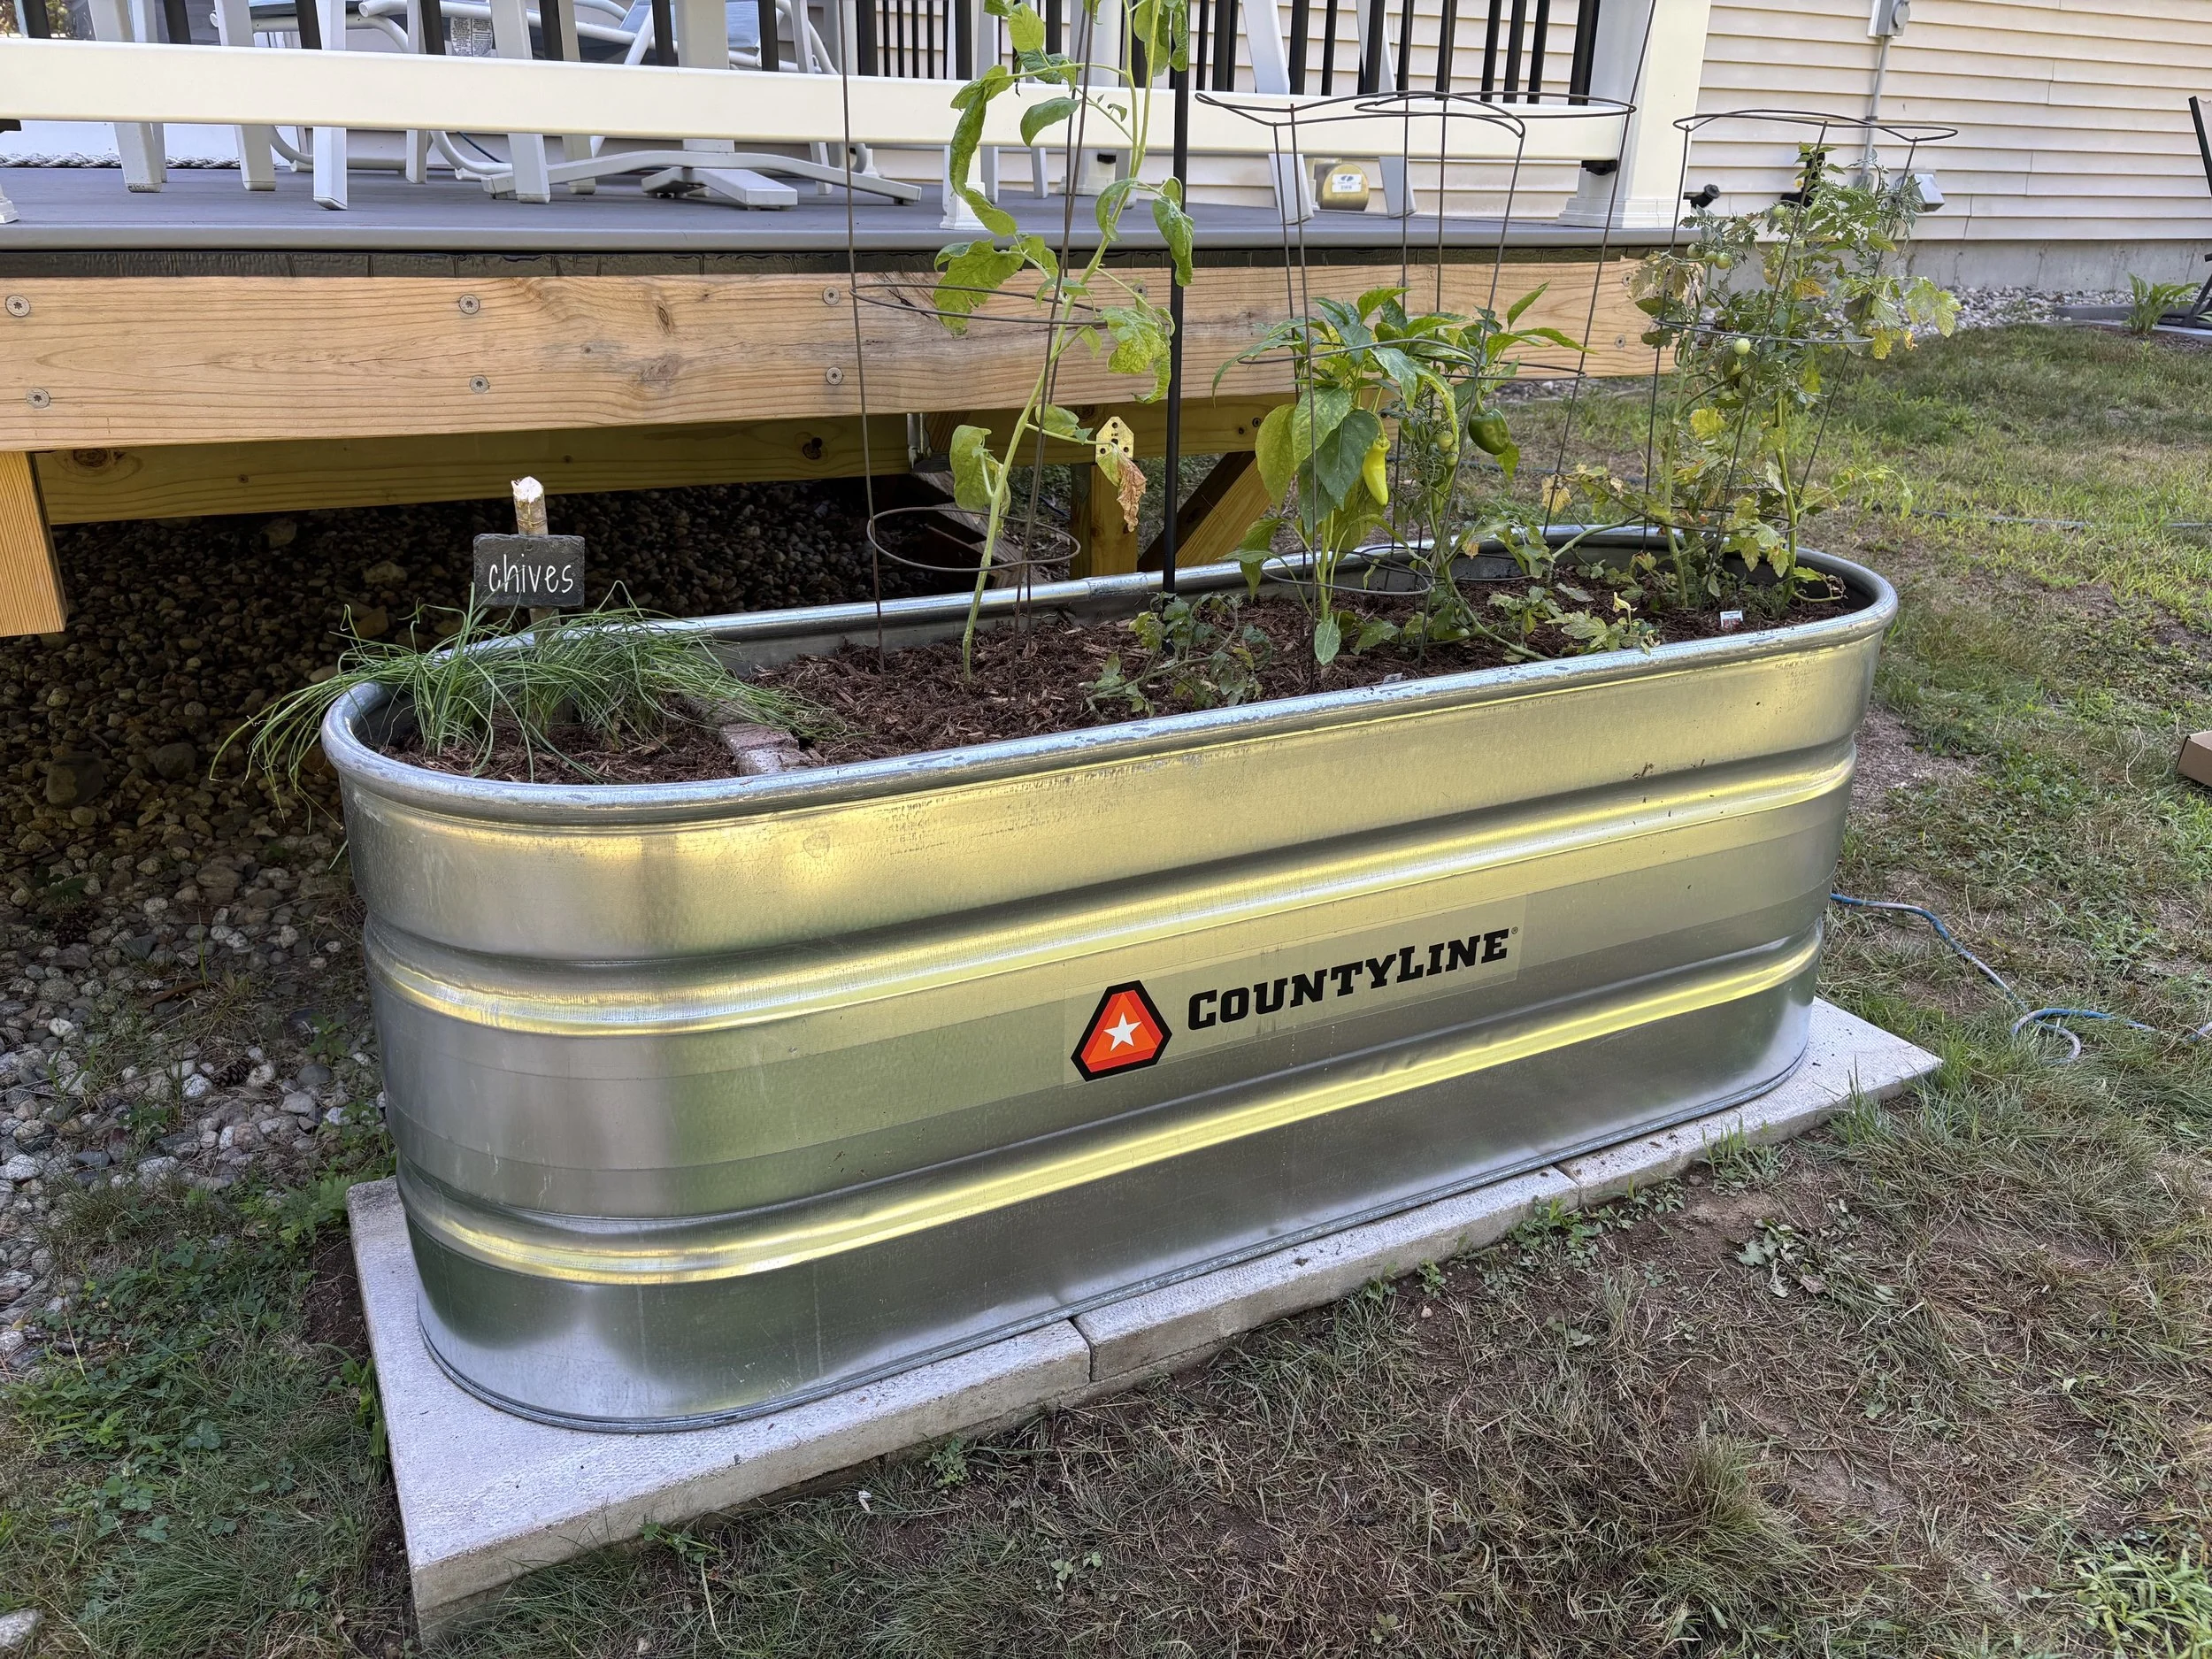
Now it’s time to fill with seedlings or plant your seeds! I decided to section off one end with some bricks to make a little herb garden. (Check out our old blog post on how to make these DIY Slate Garden Markers.) I also added a thin layer of cedar mulch to help with water retention.
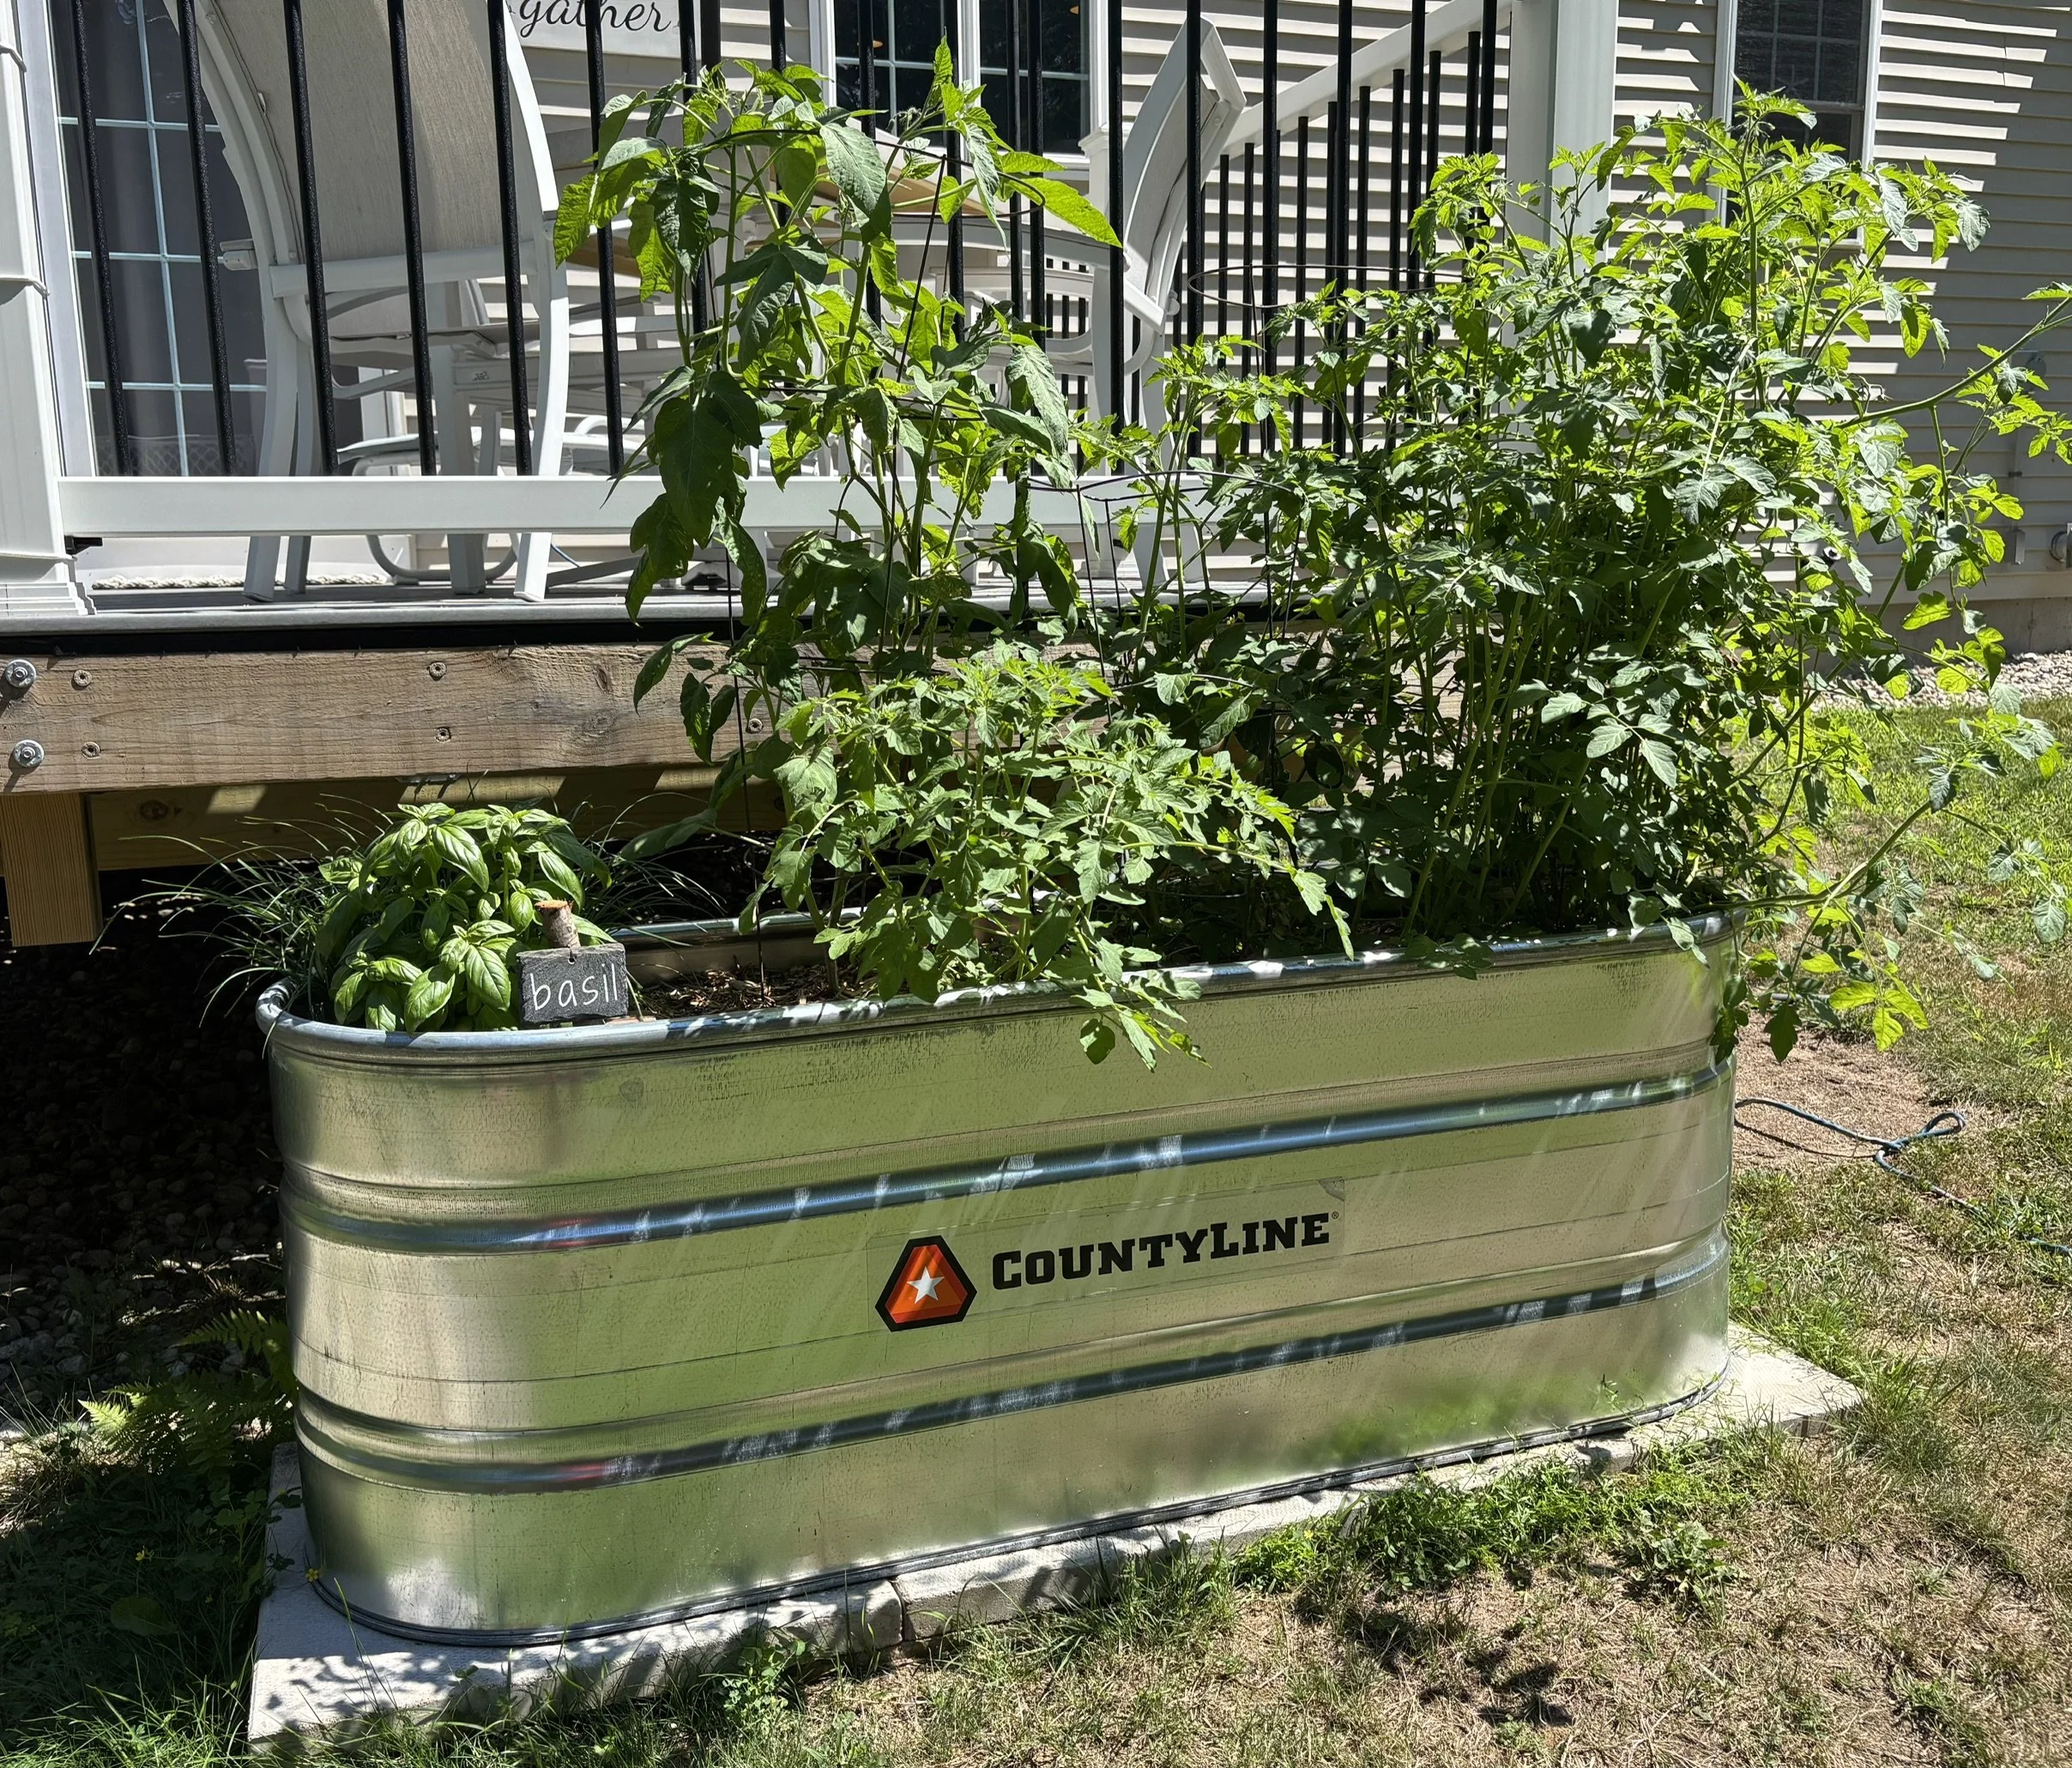
Enjoy your raised stock tank garden planter!
Some of our Garden + Patio Picks:
Scroll sideways to see more —>